A Fascinating Musical Concept
I’ll start with a one sentence lesson in musical history. The Jankó (pronounced Yanko) keyboard was designed over 100 years ago, and has the clever benefit of allowing each scale and chord to be played with the same fingering regardless of the key. Wild! There’s more on Wikipedia if you’re interested.
Why didn’t it catch on? Seems to be the same kind of thing that saw VHS succeed over Betamax, or Qwerty over Dvorak.
But it’s still really cool!
What’s That Got To Do With 3D Printing?
I was approached by a customer who likes to tinker with musical instruments. He had a small electronic keyboard, and wanted to convert it from a standard piano layout to Jankó keys. He had even found 3D models online for printing the replacement keys. He just needed the keys printed.
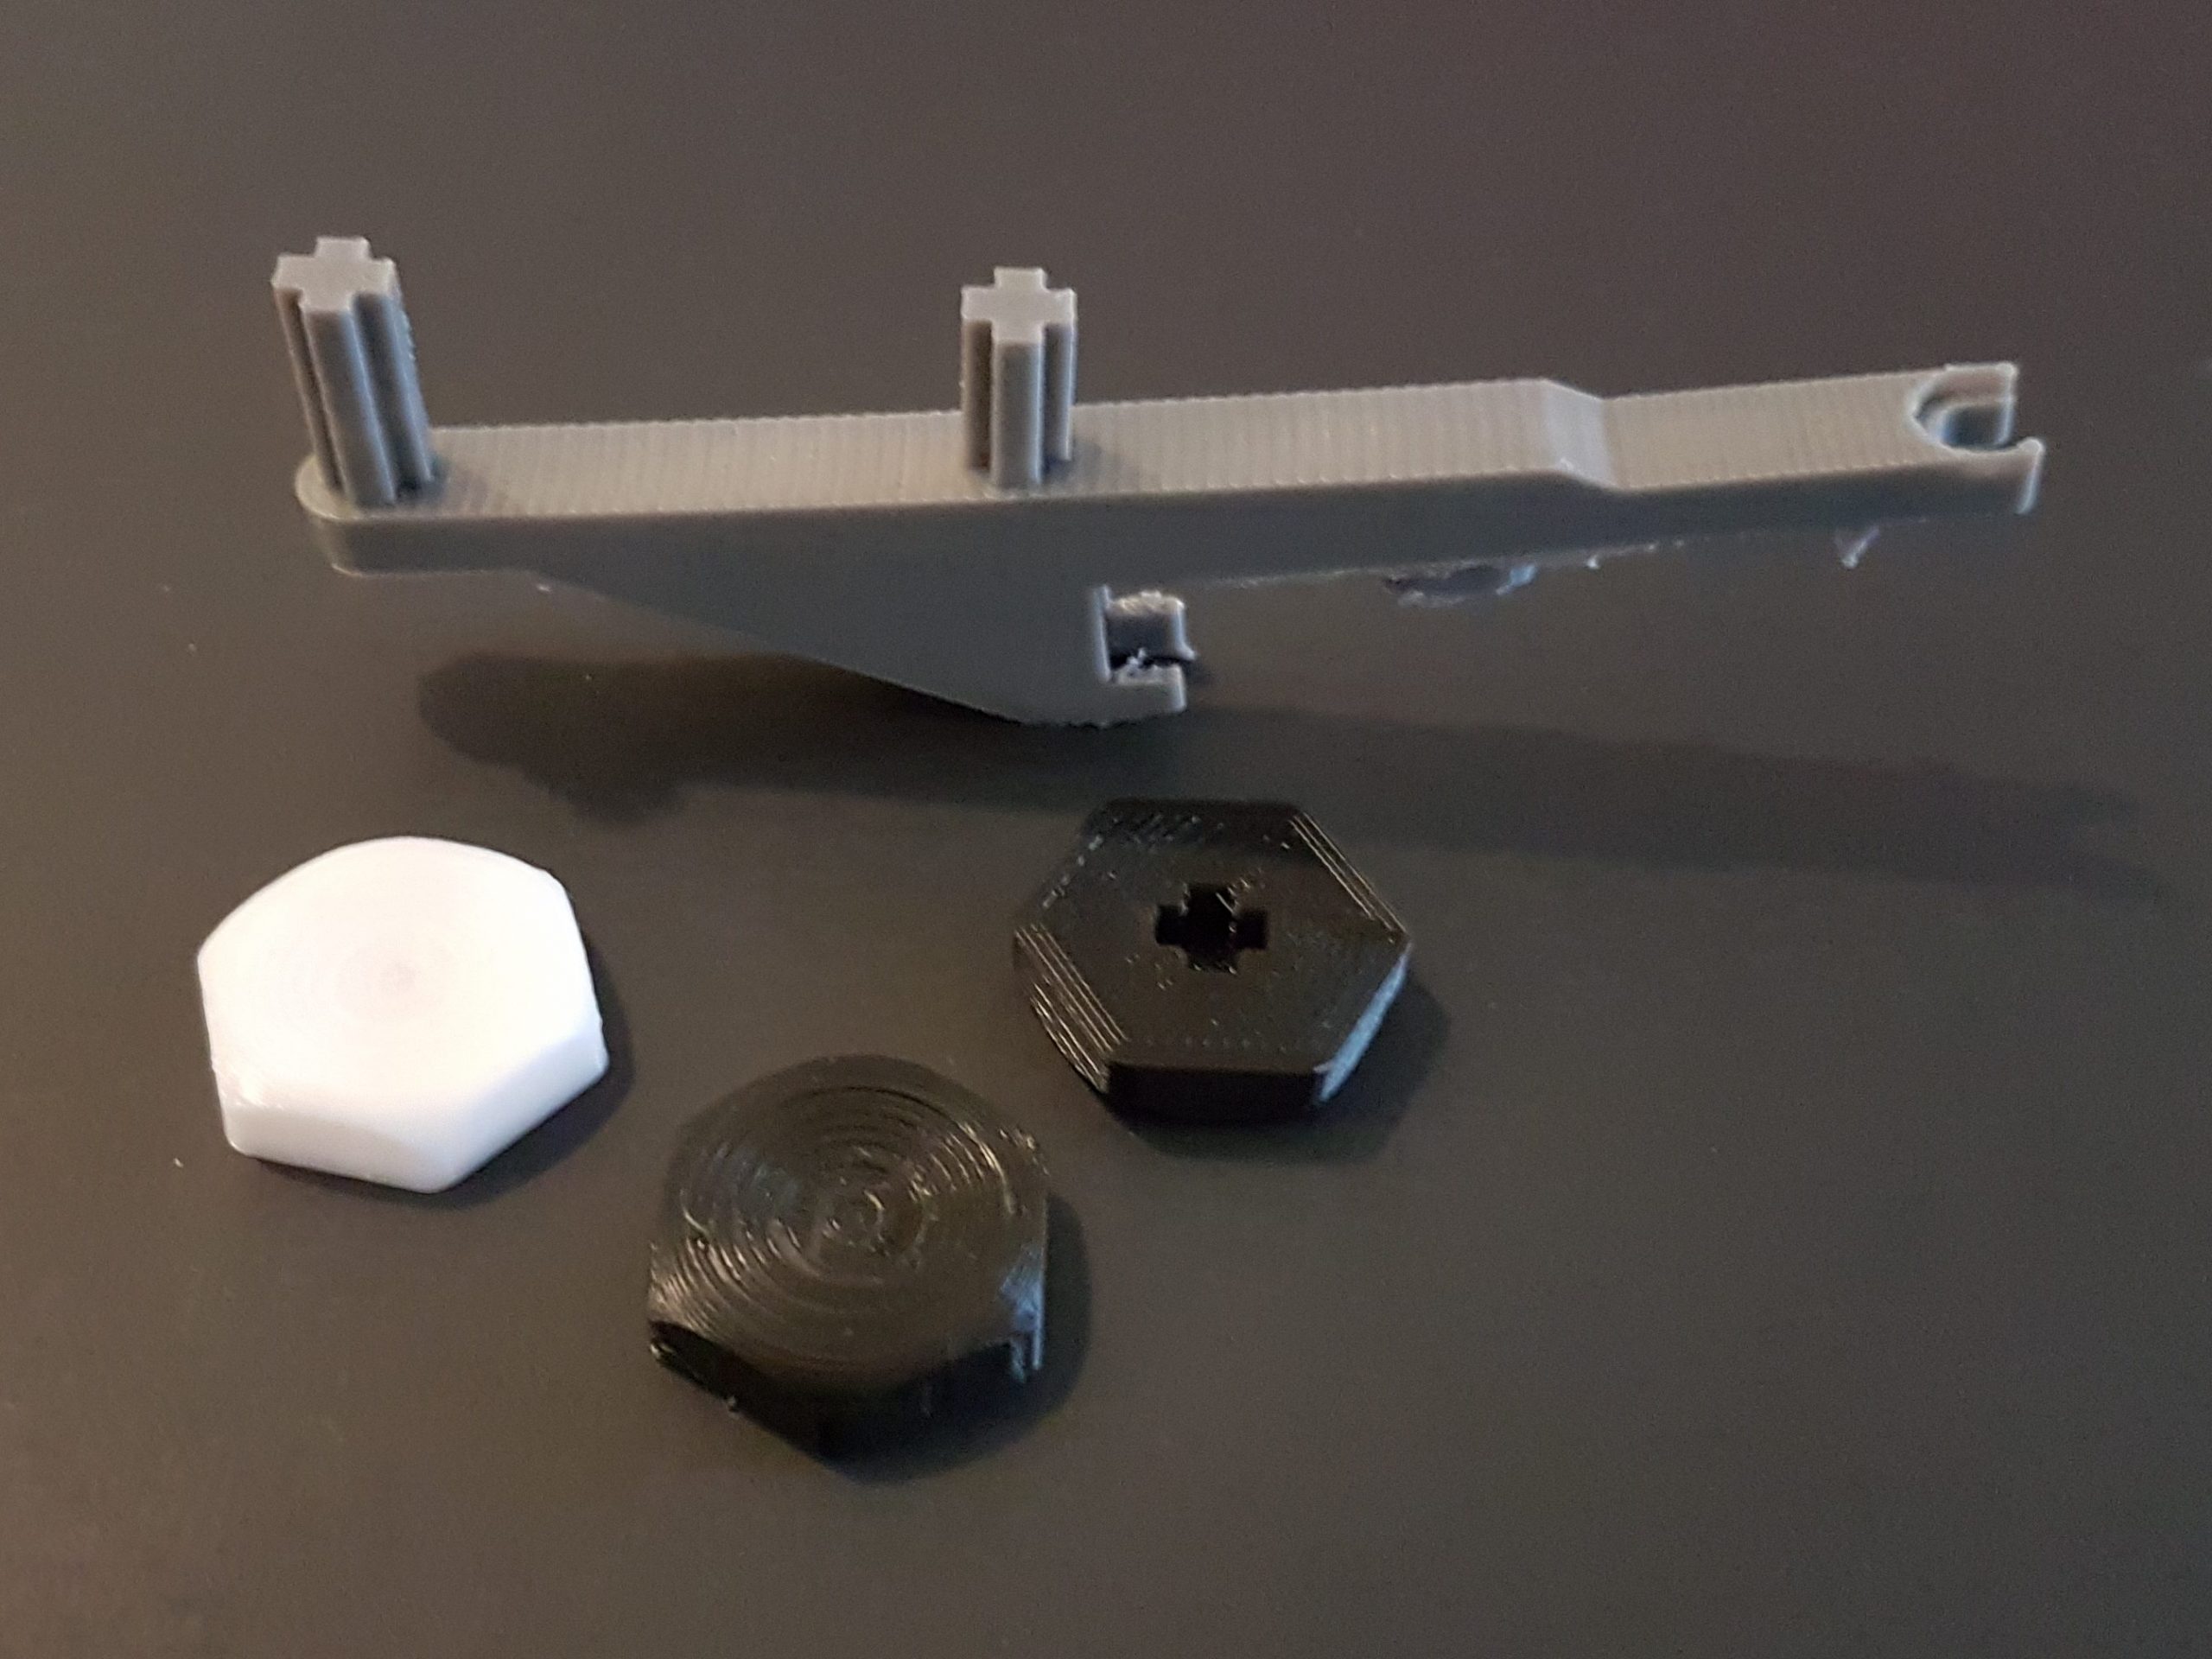
Each key involves three pieces: the key itself, and two keycaps that attach to a pair of posts.
Easy enough, right?
Not So Fast
The first problem (did you see the foreshadowing there? yup, there turned out to be several issues…) was that the keys extended far out in both directions from the lowest point, and therefore needed to be printed with supports. I talked a bit about printing supports last week, and prefer to avoid them when I can.
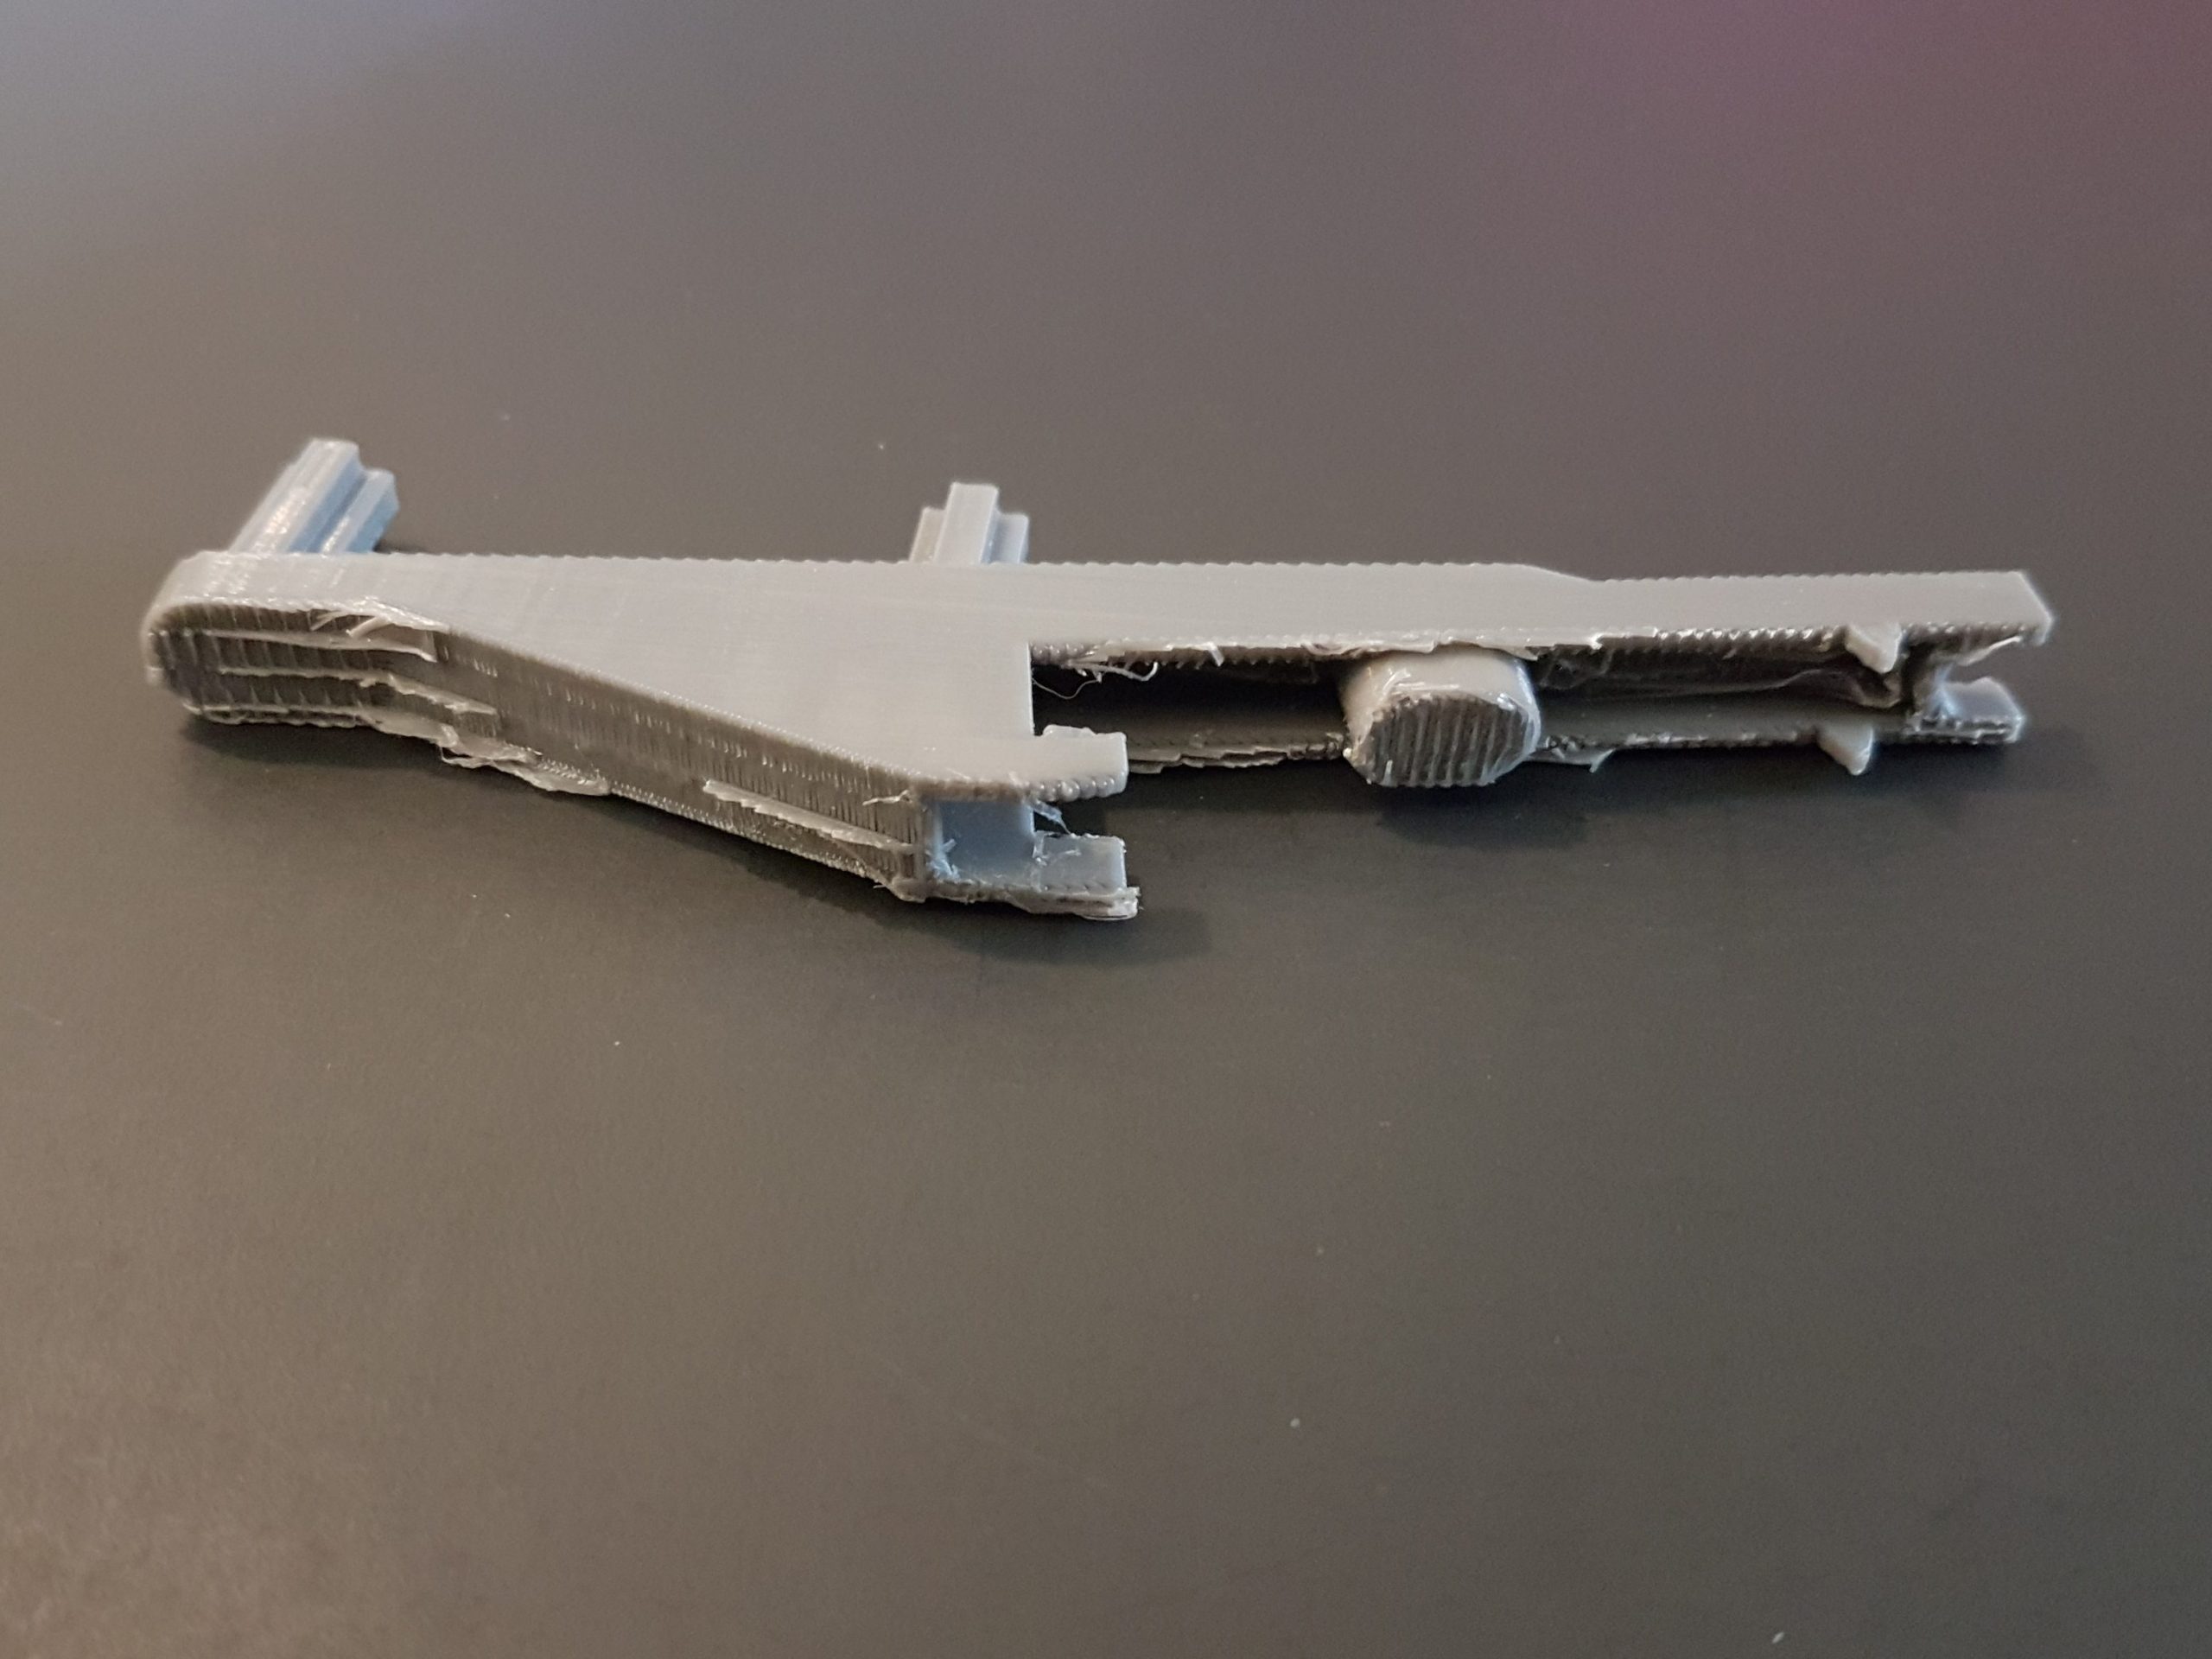
In the case of these keys, the support removal was time consuming, risked damaging important parts, and left an ugly mess that would have been even more time consuming to clean up.
Inversion Therapy
Looking at the keys, we saw a nice big flat top surface. If only we could print with that as the base and not need supports. But those posts would be a problem.
Print the posts separately and glue them on later? It would be pretty hard to get them positioned exactly right.
Unless…
If the key base included geometry to ensure a precise fit, it should be doable.
The Solution
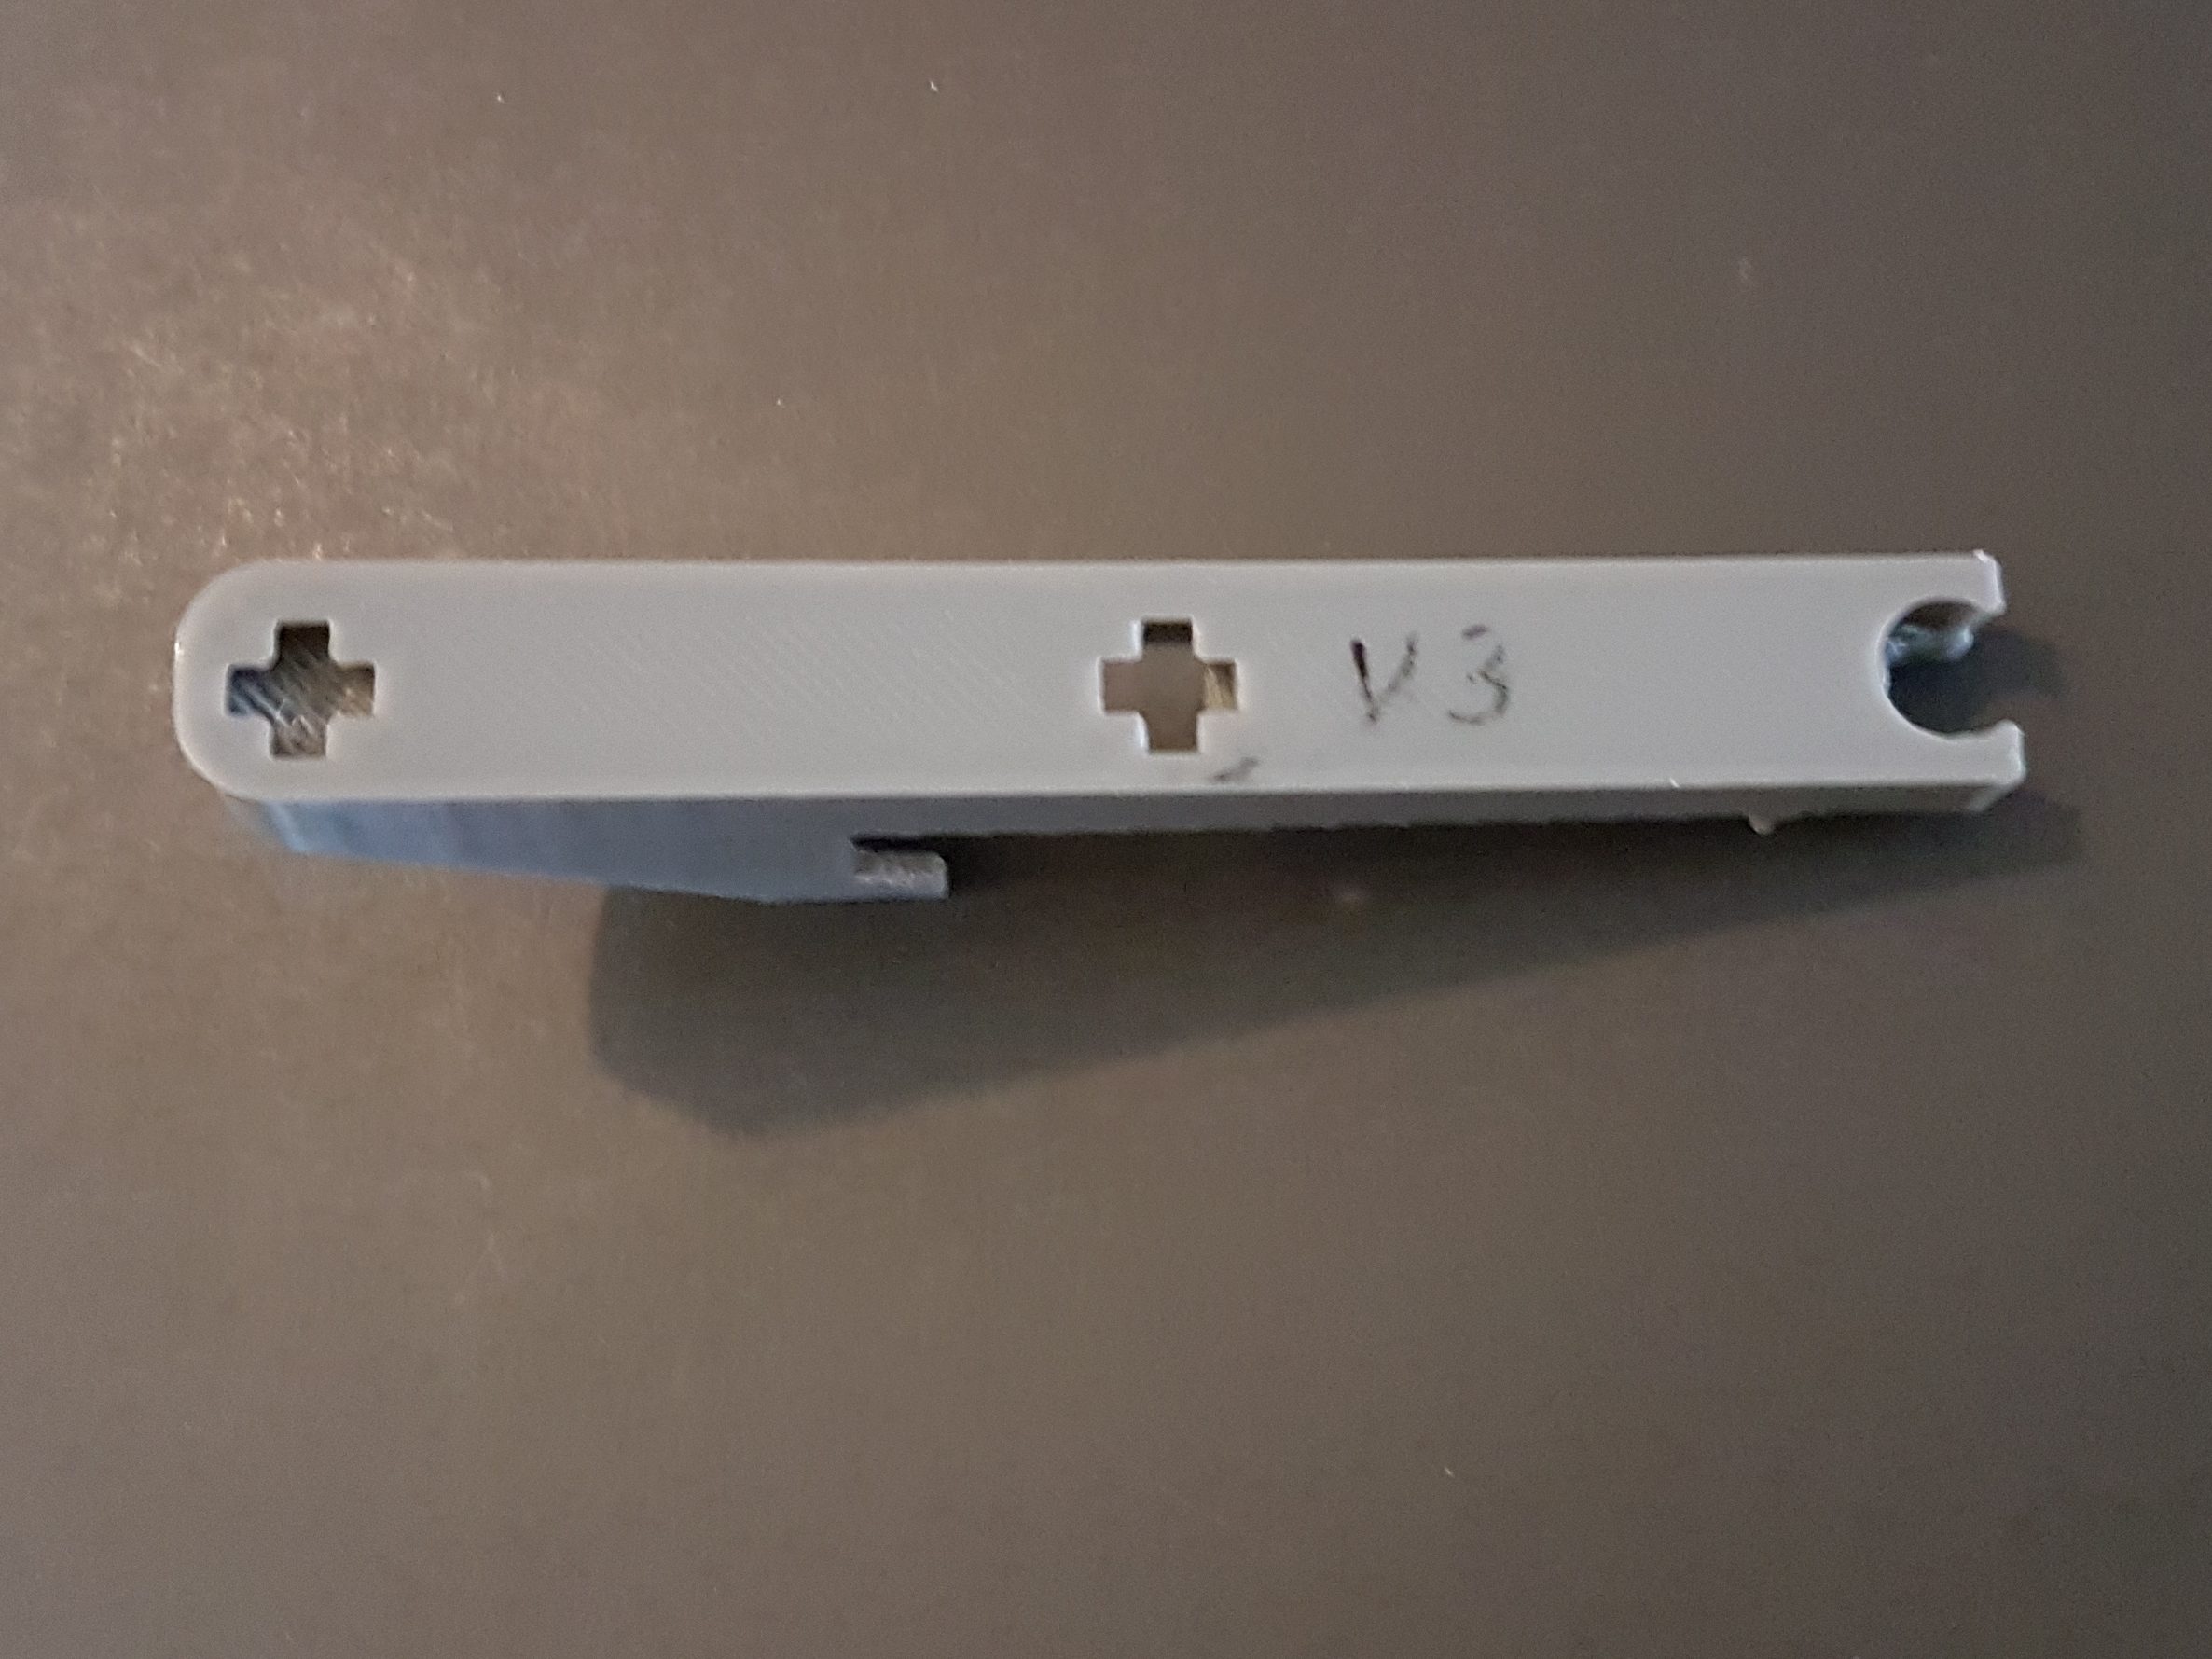
I ended up cutting holes in the tops of the keys so that the posts could sink into them, mimicking the way the keycaps attach to the post tops.
More Challenges … And Solutions
There were several more problems that needed to be resolved before I could deem it a workable design.
Sinking the posts into the keys made them too short, so the keycaps would strike adjacent keys when depressed. So I made the posts longer.

Getting the post height precise was difficult due to the awkward geometry. So I added a ring around each post, ensuring it would sink an exact distance into the hole, and no further.

There was a slight depression in the top of each key, requiring supports when printed upside down. So I flattened out the top of the keys.
Some of the holes went right through the keys, resulting in loose-fitting wobbly posts. So I thickened the affected region of the keys to more firmly embed the posts.
There were other issues as well, mostly caused by strange behaviour in Blender, the 3D modelling tool I use. But eventually I worked my way through all of them.
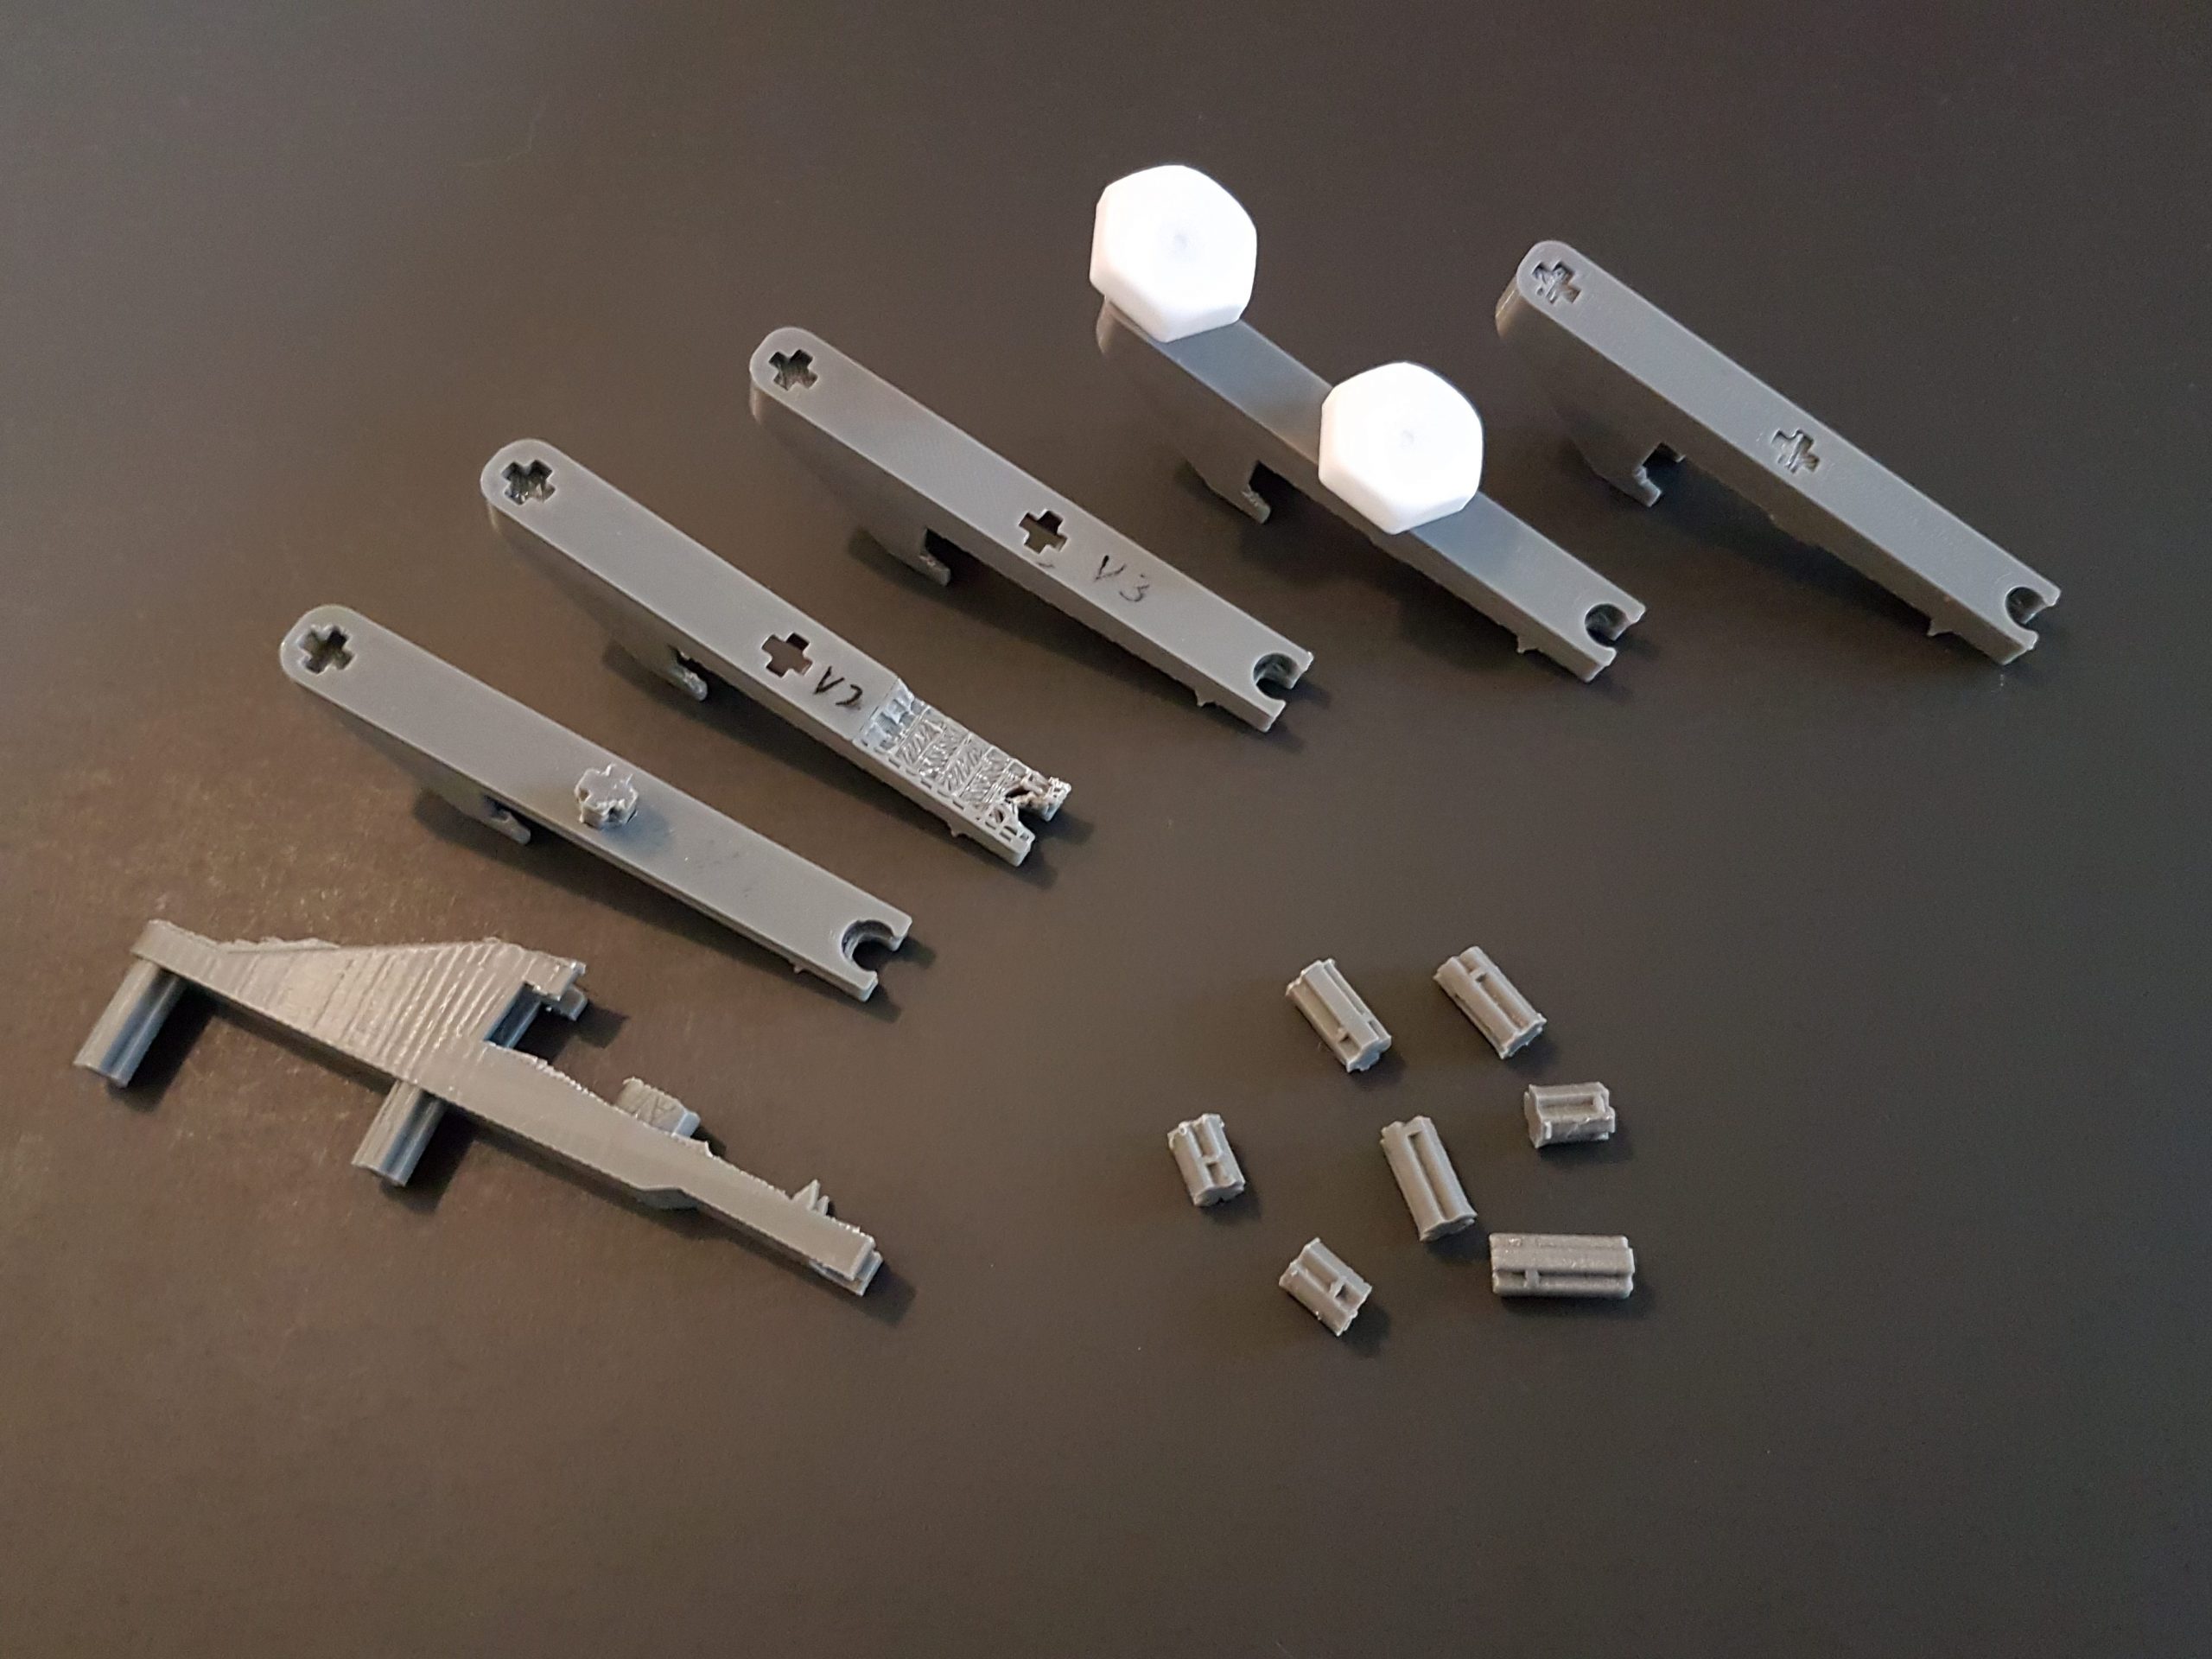
It took several attempts with keys that didn’t work, but I think I’ve finally got a design approach that will work nicely.
Taking Shape
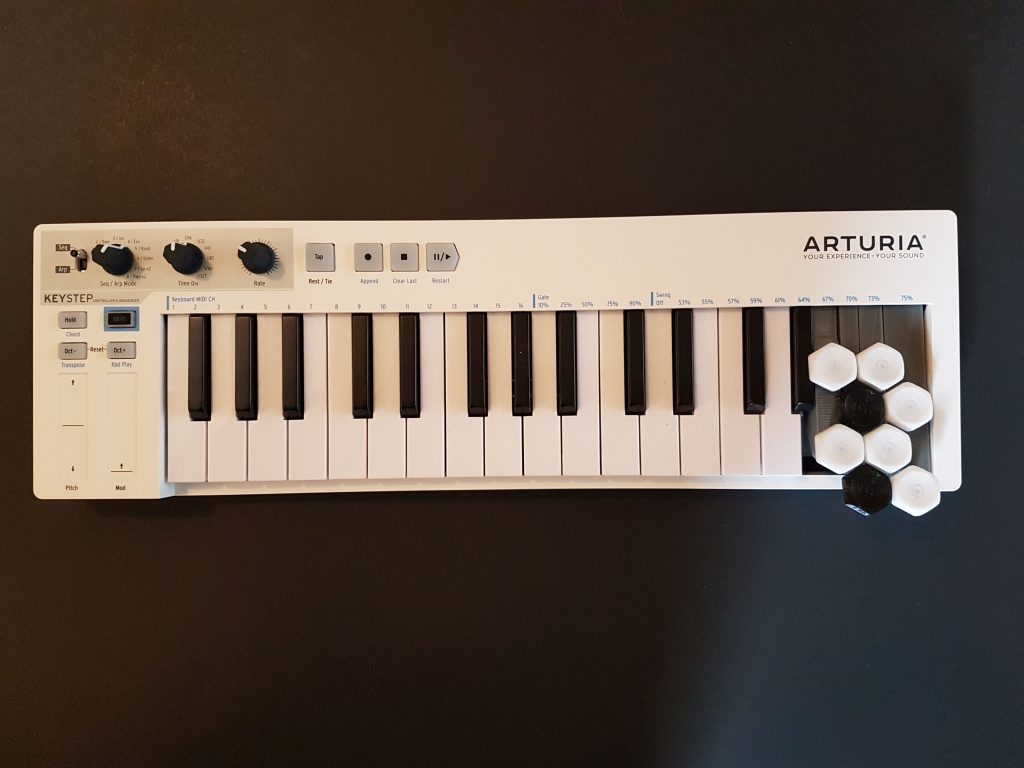
I have several more keys to do, but here’s a look at the keyboard so far, giving you a glimpse of what it will look like when it’s finished.
Game Accessories
Through this week I’ll be producing more keys for this project, and with luck I’ll have a finished Jankó keyboard to show you next Monday. But I’m also working on another entirely new board game accessory. It’s not game pieces, nor is it strictly for any one particular board game. But if I can work out a few remaining kinks it’ll be really cool, and will be the largest item I’ve printed to date!
0 Comments
1 Pingback