Adding magic to the mundane, one filament at a time.

Month: March 2021

All Aboard!

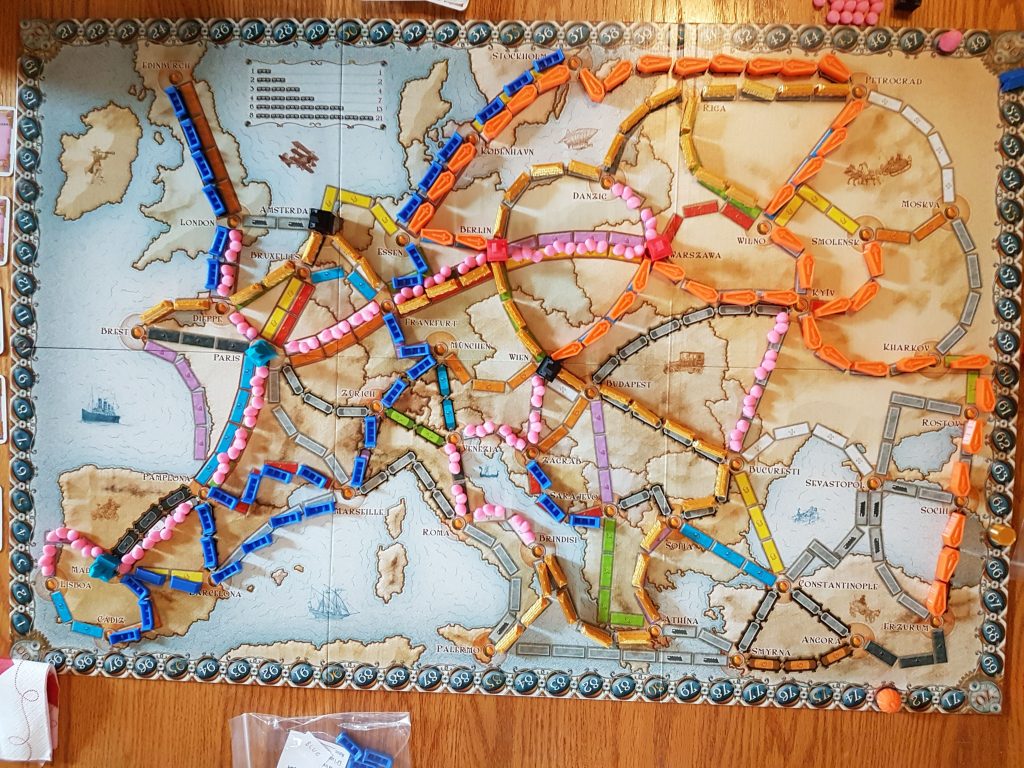
3D Orcs is Going to Europe!

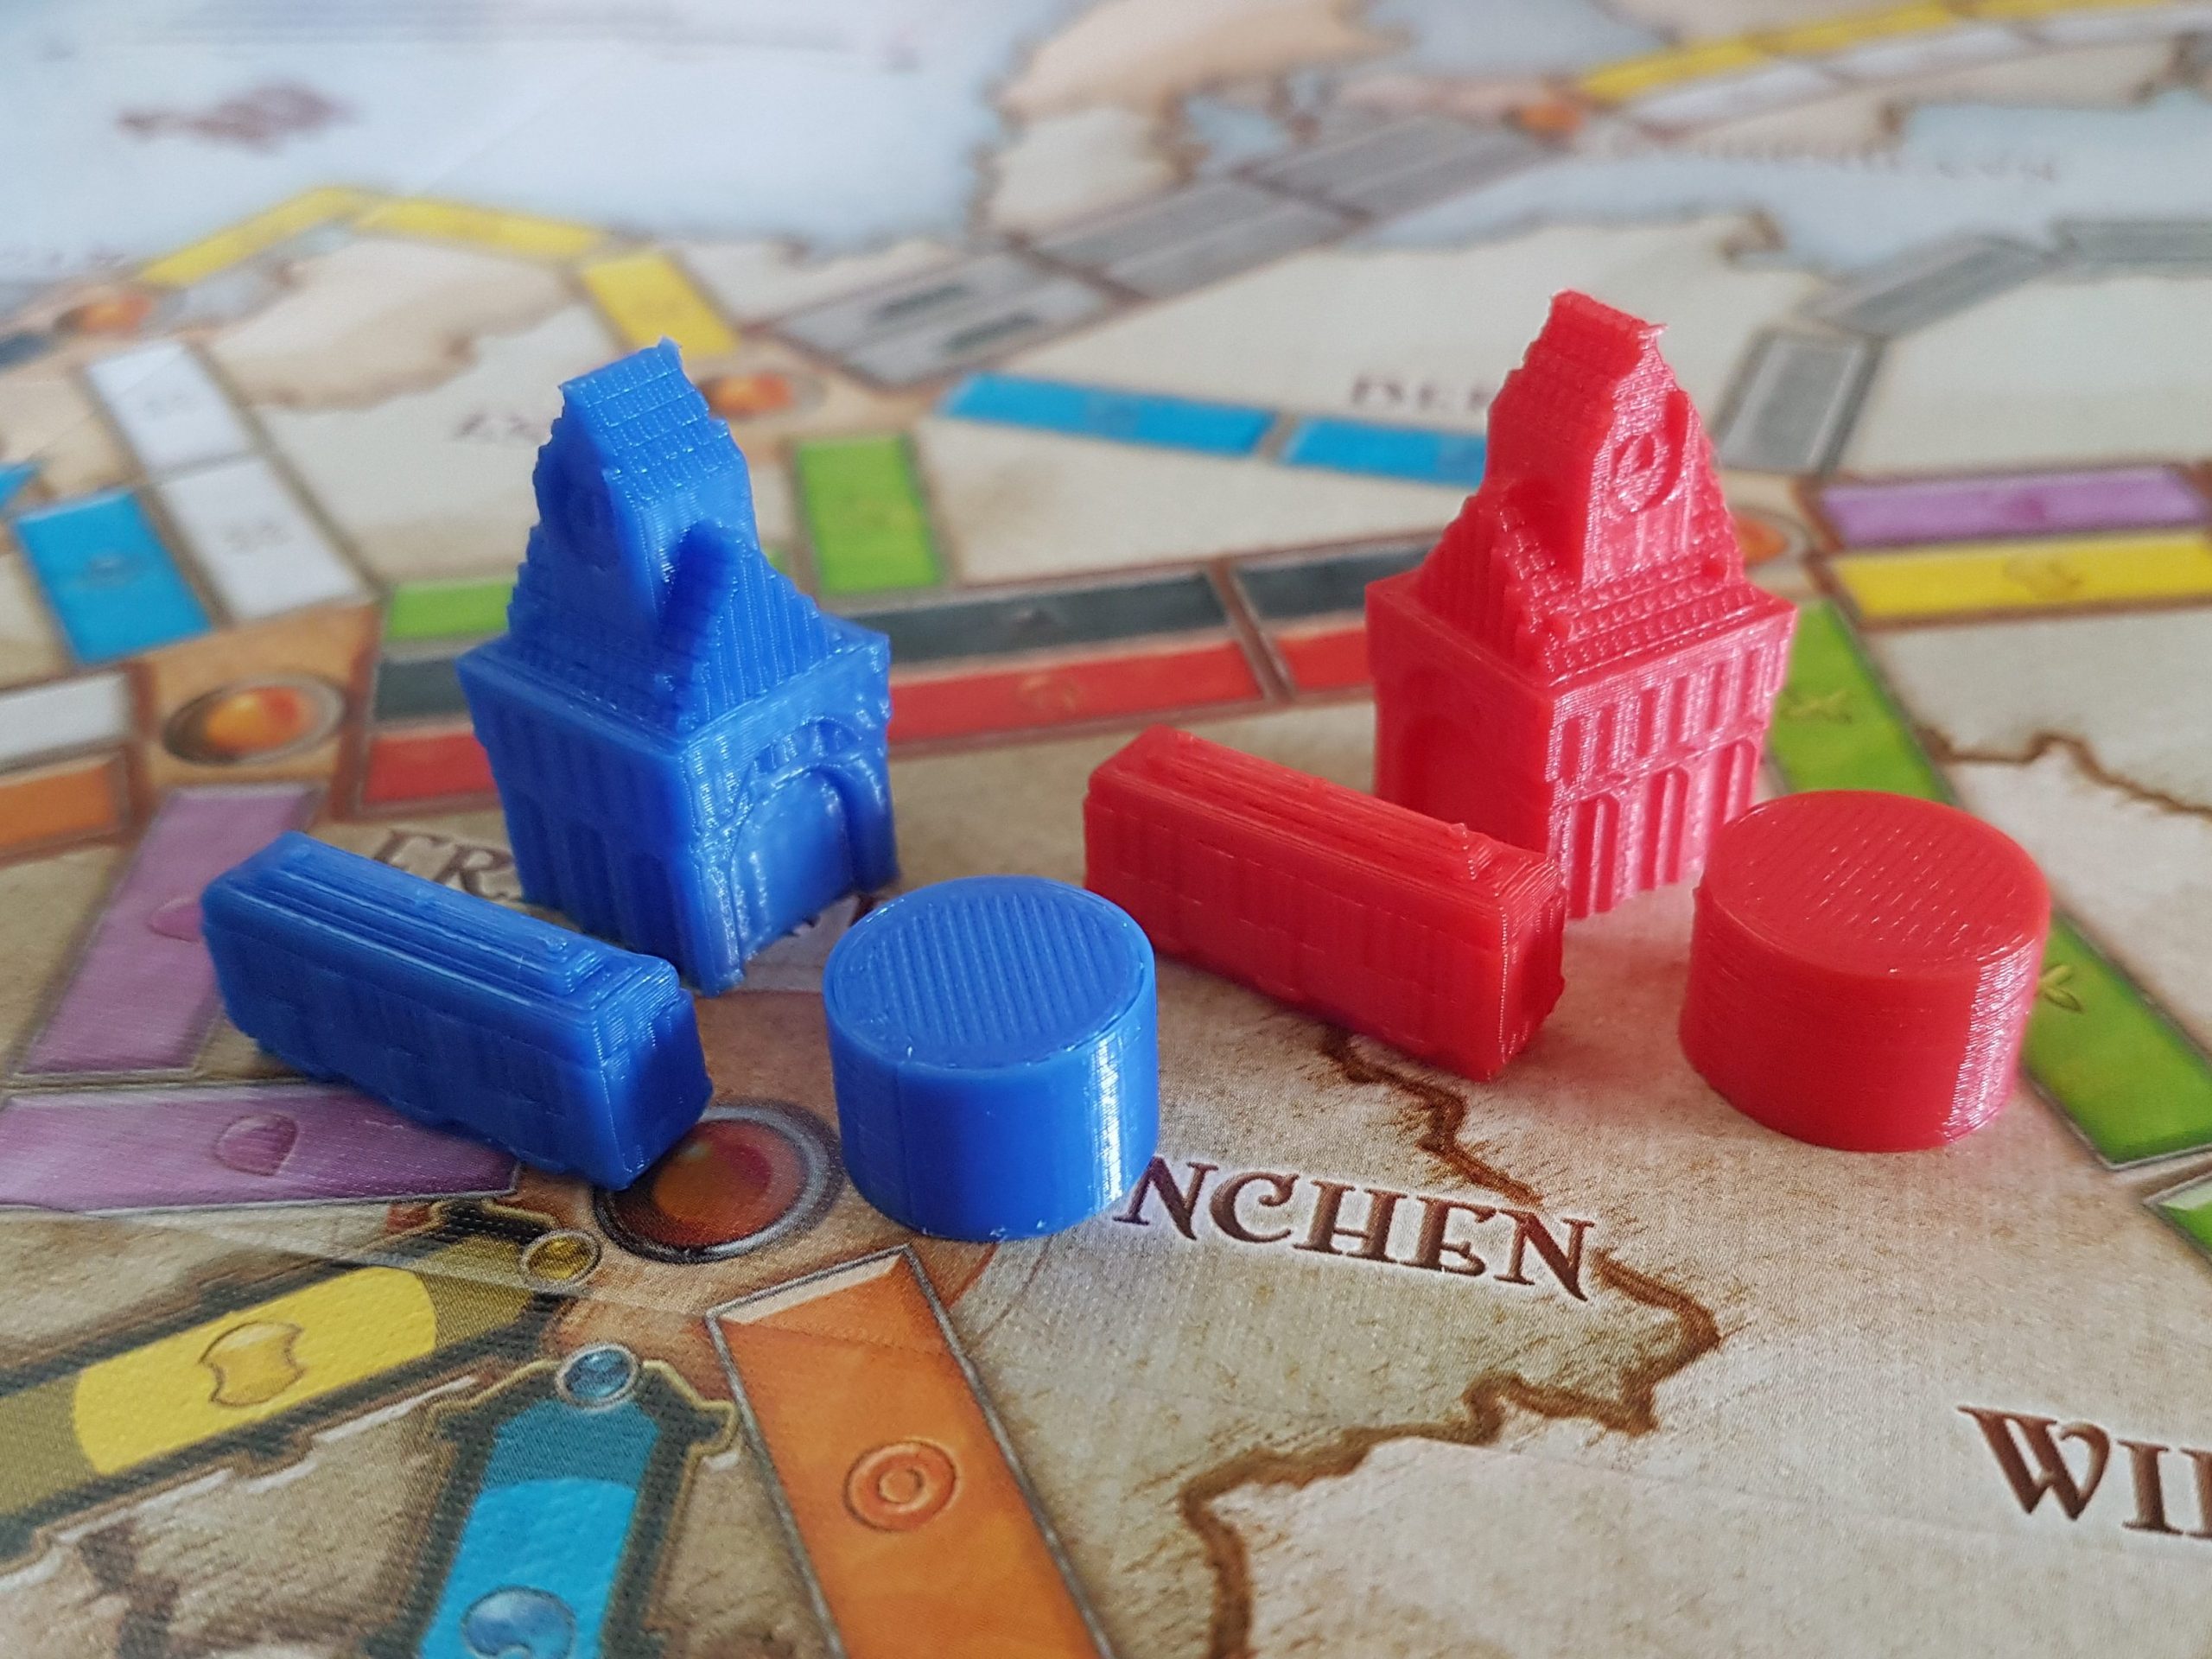
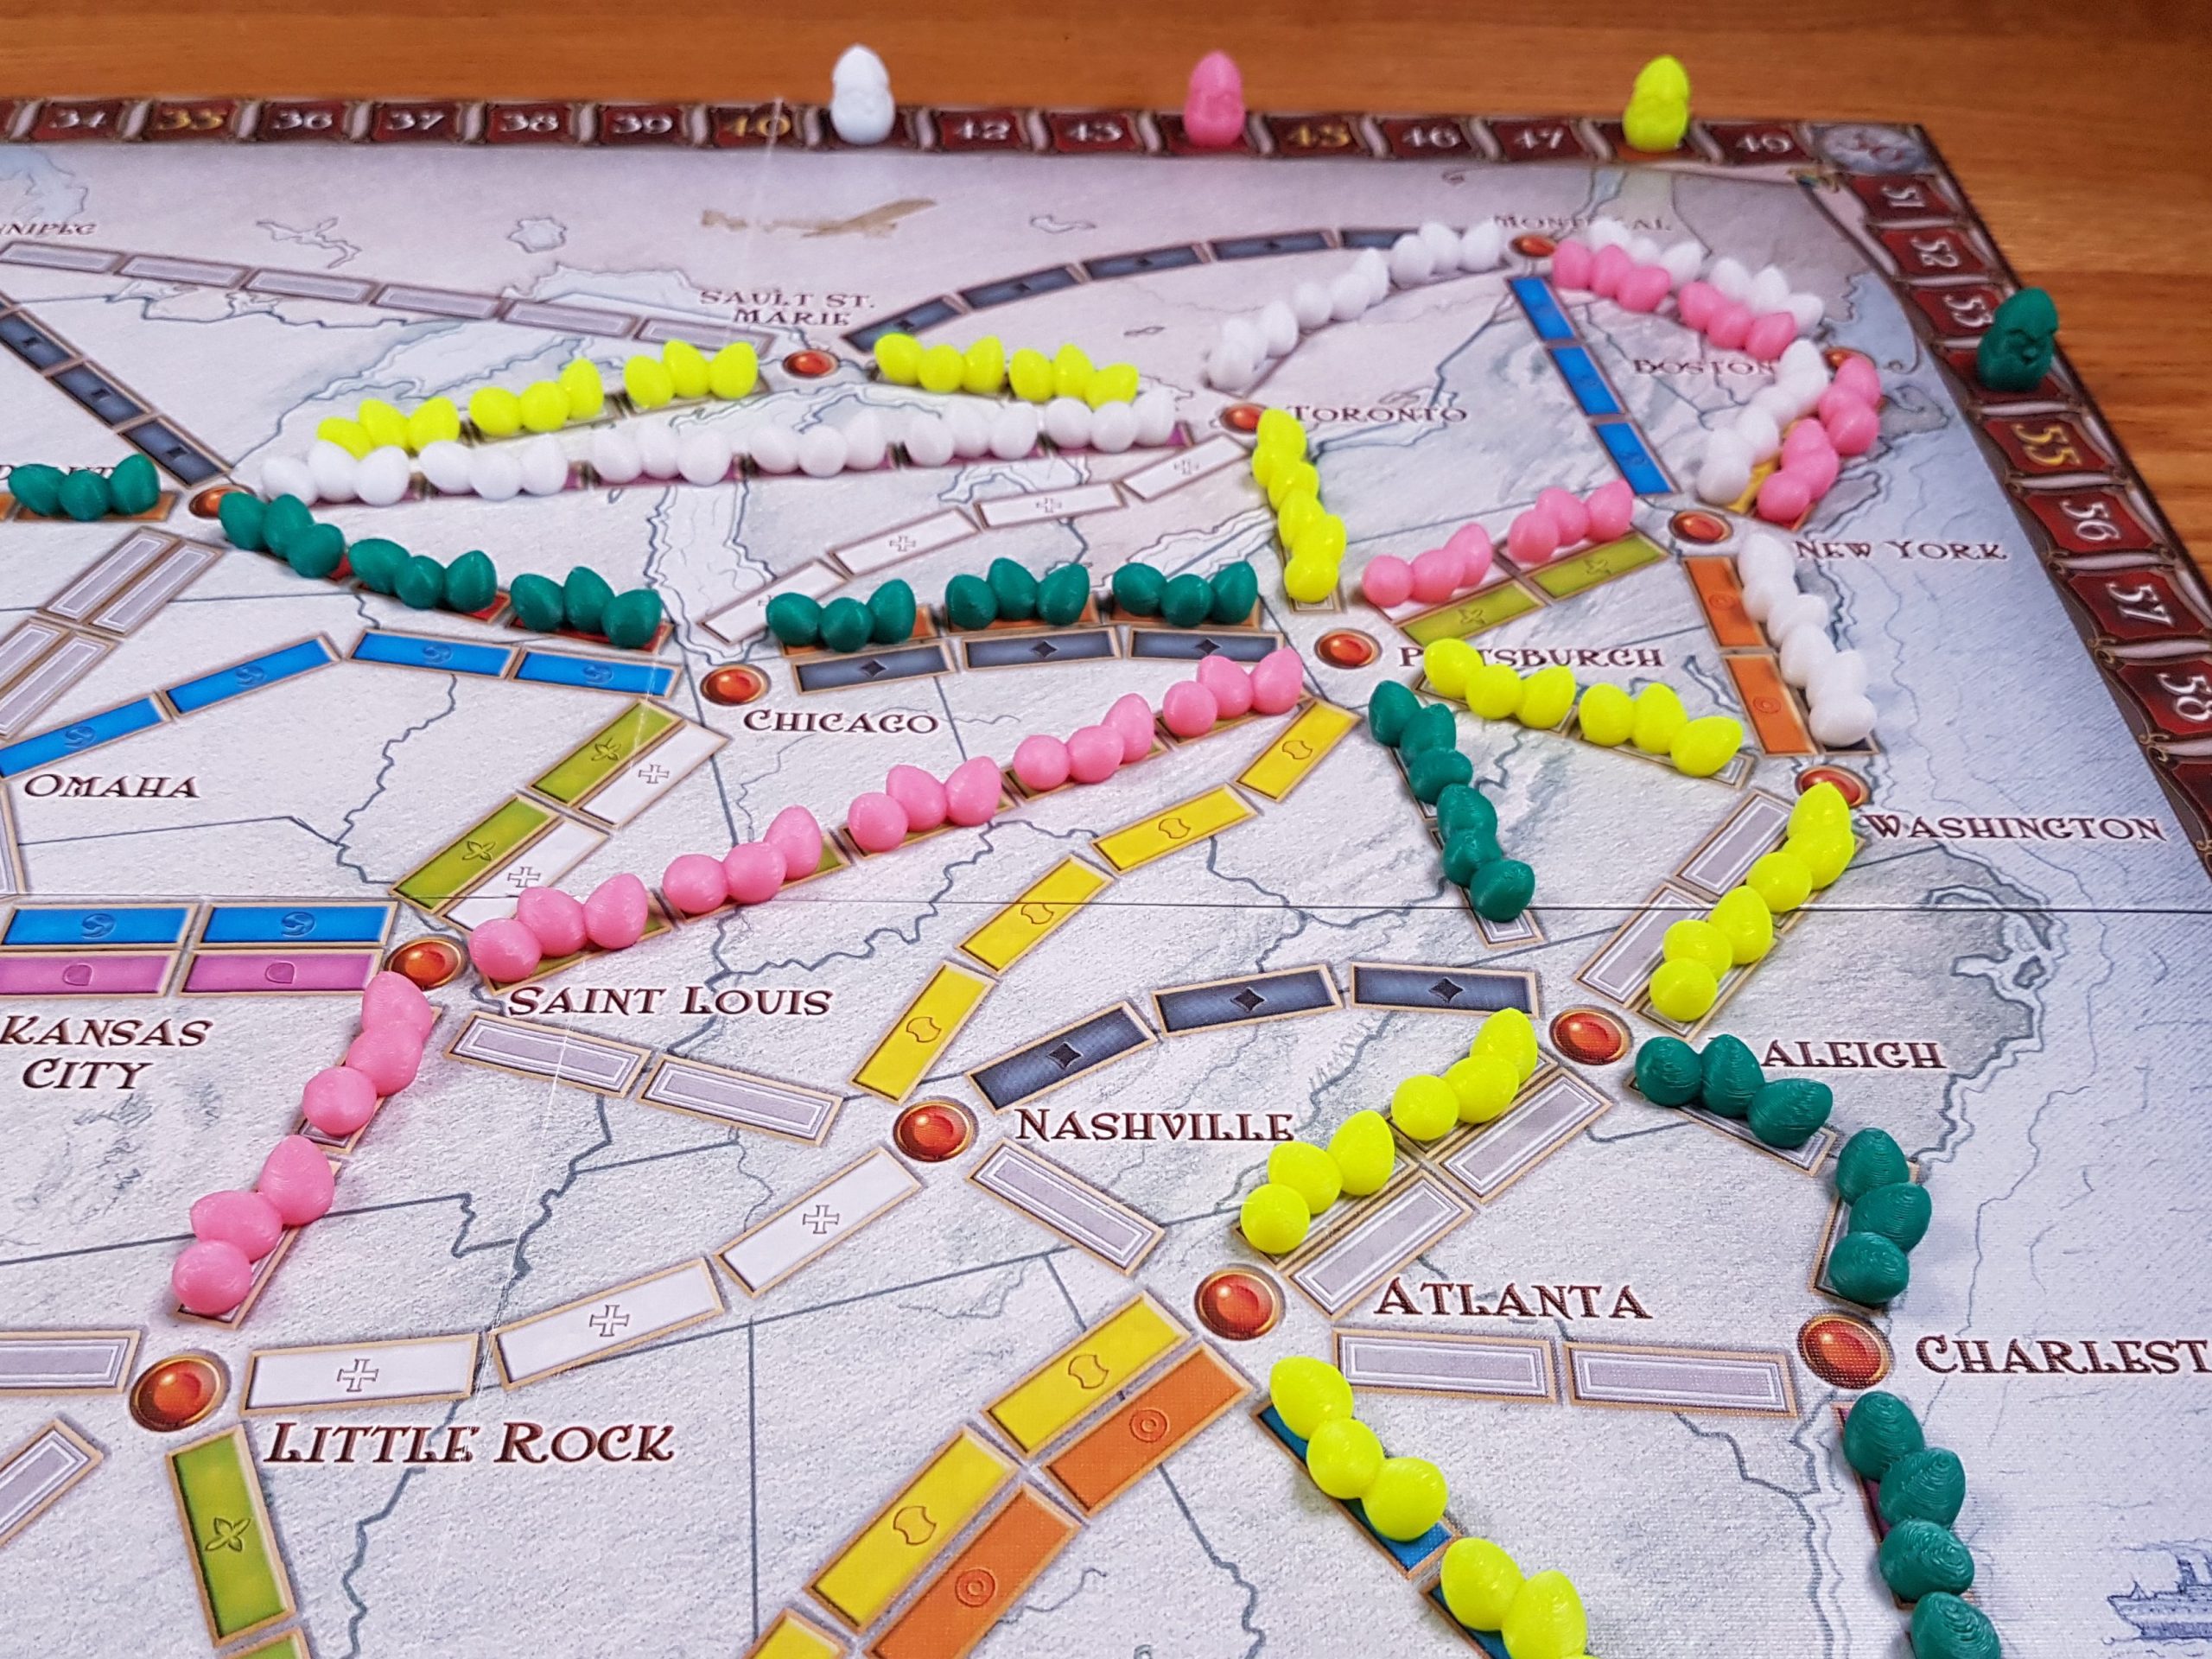
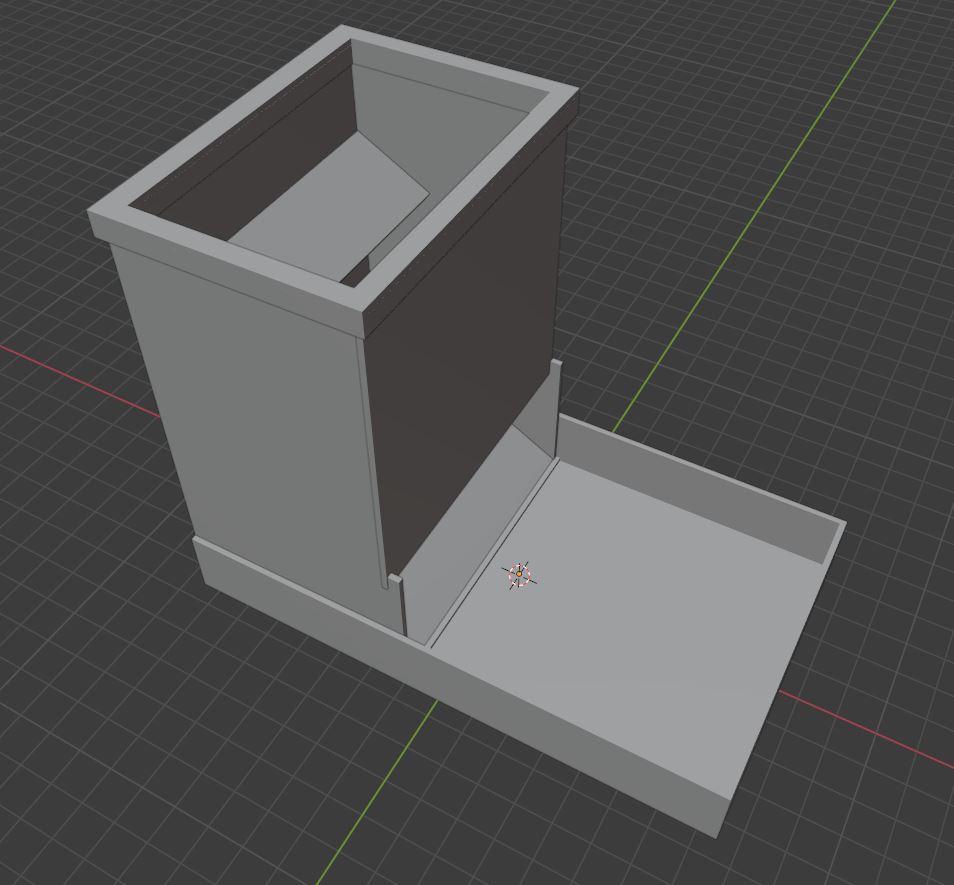
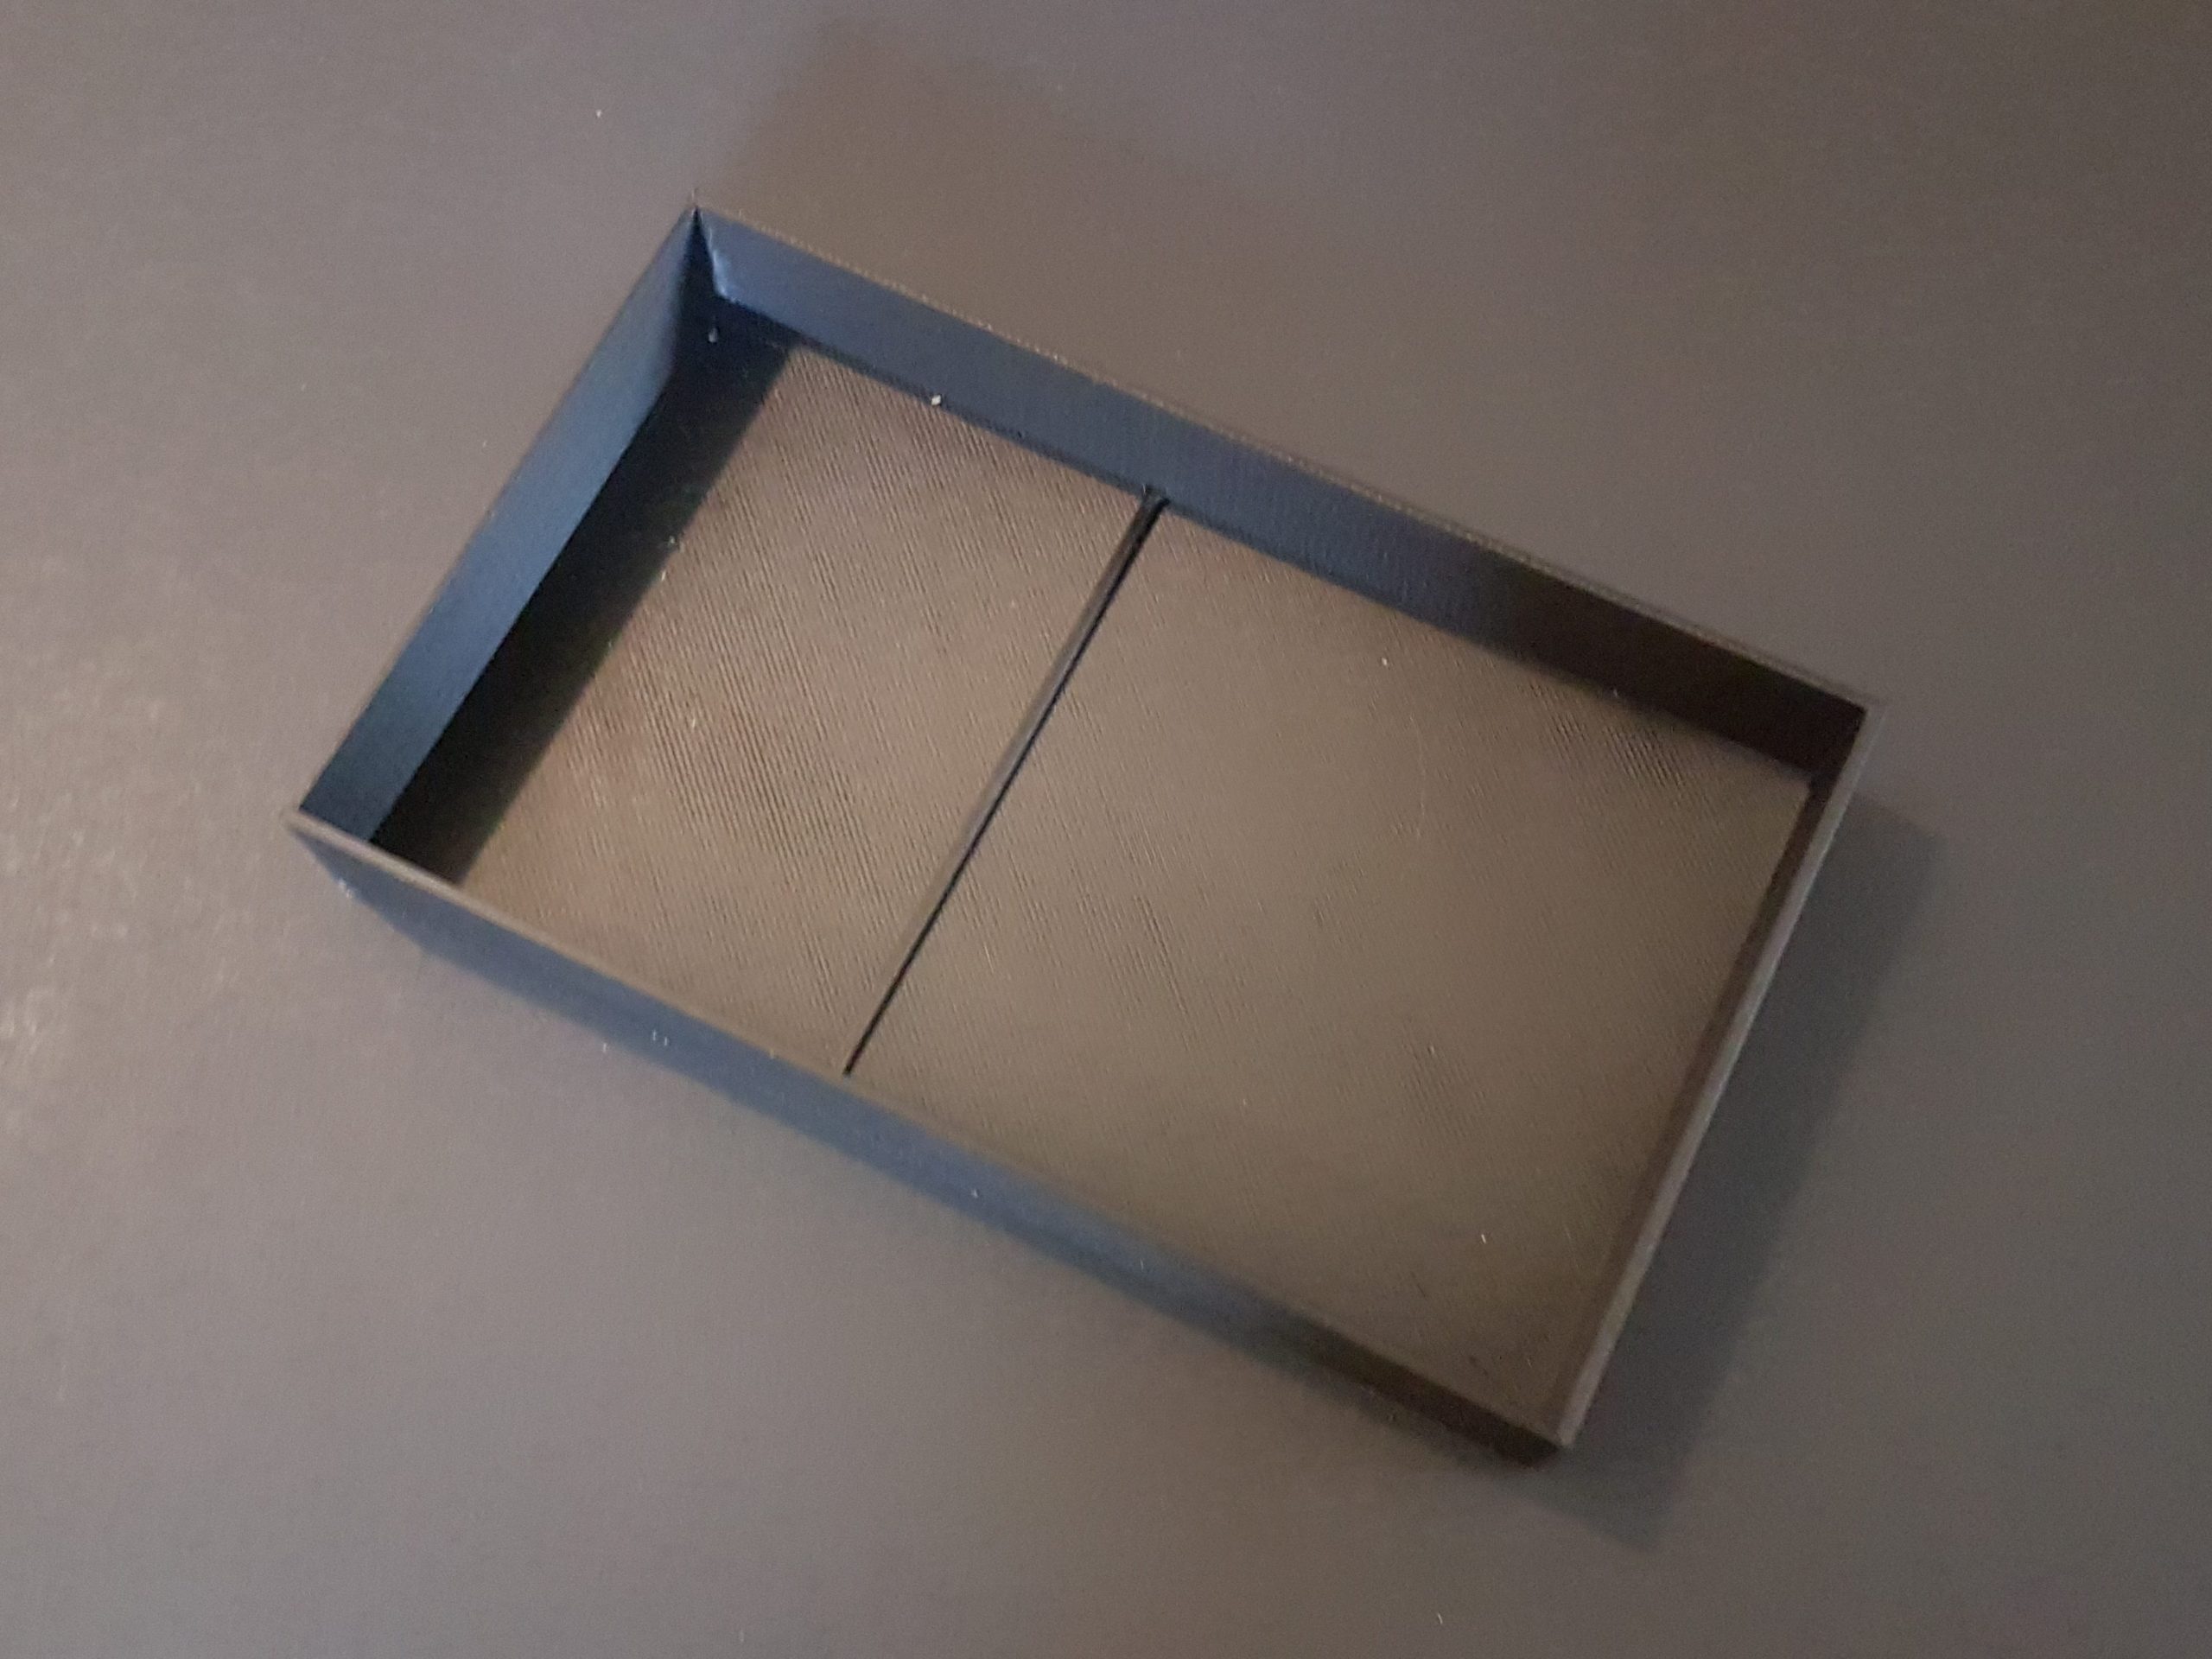
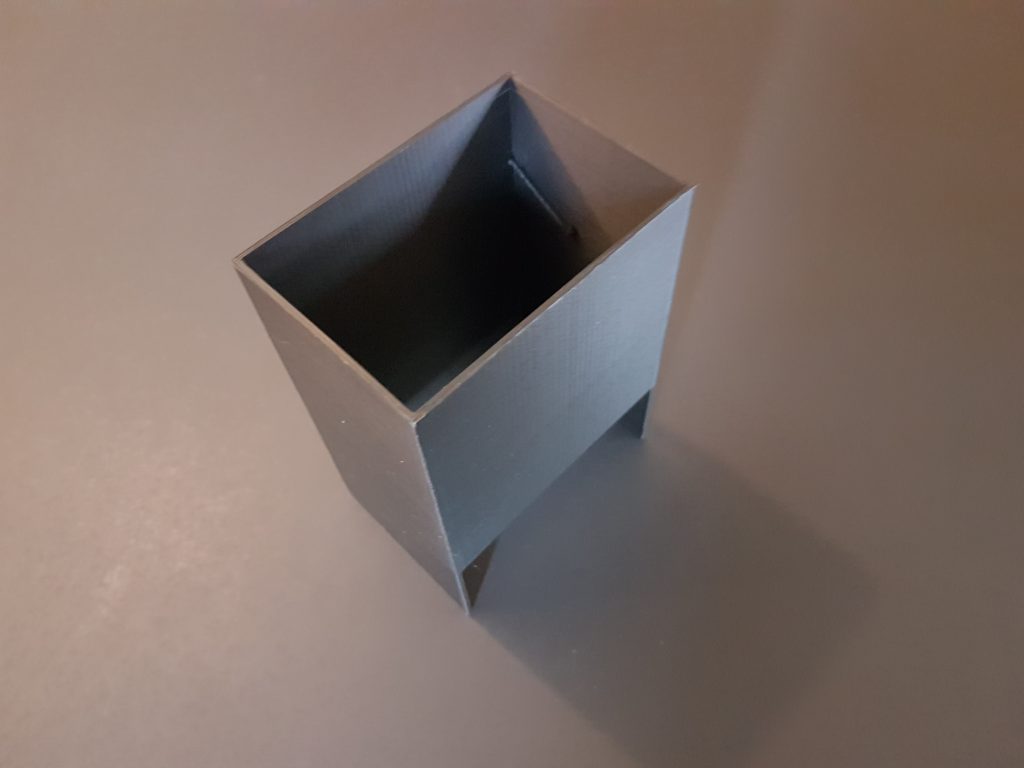
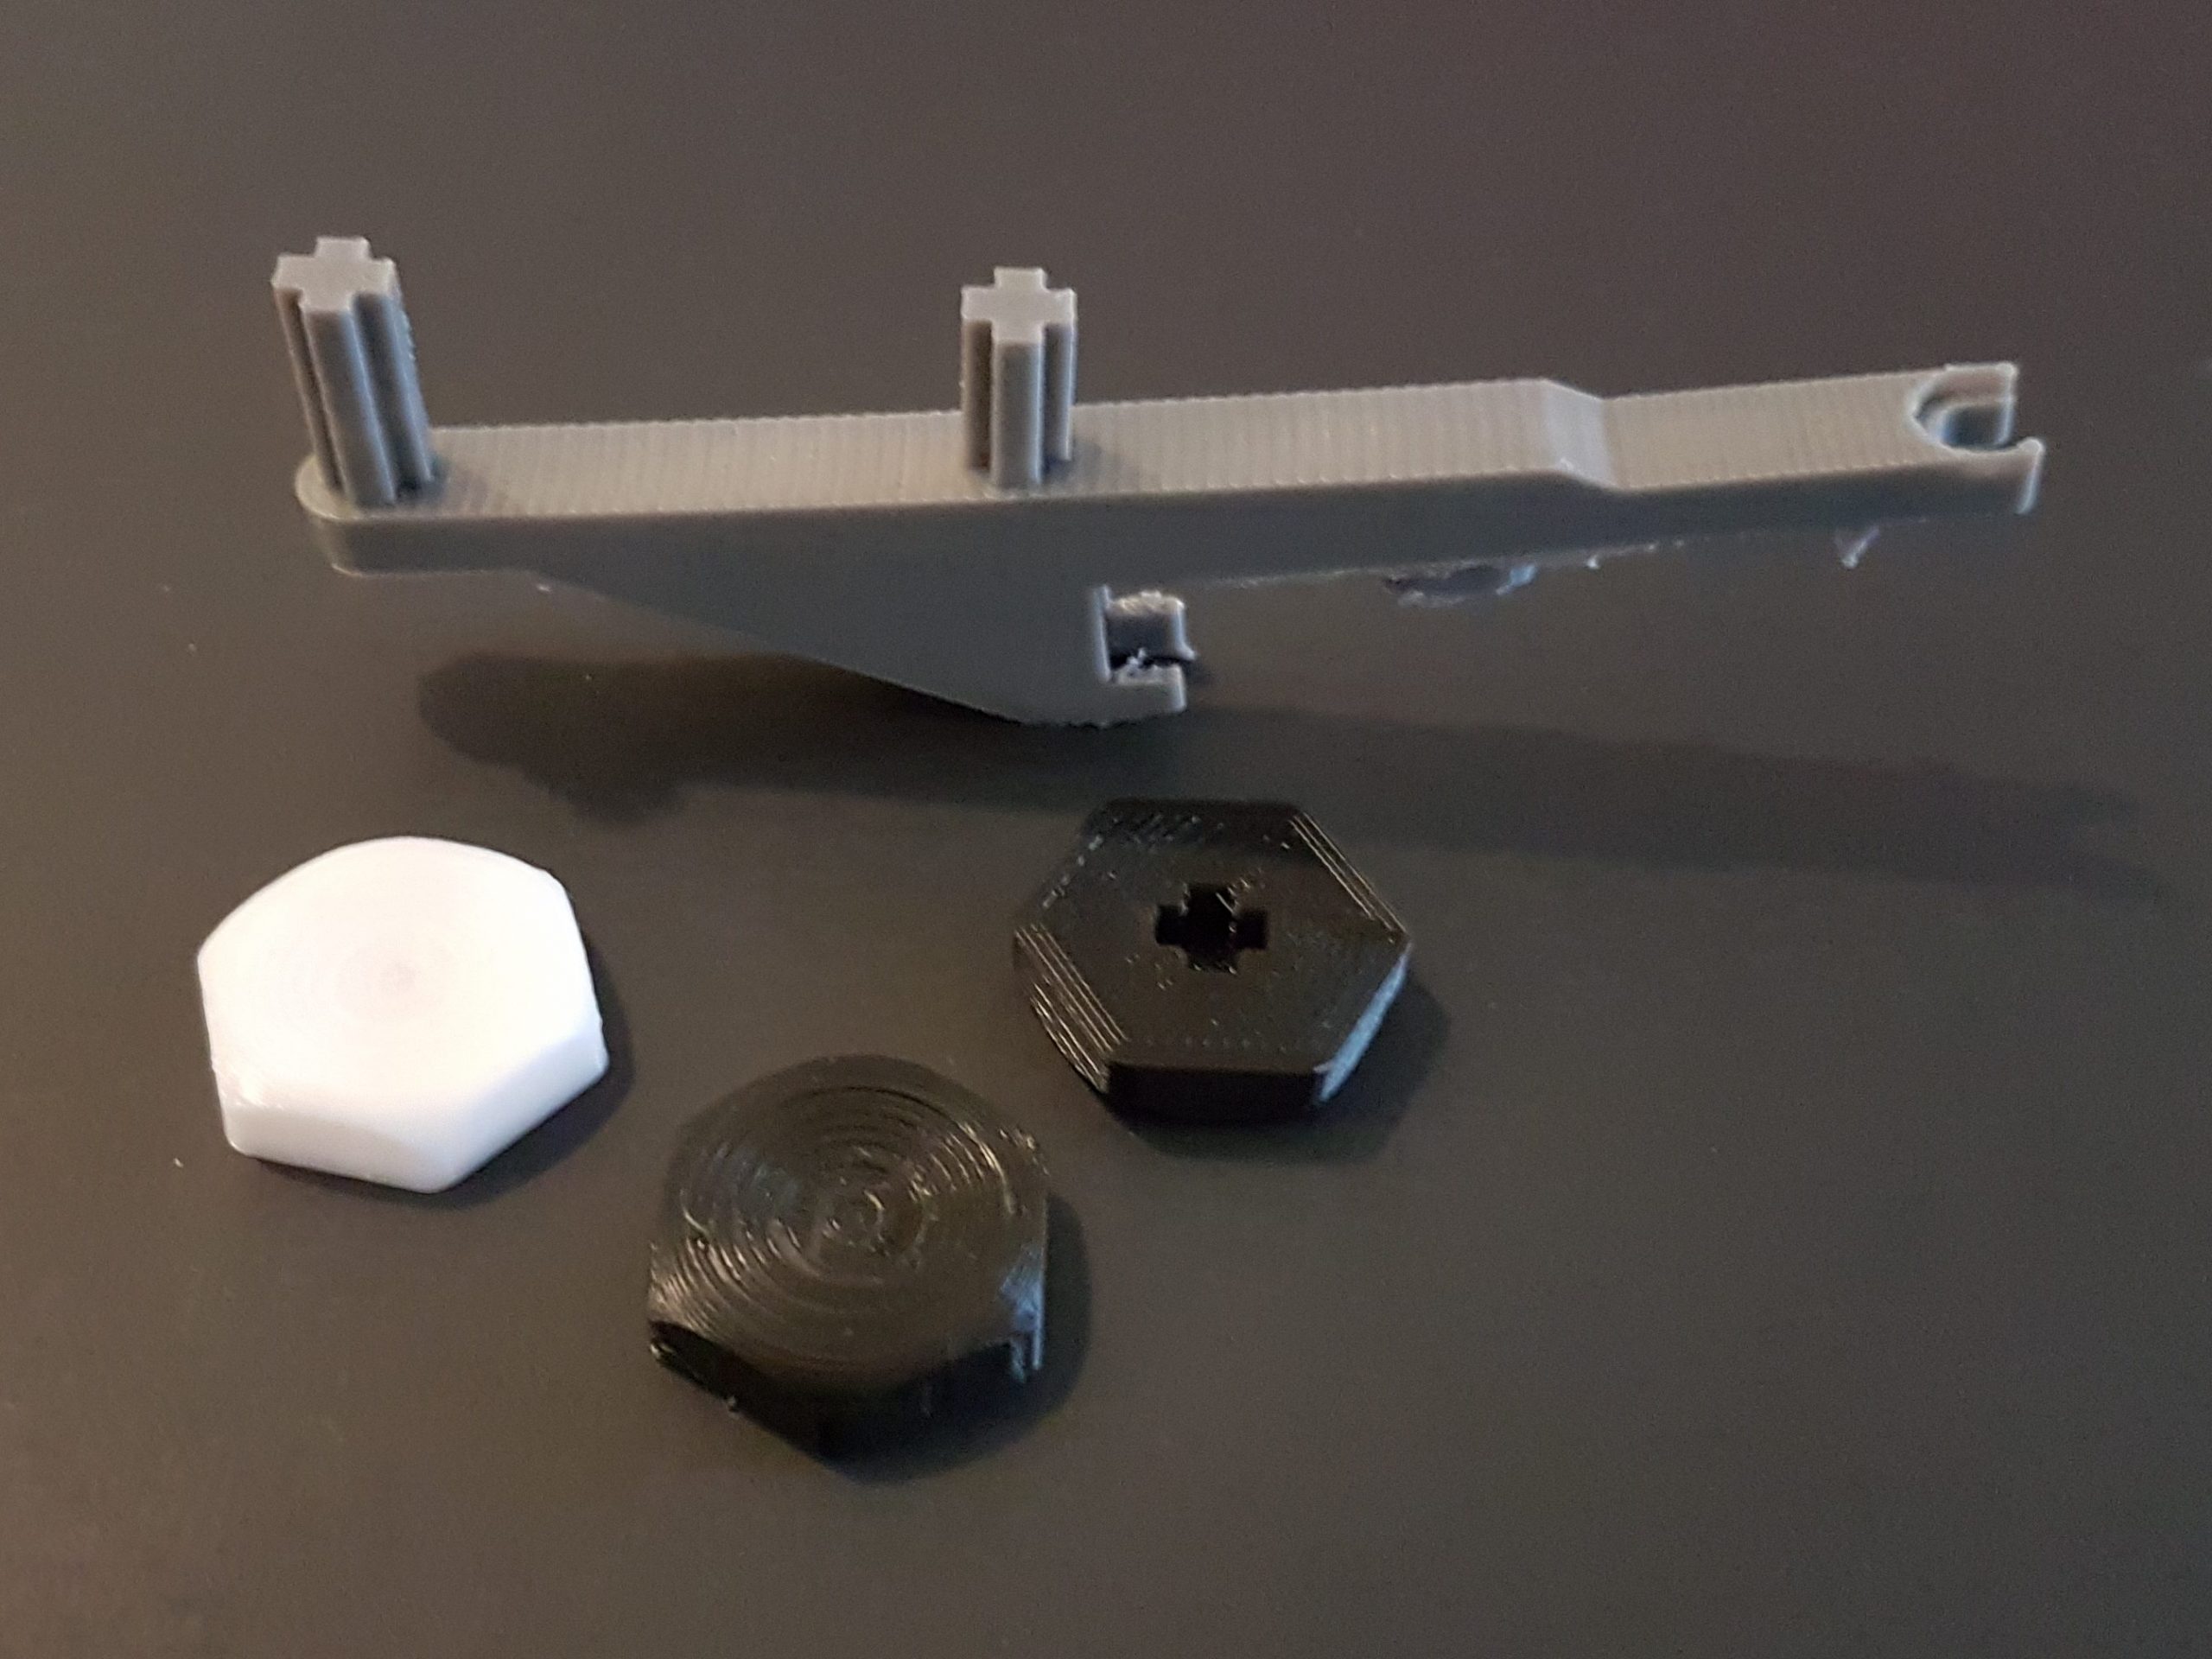
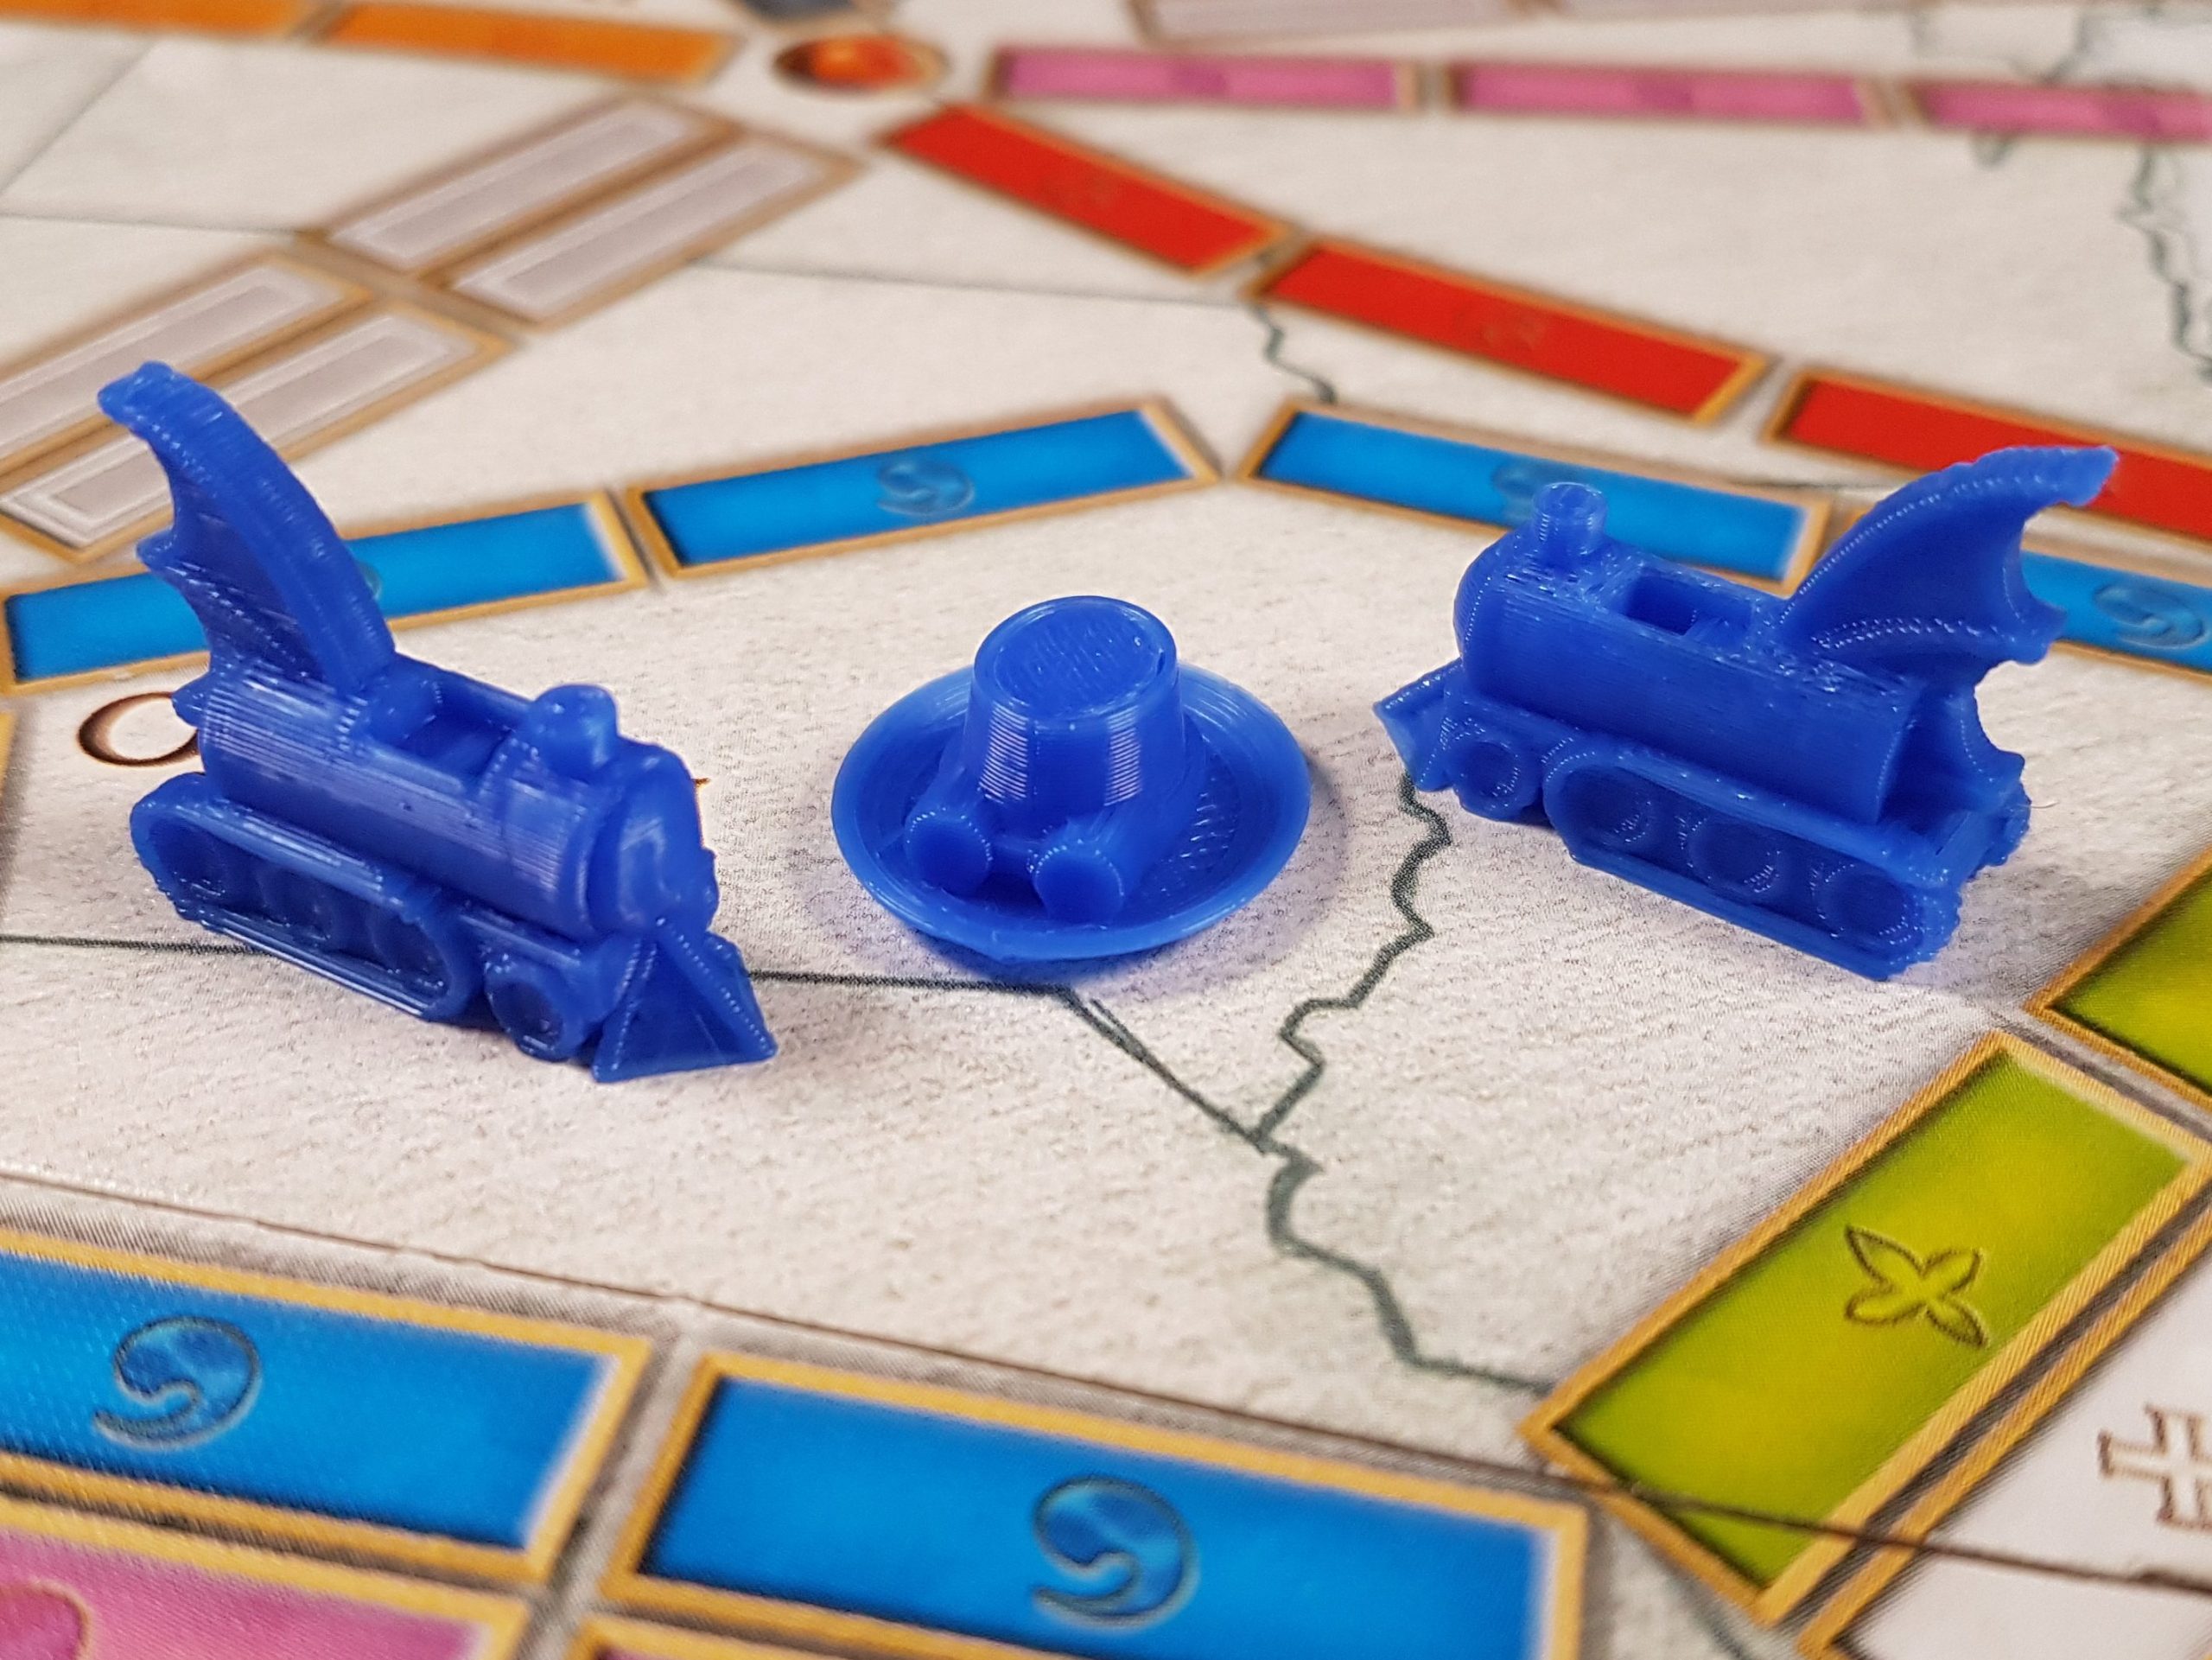
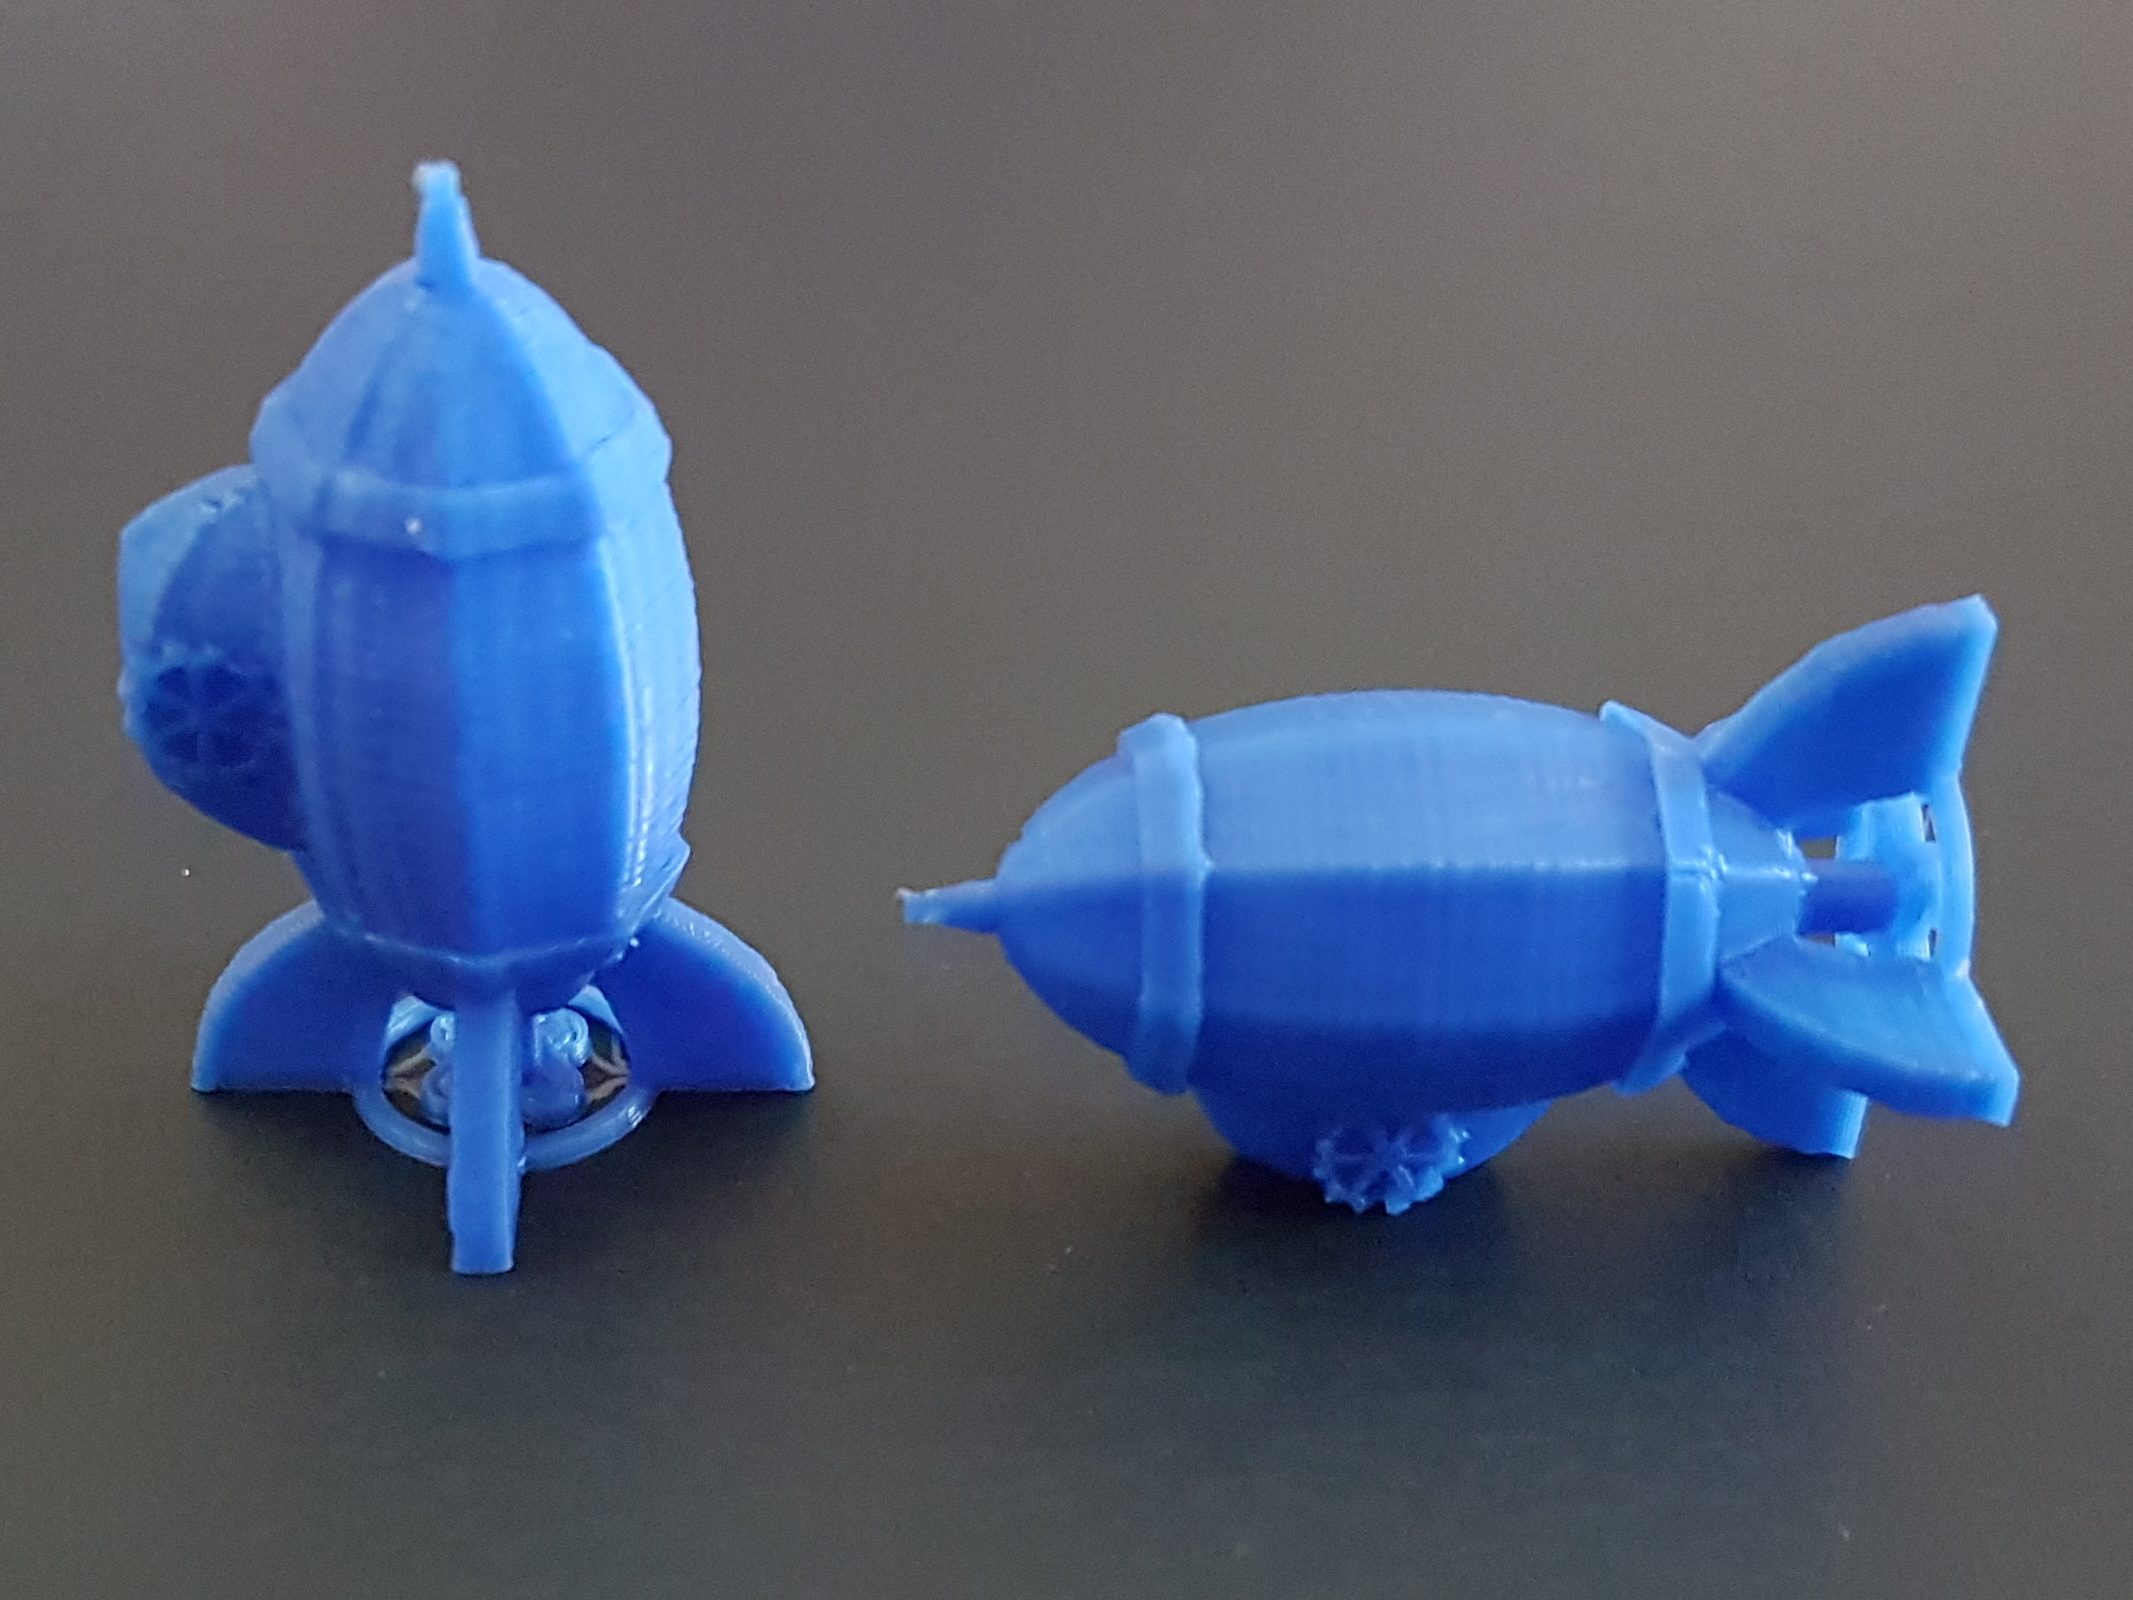
Ticket to Ride Europe that is. We now offer train stations as an optional add-on to our Standard Ticket to Ride set.

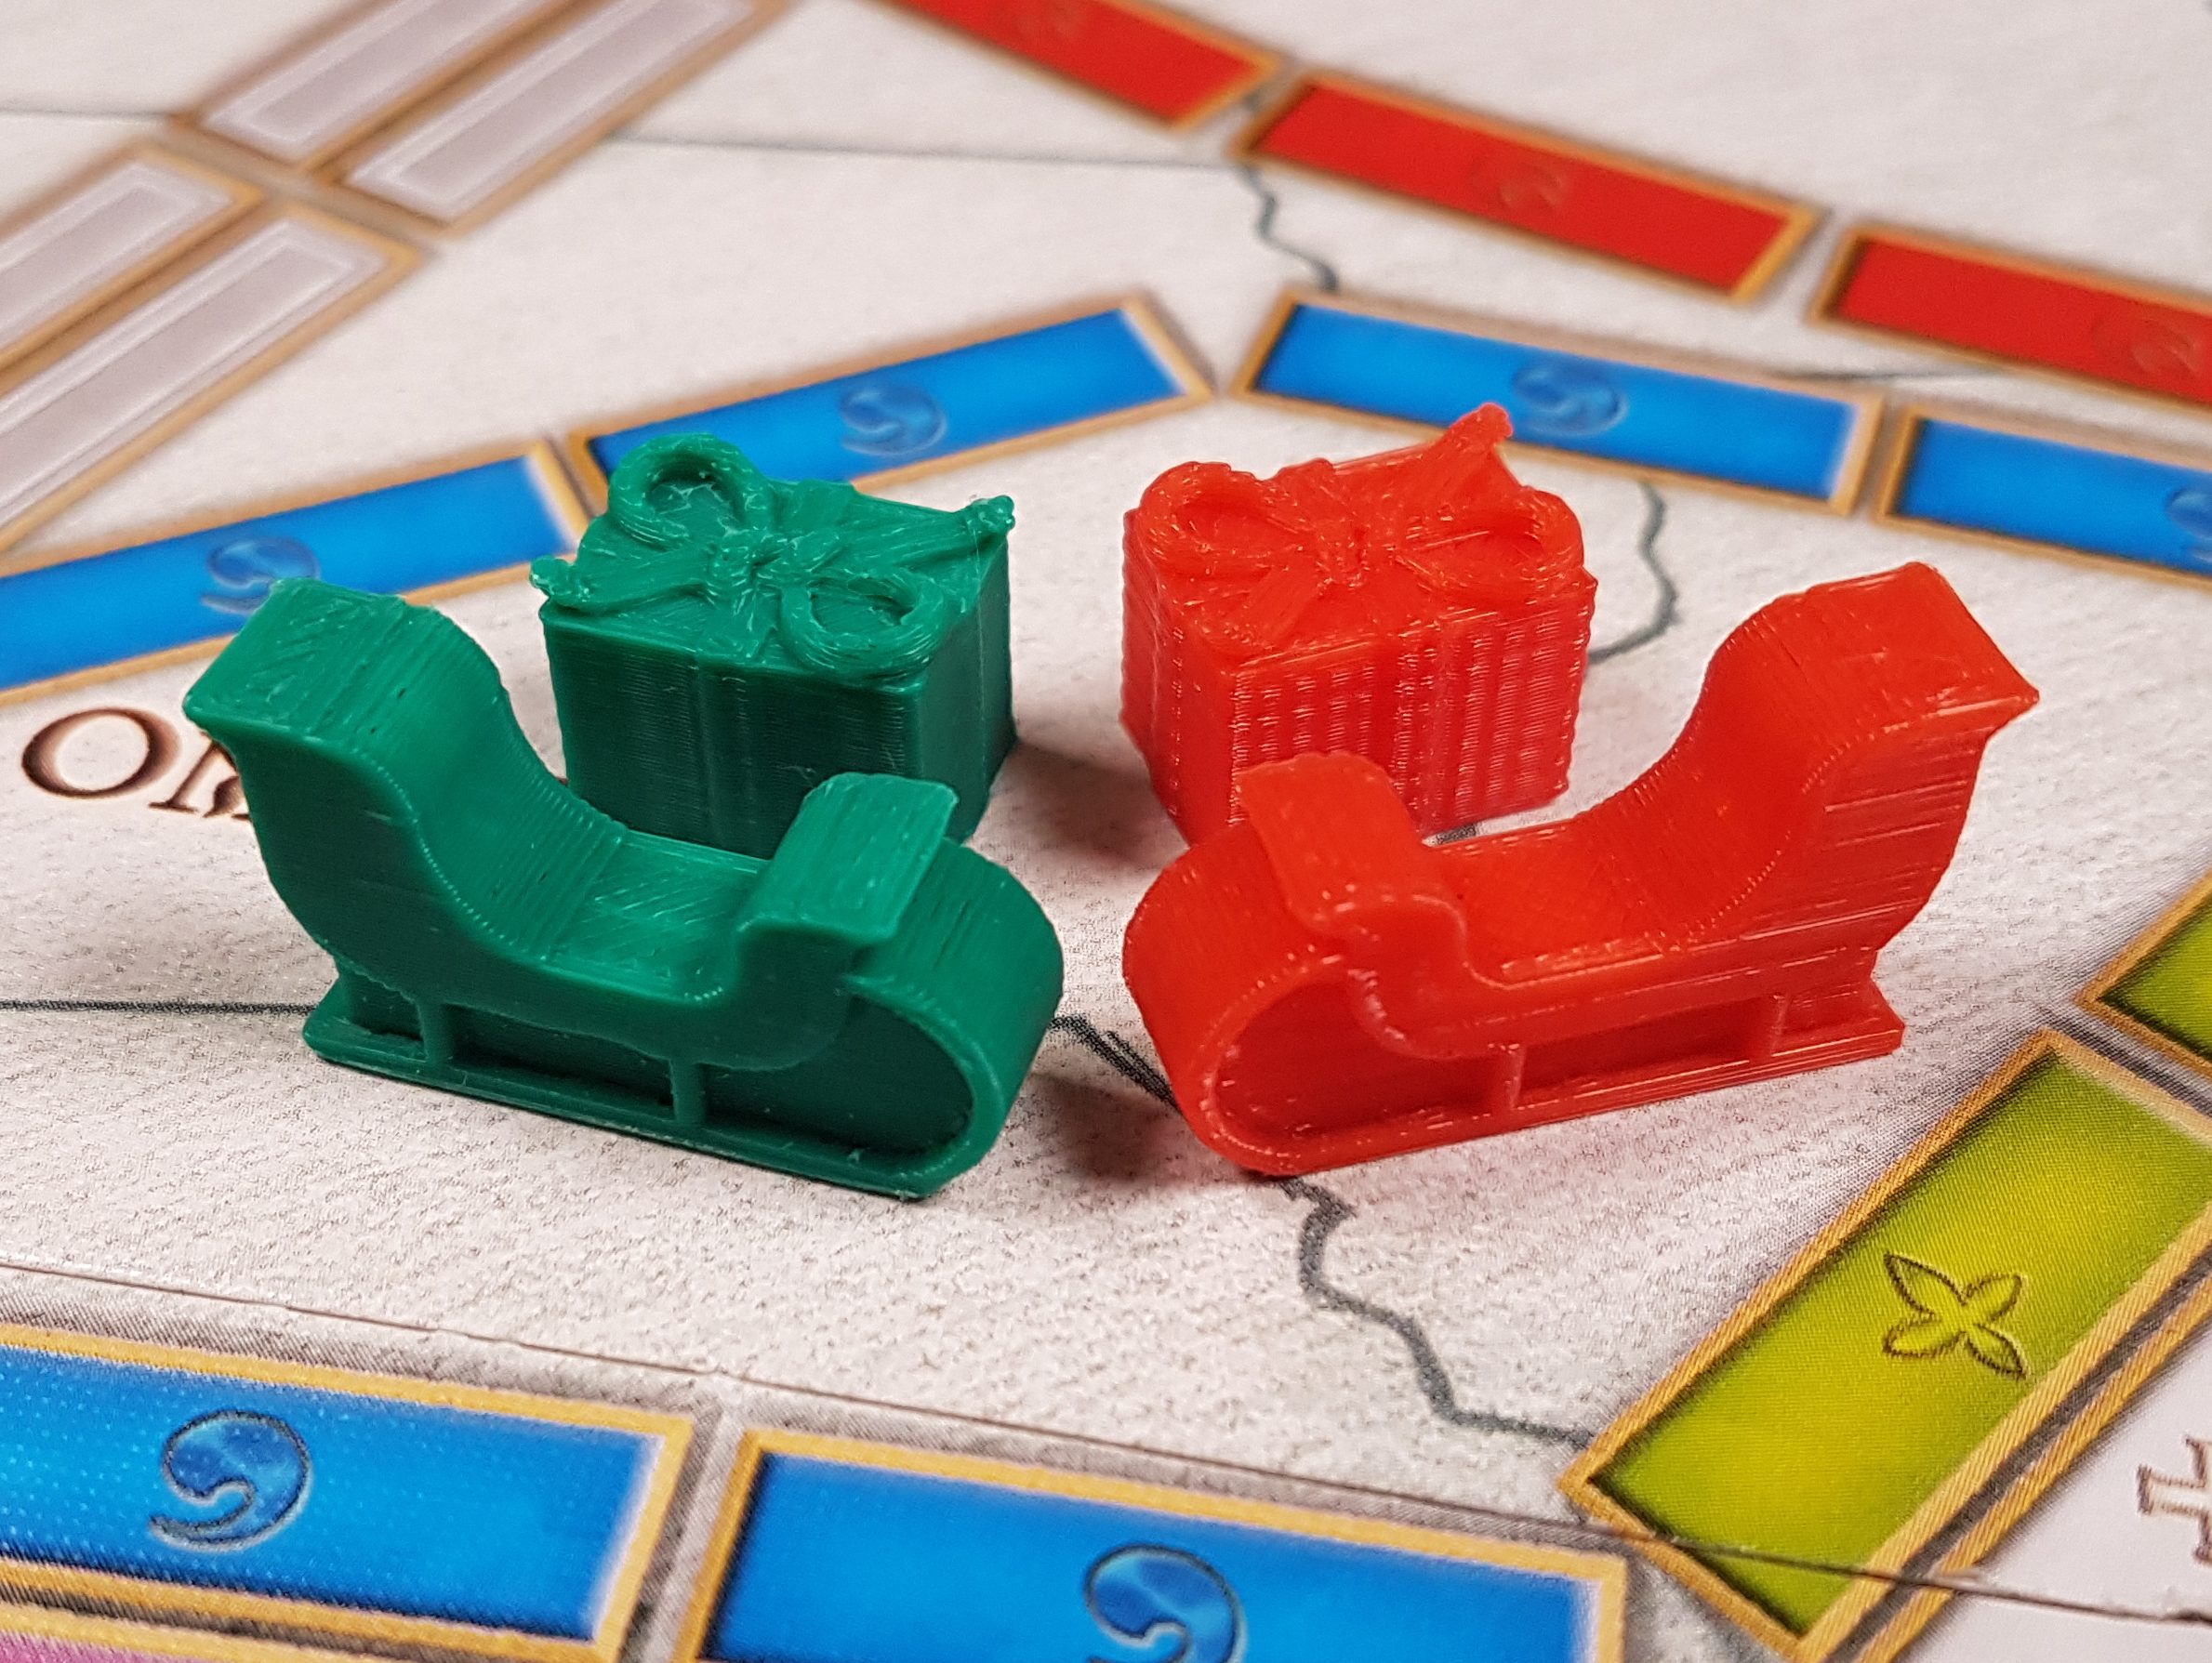
We’ll also be gradually adding them to our themed sets. An important prioritizing factor is customer wish fulfillment. Since we’ve already been asked for stations for our Christmas set, we’ll do that first.

Speaking of Wish Fulfillment

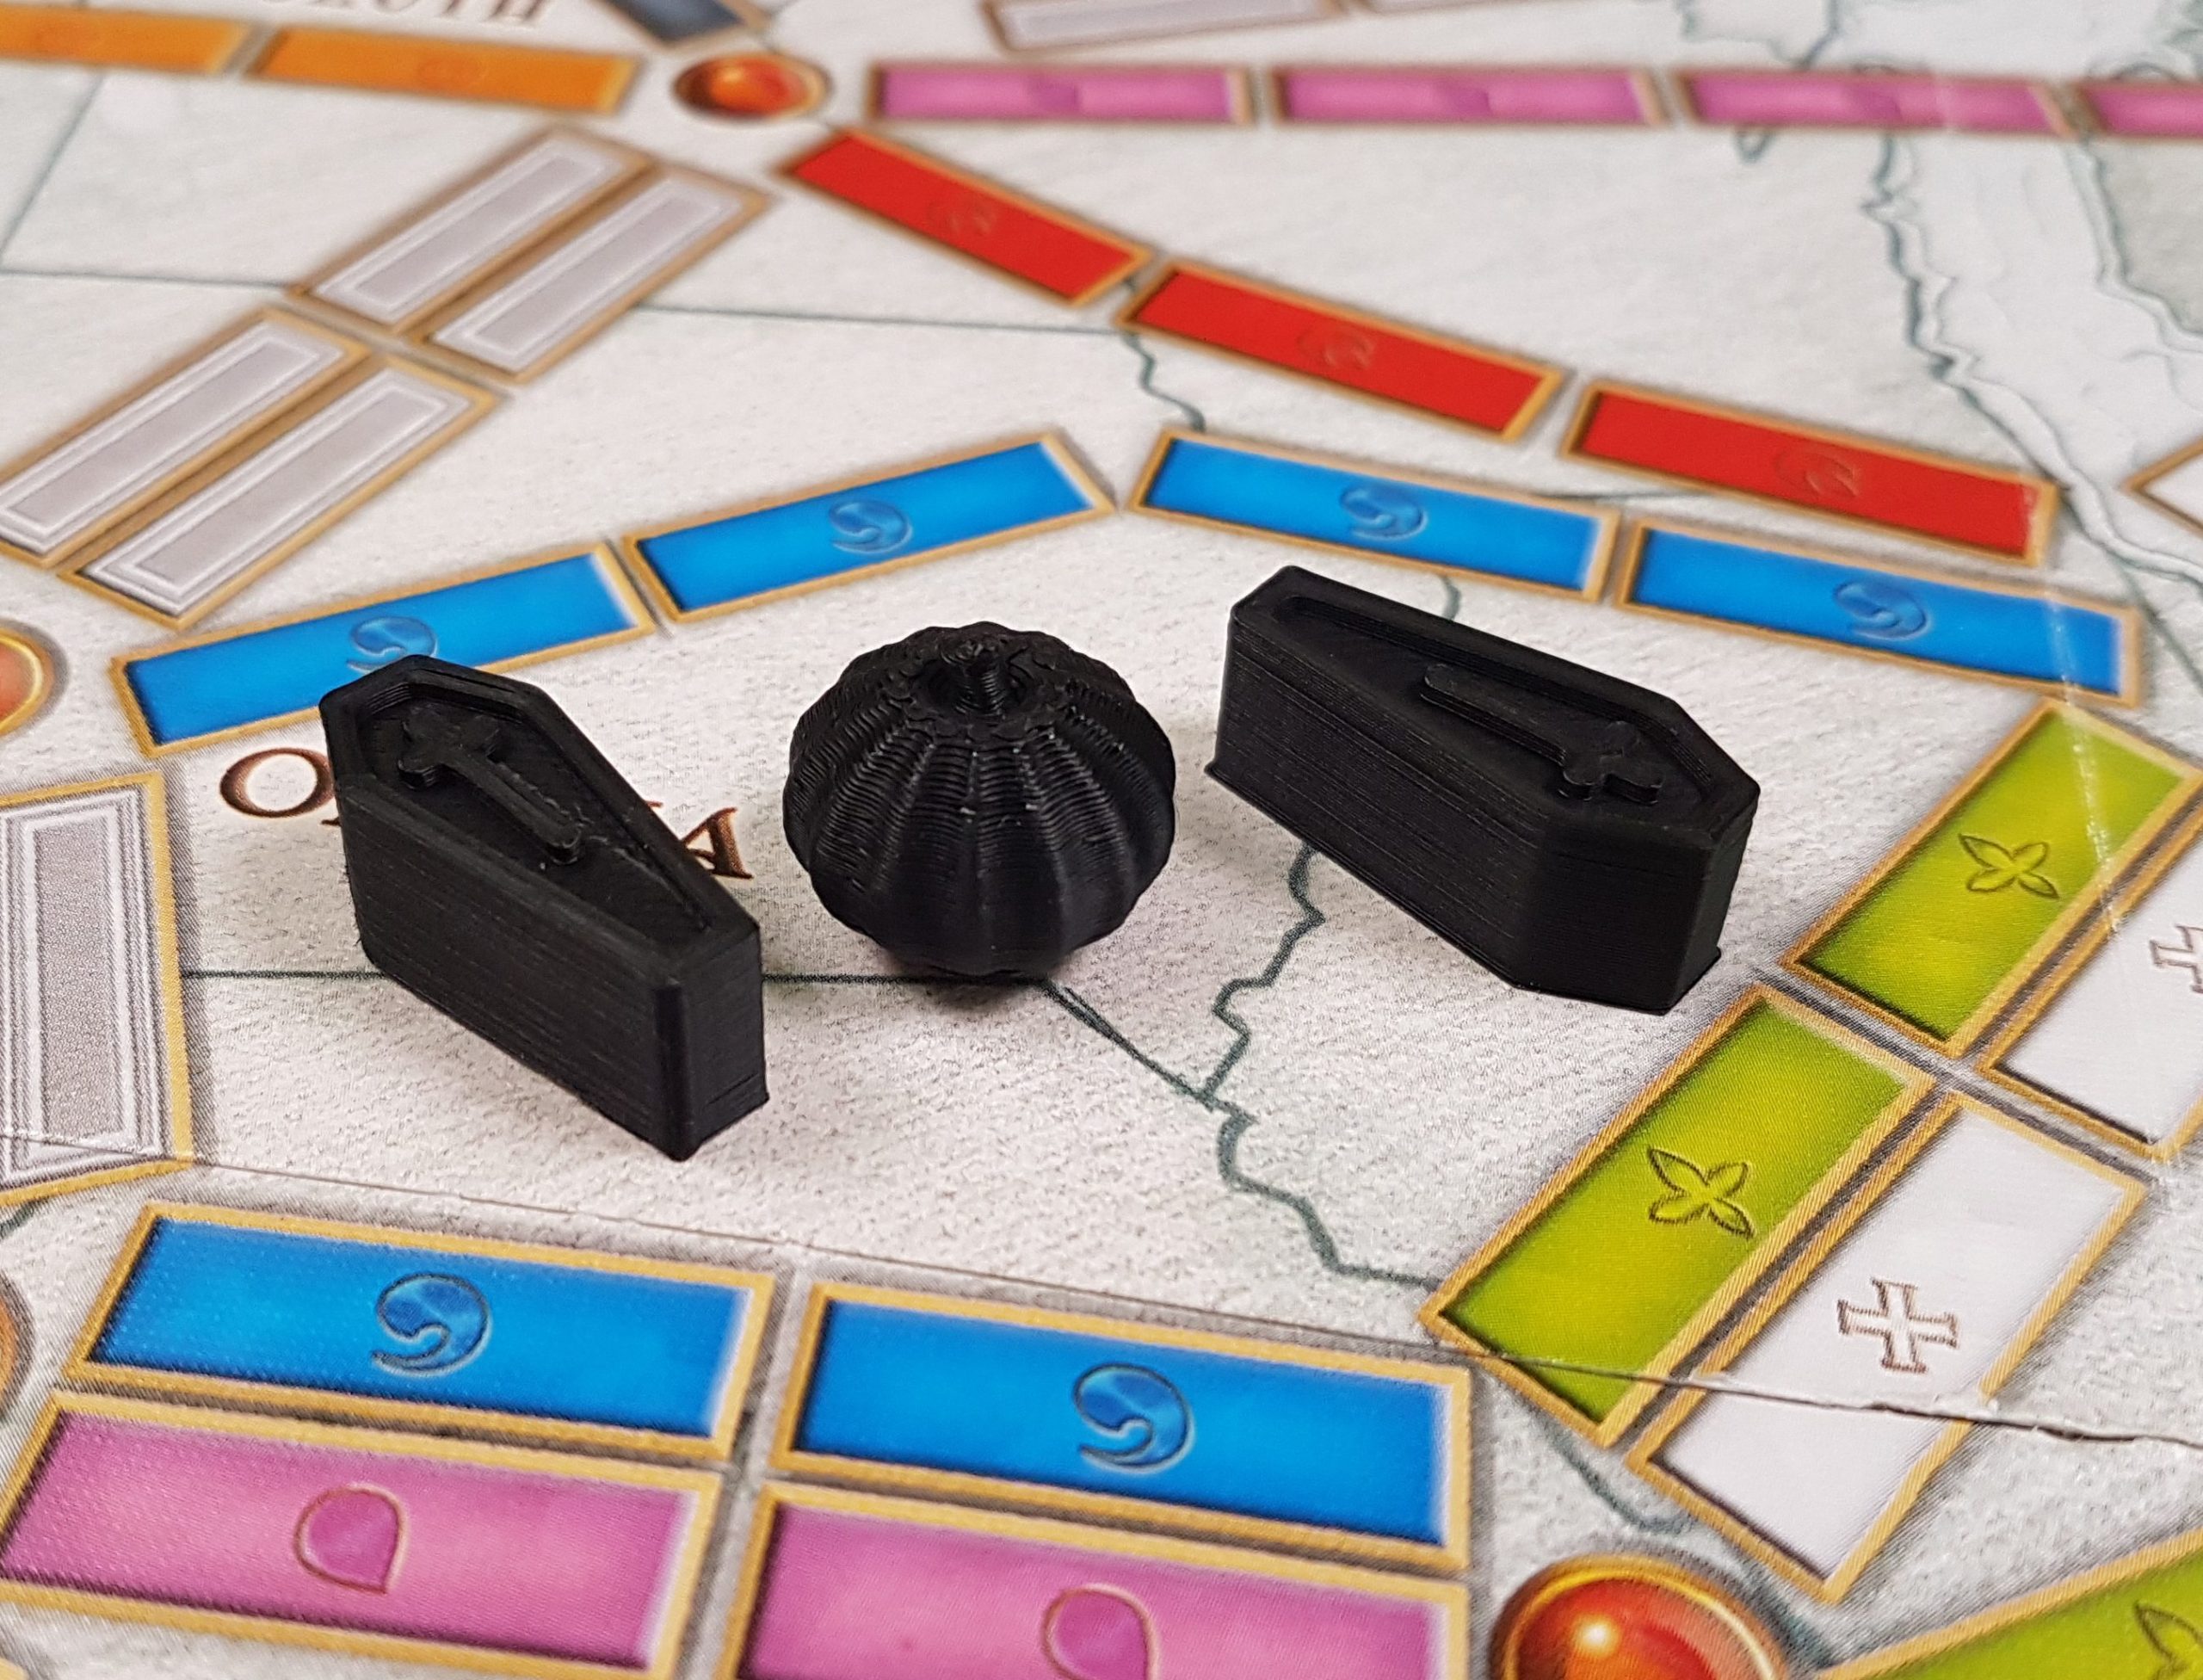
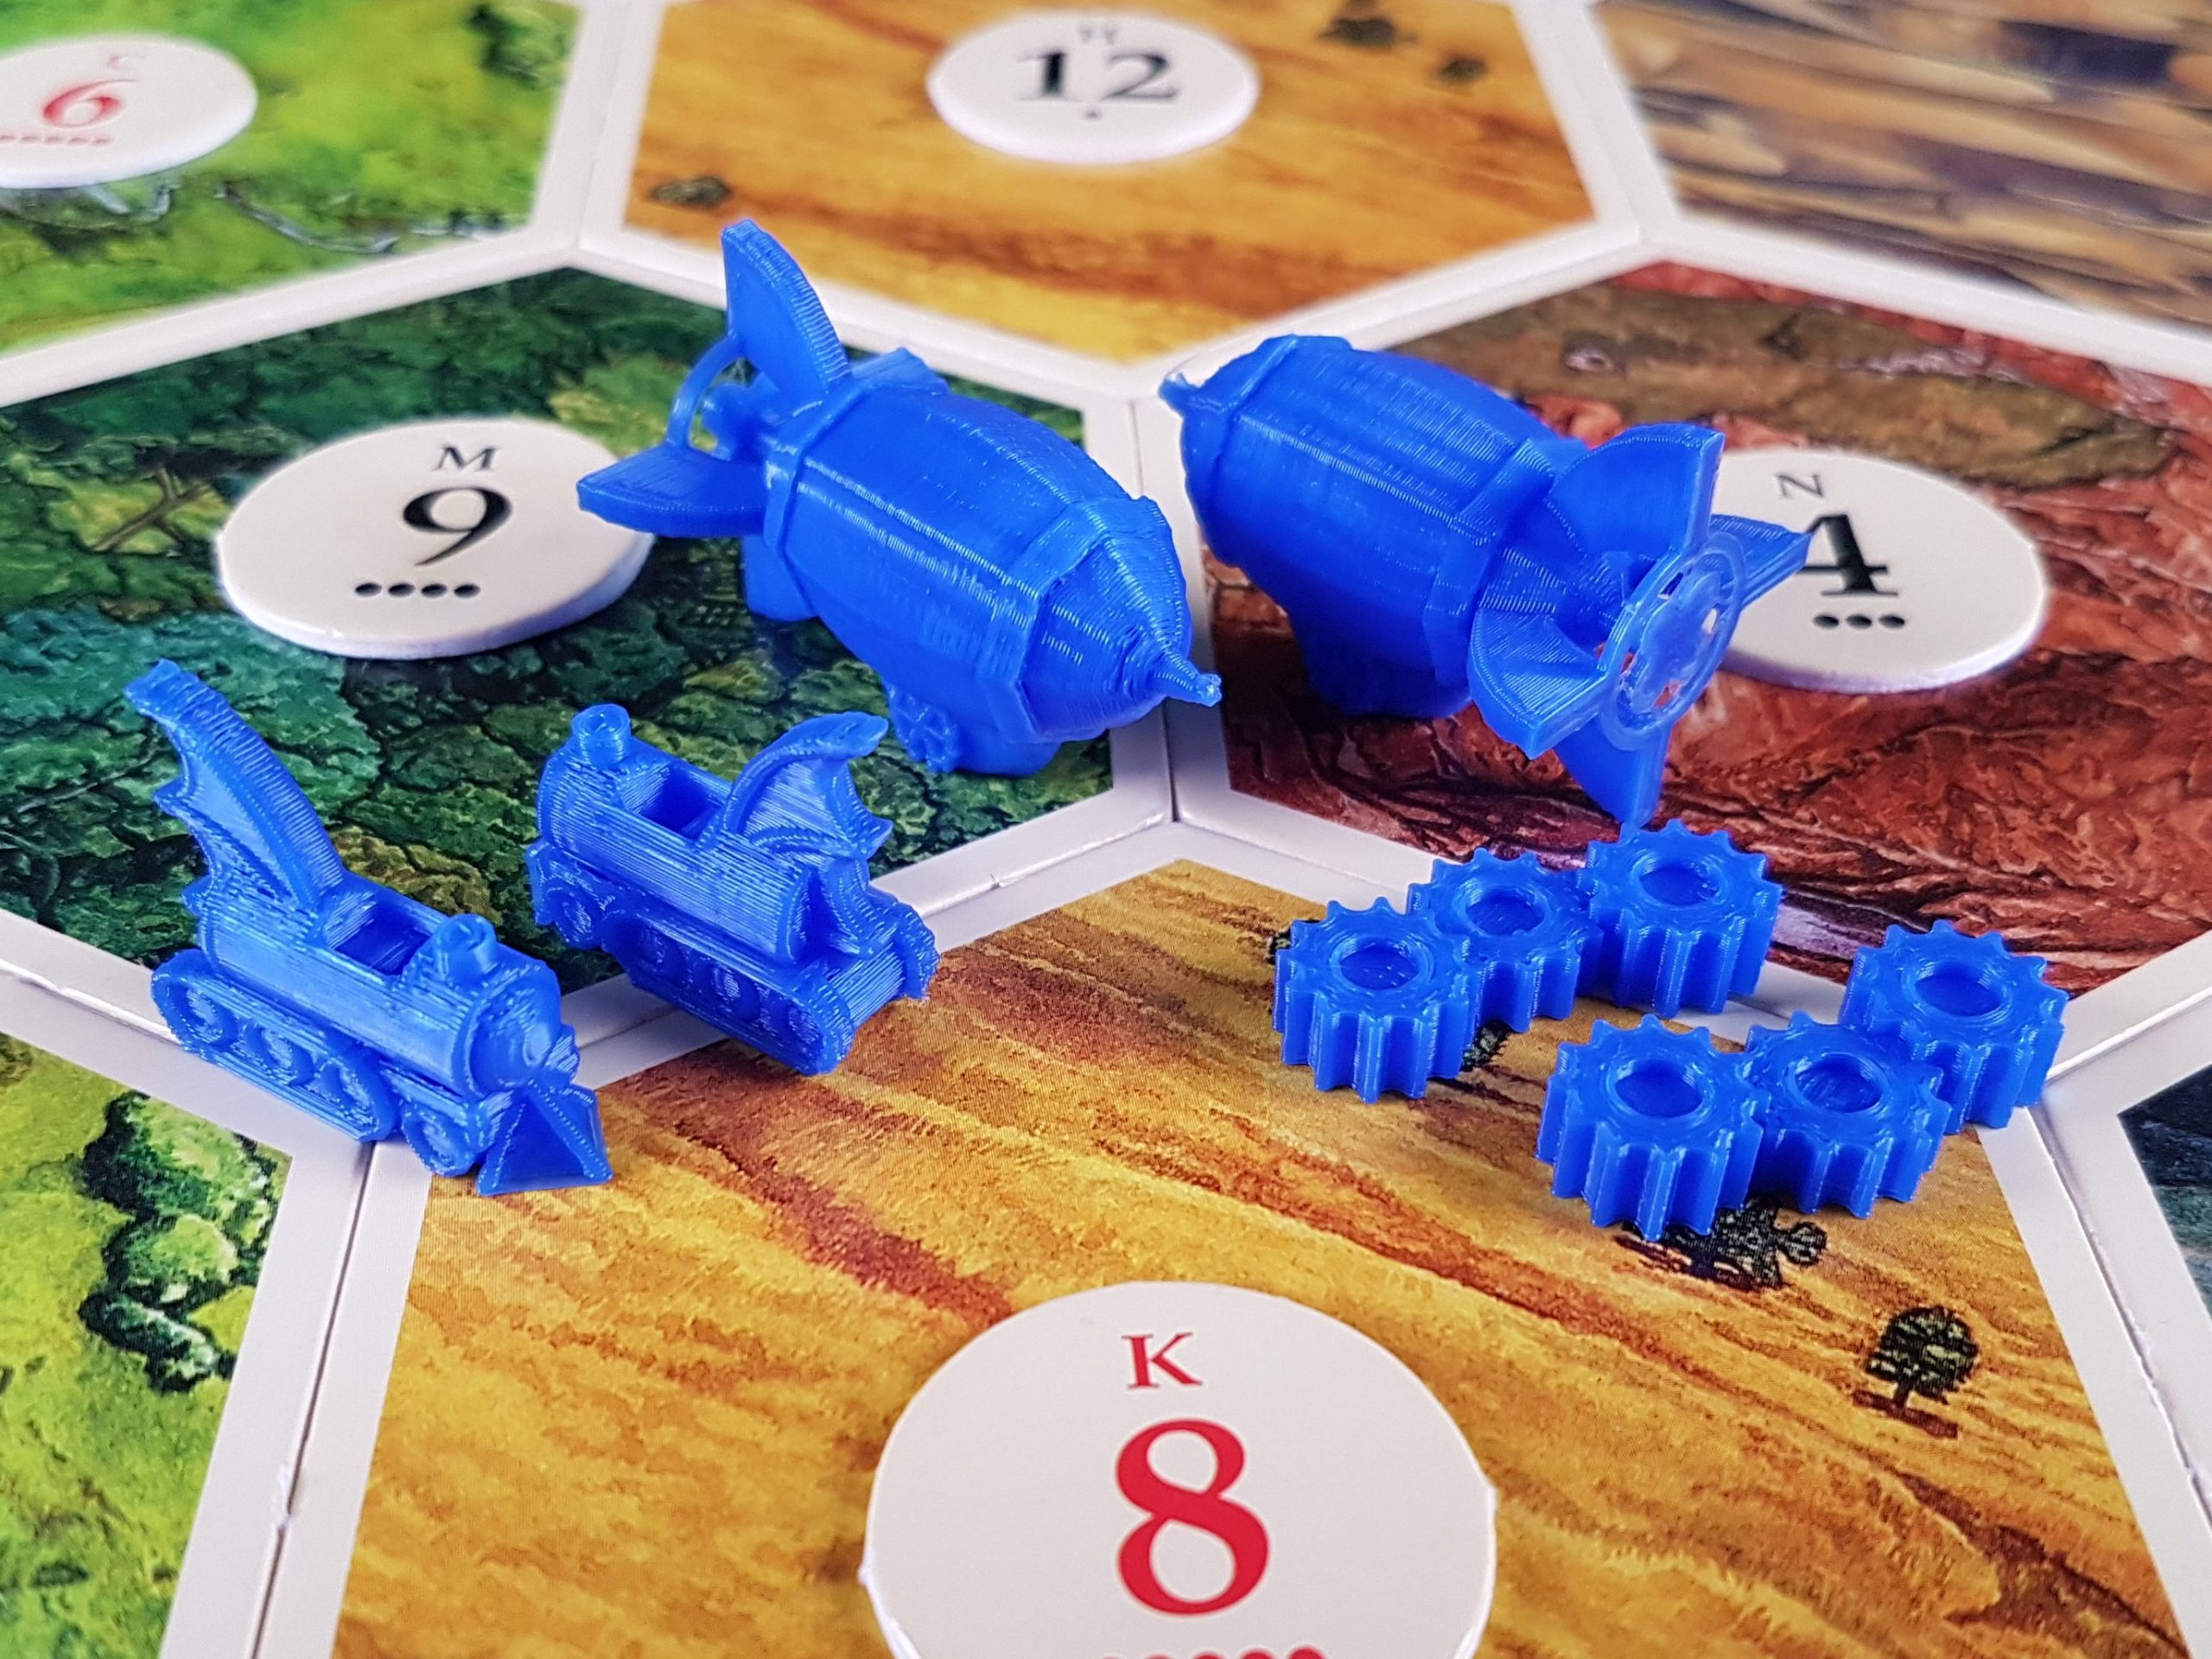
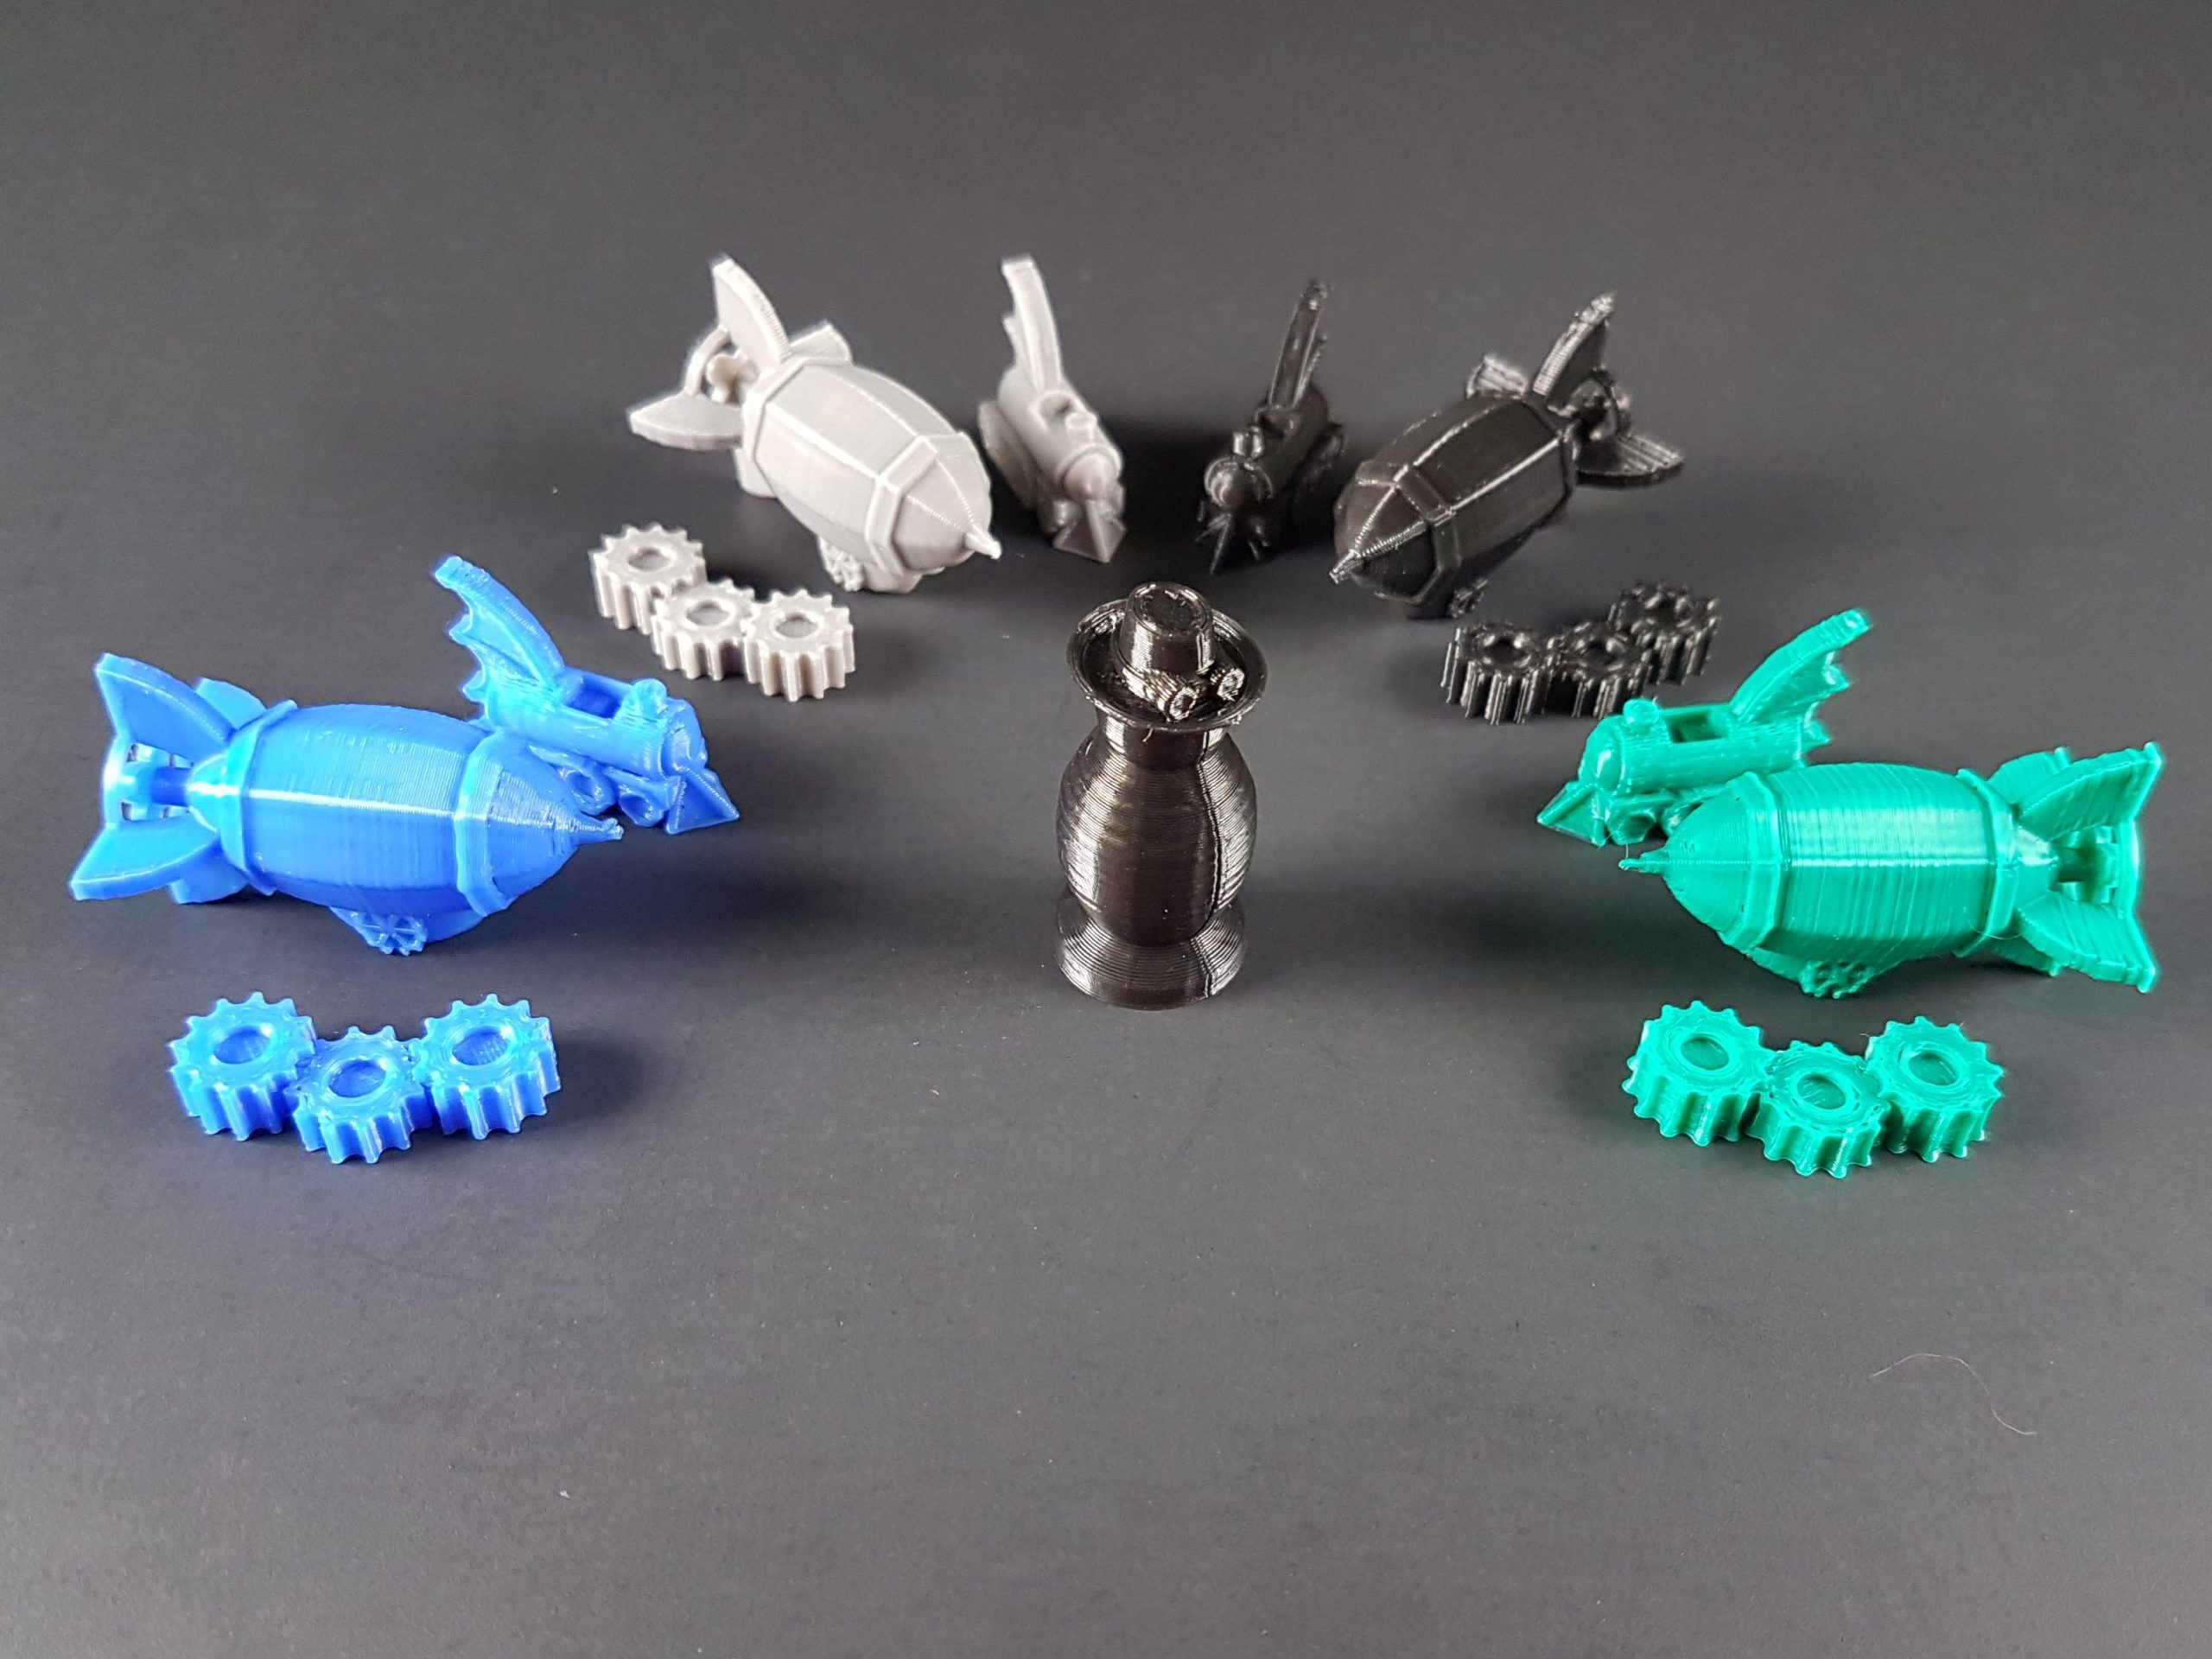
Another thing people have been asking for is Catan pieces for the Cities and Knights expansion. 3D Orcs has now bought it, so we know exactly what extra game pieces are needed, and they’re high on our product development priority list. And we’re looking forward to playing it too!

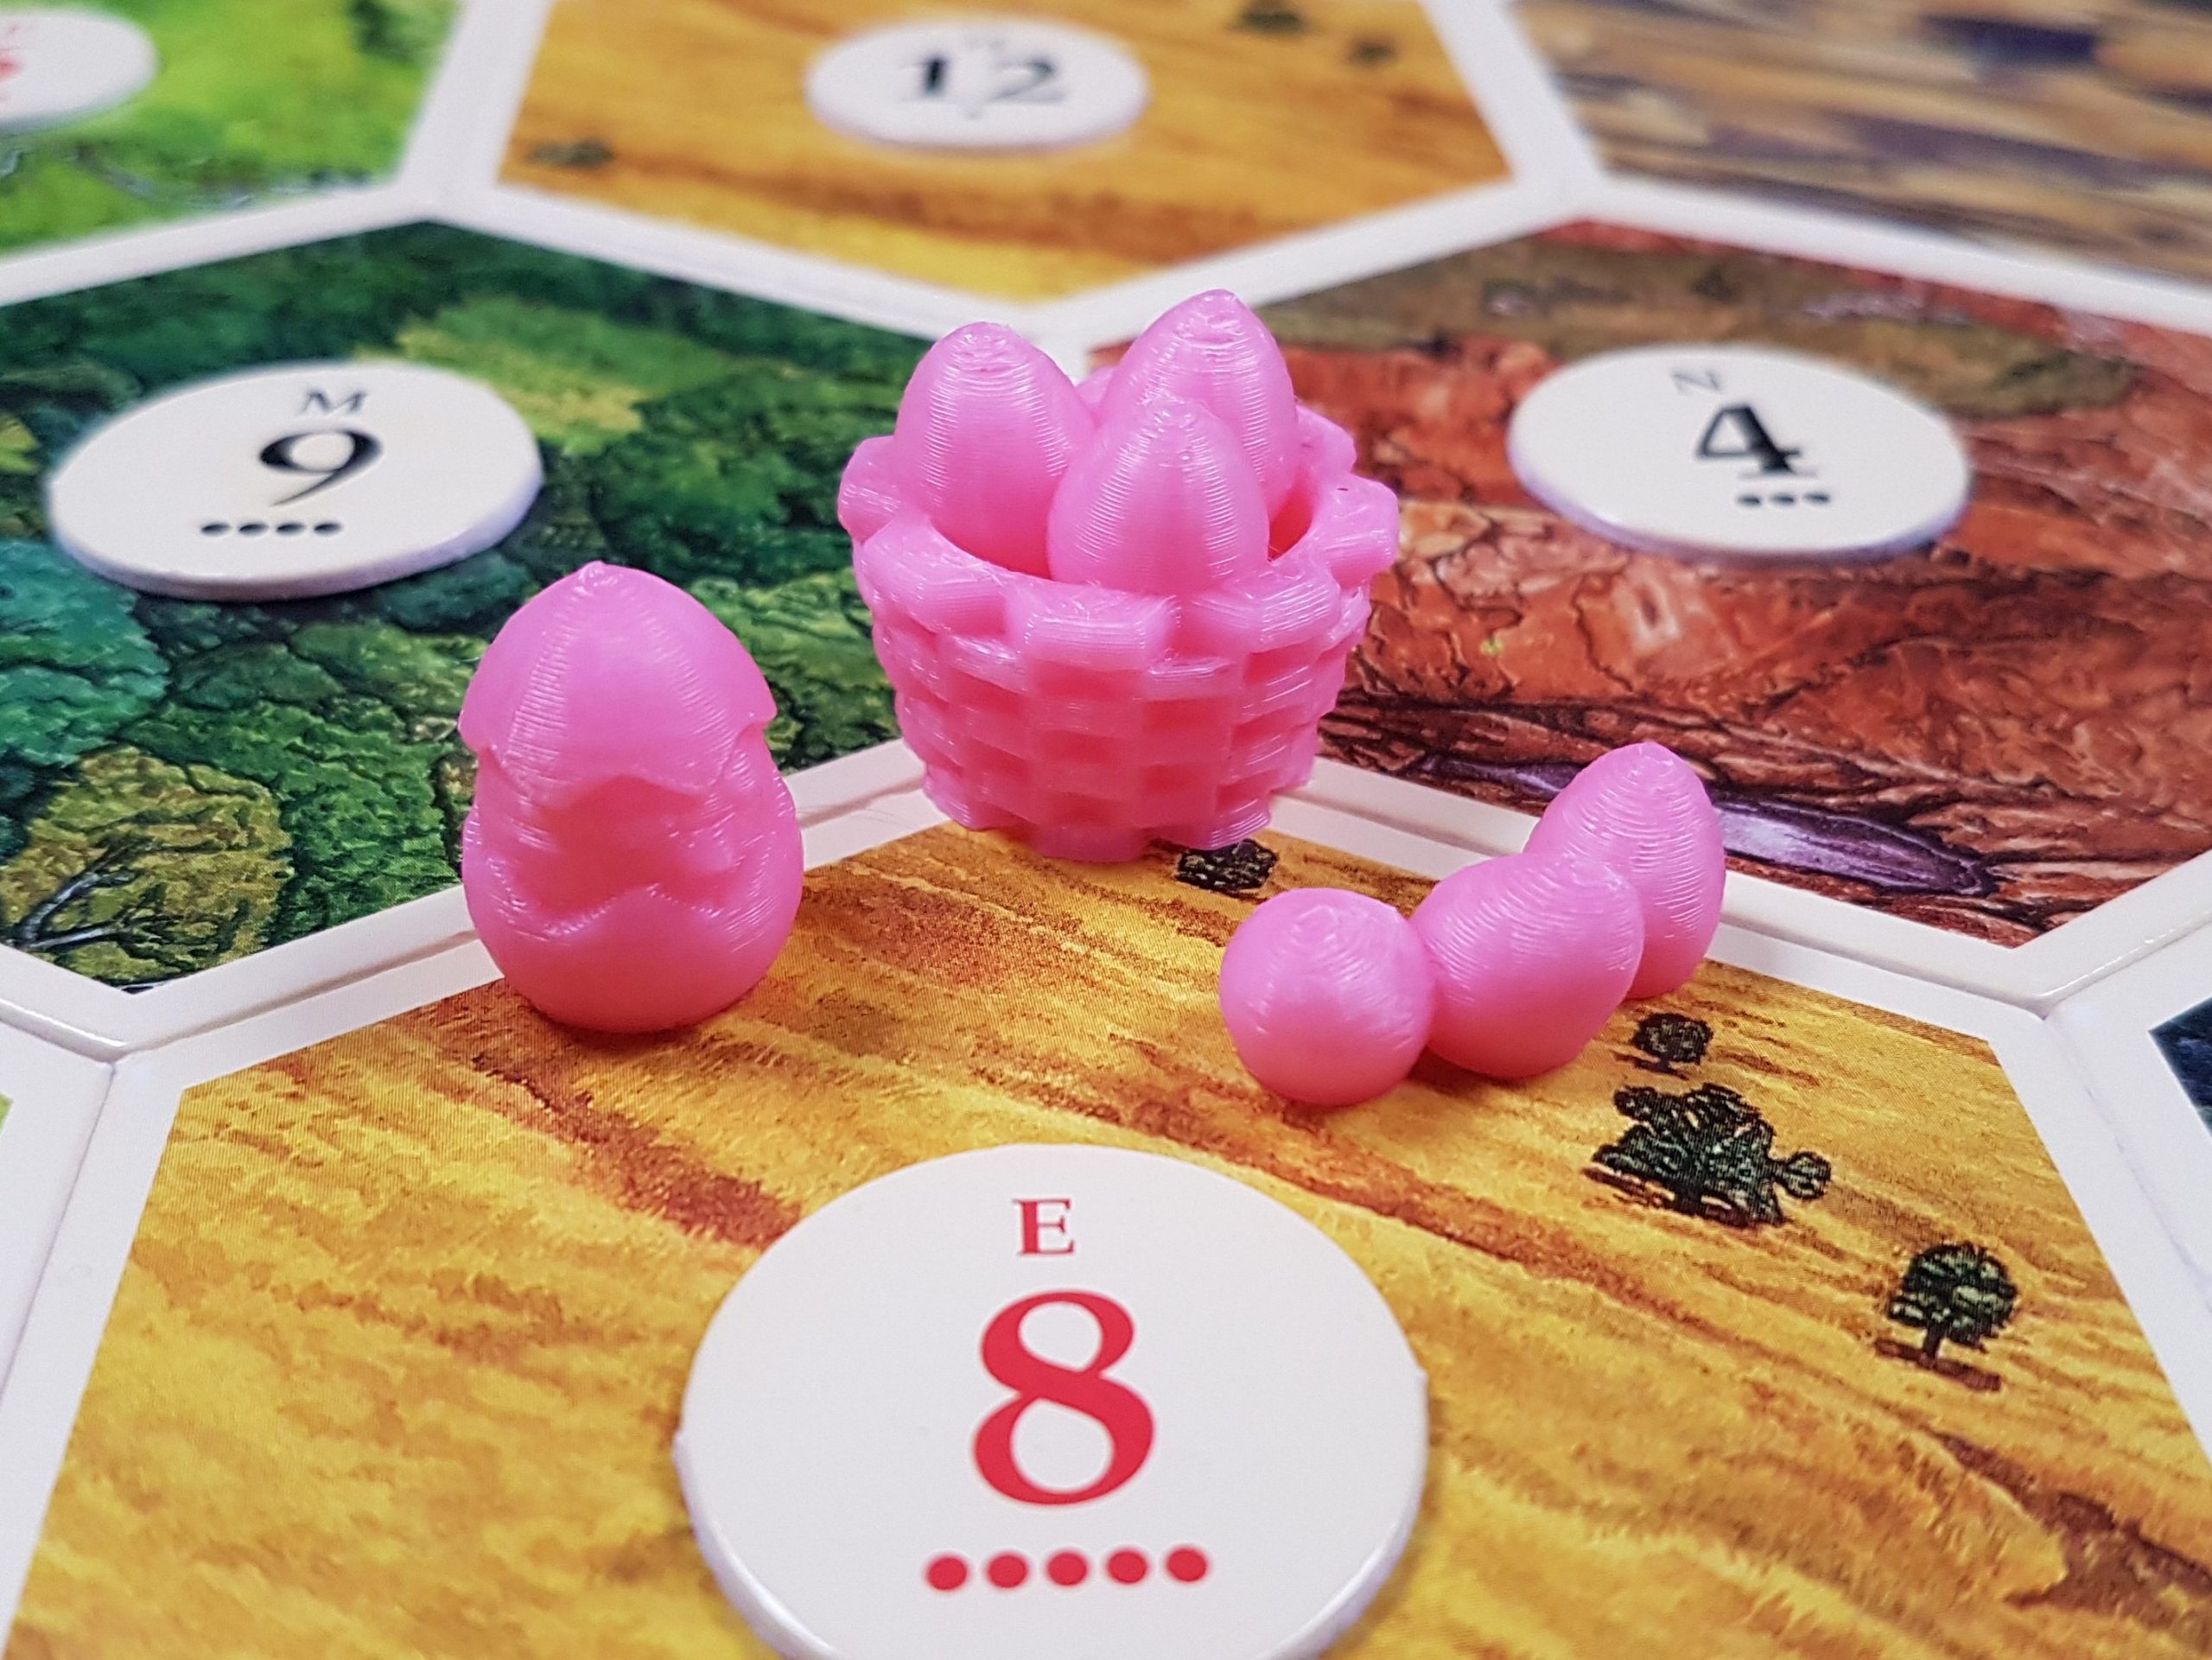
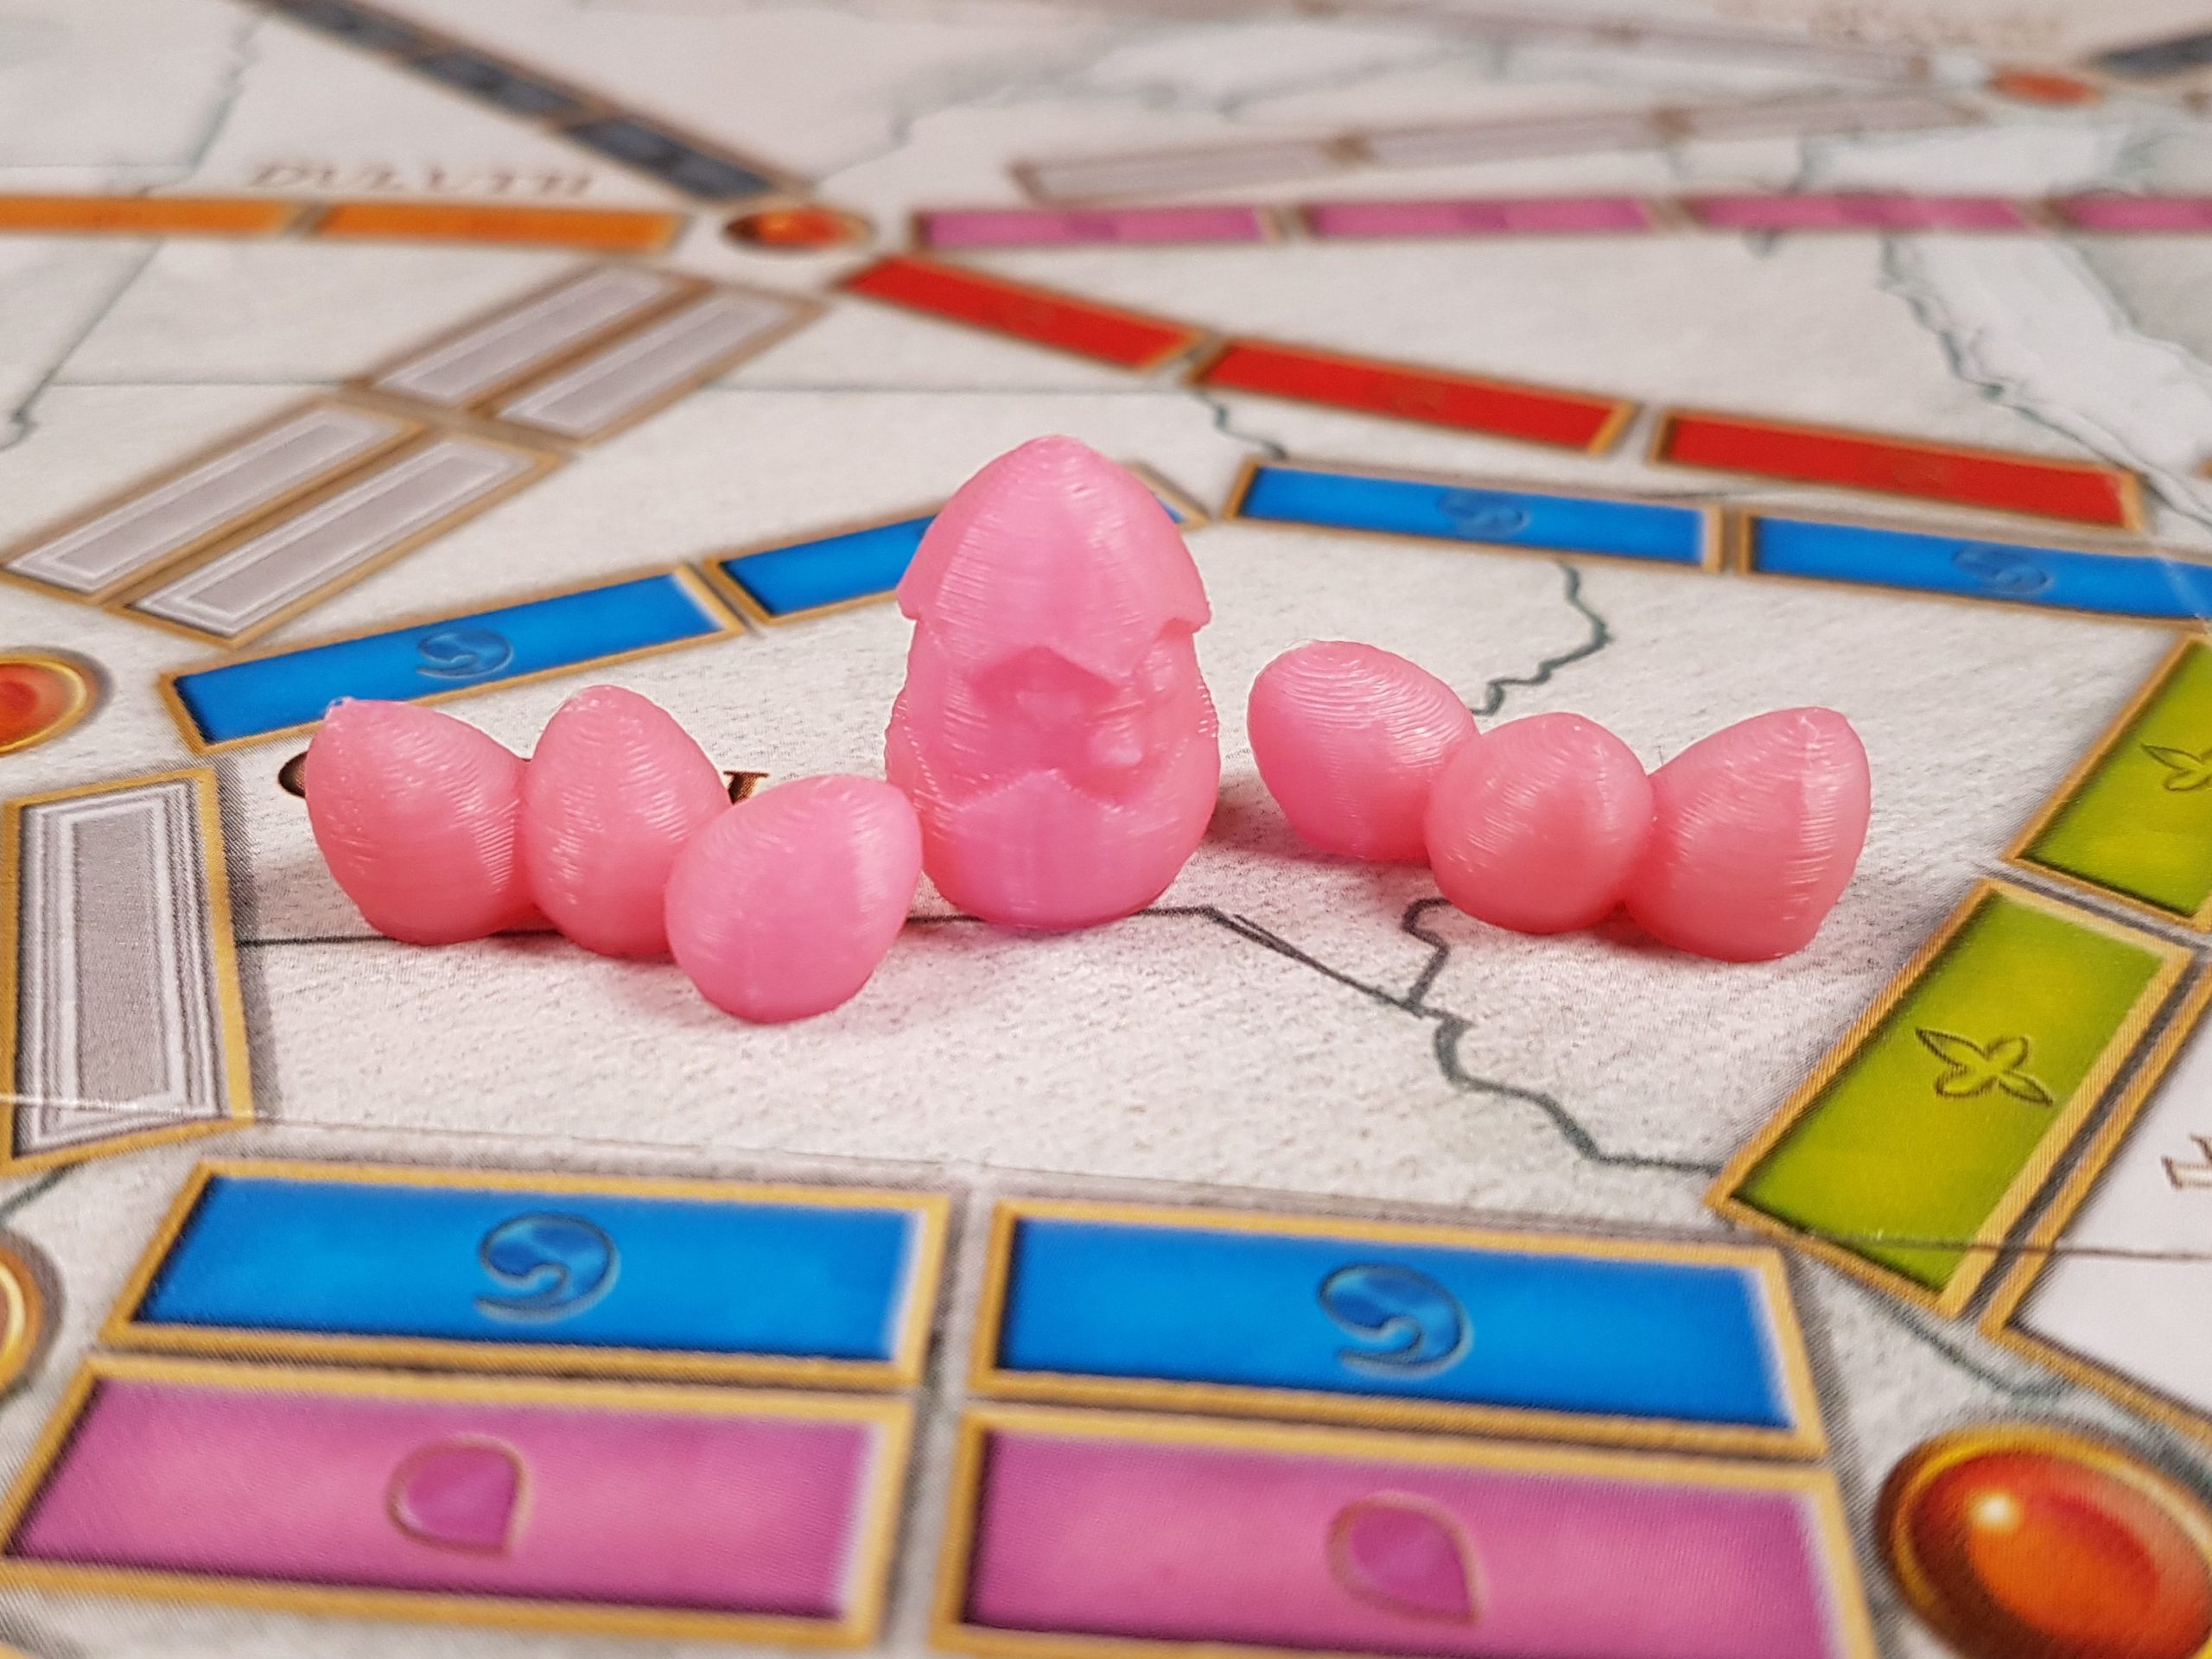
Pink Poses a Problem

I’ve mentioned before how popular pink is, especially for Ticket to Ride trains. So when we started to run low on pink printer filament I made a point of ordering more. Except I couldn’t. The suppliers for the brand I’ve been using no longer offer it.

There are plenty of other filament manufacturers, so finding replacement options wasn’t hard. But finding an acceptable replacement has been a challenge.

First, I wanted something as close as possible to the bubblegum pink I’ve been using, since that has proven really popular. So I ruled out everything substantially darker or lighter.

Second, I wanted quality filament at a reasonable price. We use 1.75mm diameter filament – the most common. But that thickness isn’t 100% perfect, so manufacturers state a dimensional tolerance indicating how close their filament comes to being 1.75mm. It typically ranges between +/- 0.02mm and +/- 0.05mm, though I’ve seen filaments both above and below these tolerance ratings. I always choose +/- 0.02mm when I can, because too much variation in filament thickness can ruin a print fast.

After much searching, I finally found a pink filament that was the right shade, right quality, and right price. And it had good customer reviews, which is also very important. So I ordered it.

And it arrived just before I used up the last of my previous pink filament!

But alas, it’s too pale. The actual filament is very much lighter than the online picture led me to believe. (Where’s a sad orc emoji when you need one?) It’s really more of an off-white, and I don’t think it would appeal to our customers at all.

So I went back to the internet to renew my search. In the end I chose one that’s both the wrong shade and has a tolerance of +/- 0.03mm, so technically it misses two important marks. When I say “wrong shade” though, I just mean it doesn’t match the bubblegum pink I wanted. But it’s actually a beautiful hot pink, which I believe people will like just as much. At least, according to the seller’s picture and description. It’s due to arrive Wednesday, so let’s hope it looks good and works well. Fingers crossed!

In the meantime I’ve had to remove pink as an option from several of my listings. I hated doing that, and I’m really looking forward to being able to re-enable it!

A 3D Orcs Milestone

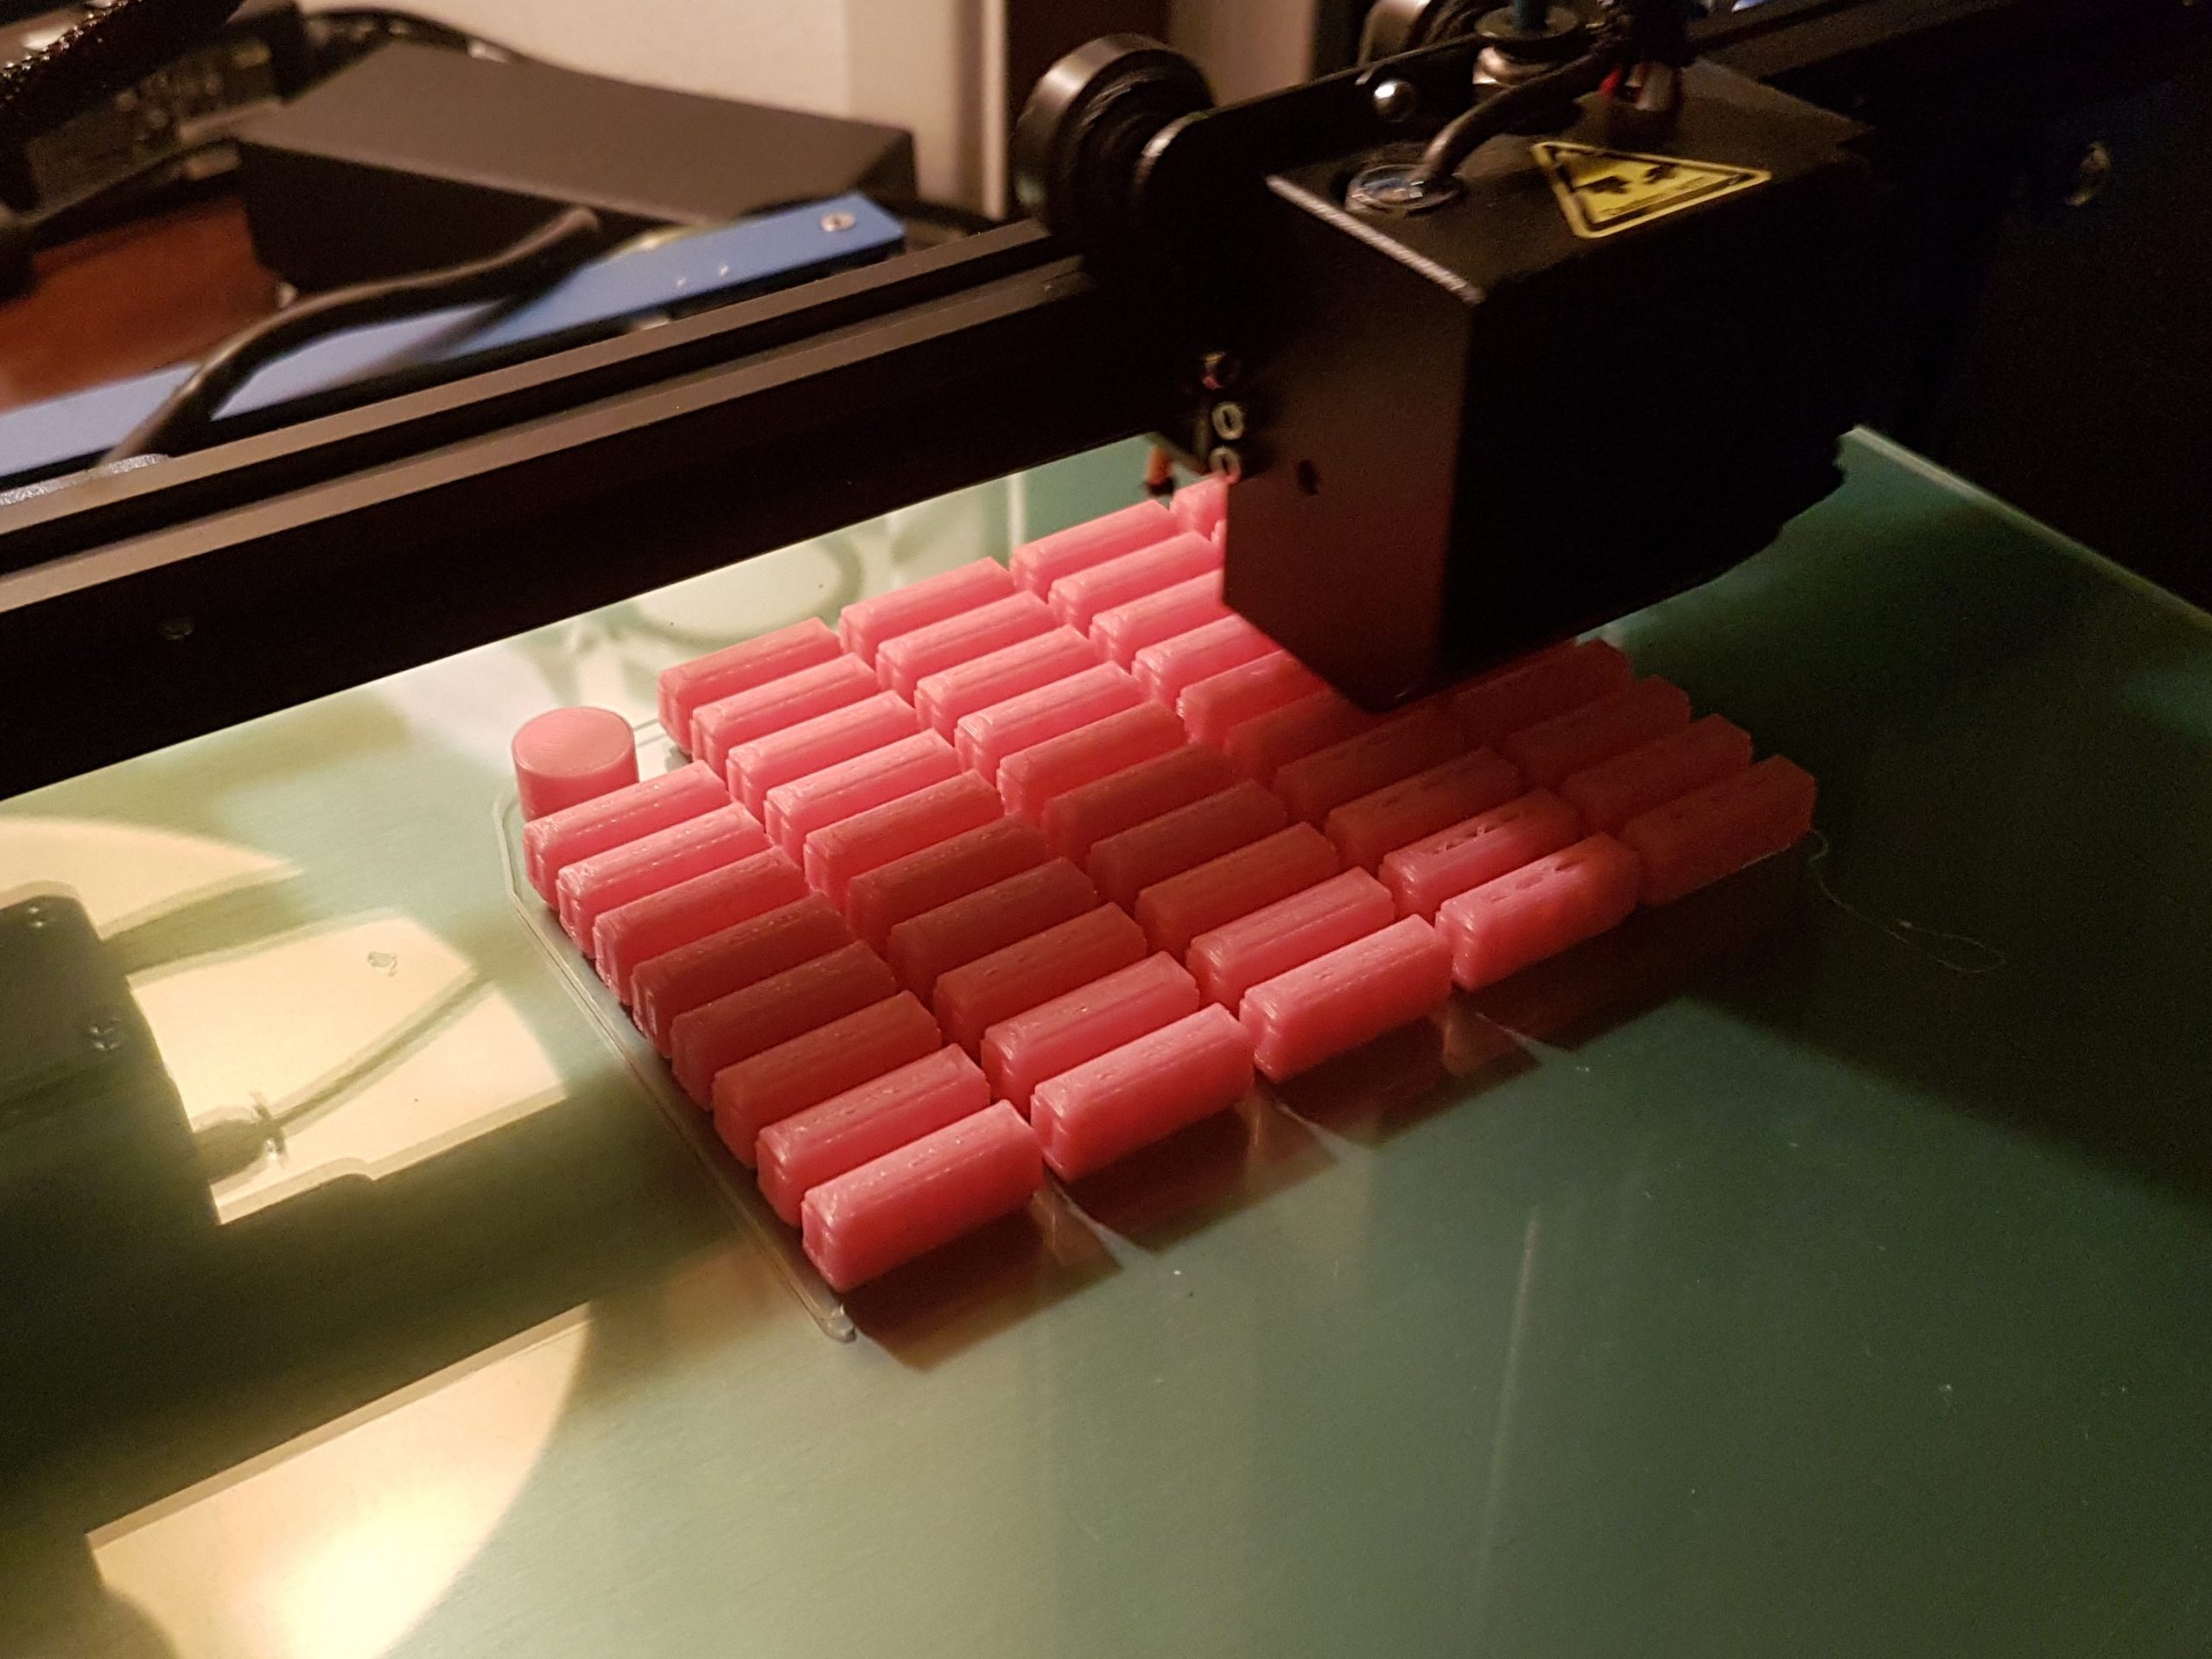
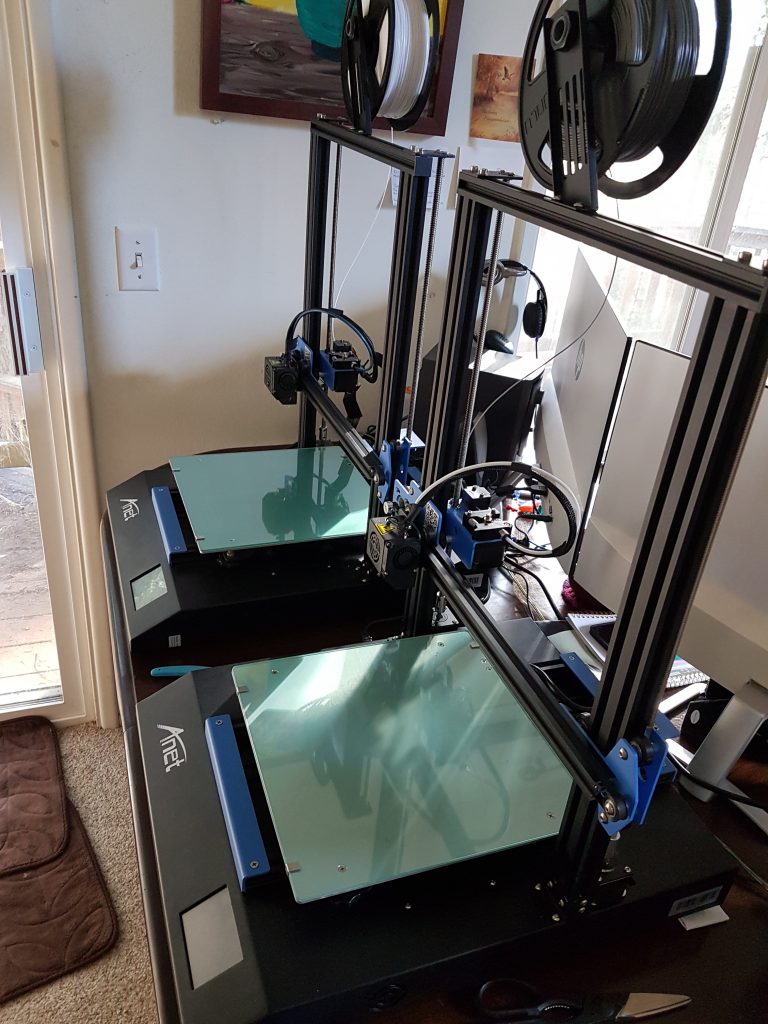
Celebration time! Since we launched our Etsy shop last fall we’ve had over 200 sales! Even with 2 printers it’s sometimes hard to keep up with demand and still squeeze in test prints for new designs. Thank you to all of our customers who brought us here!
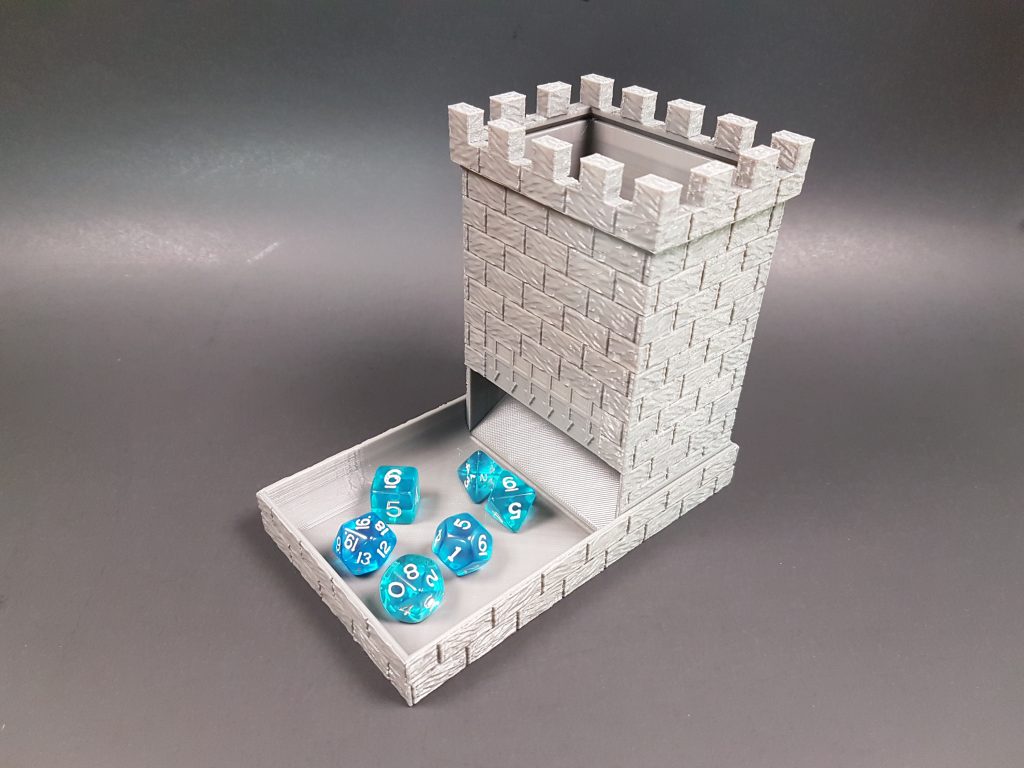
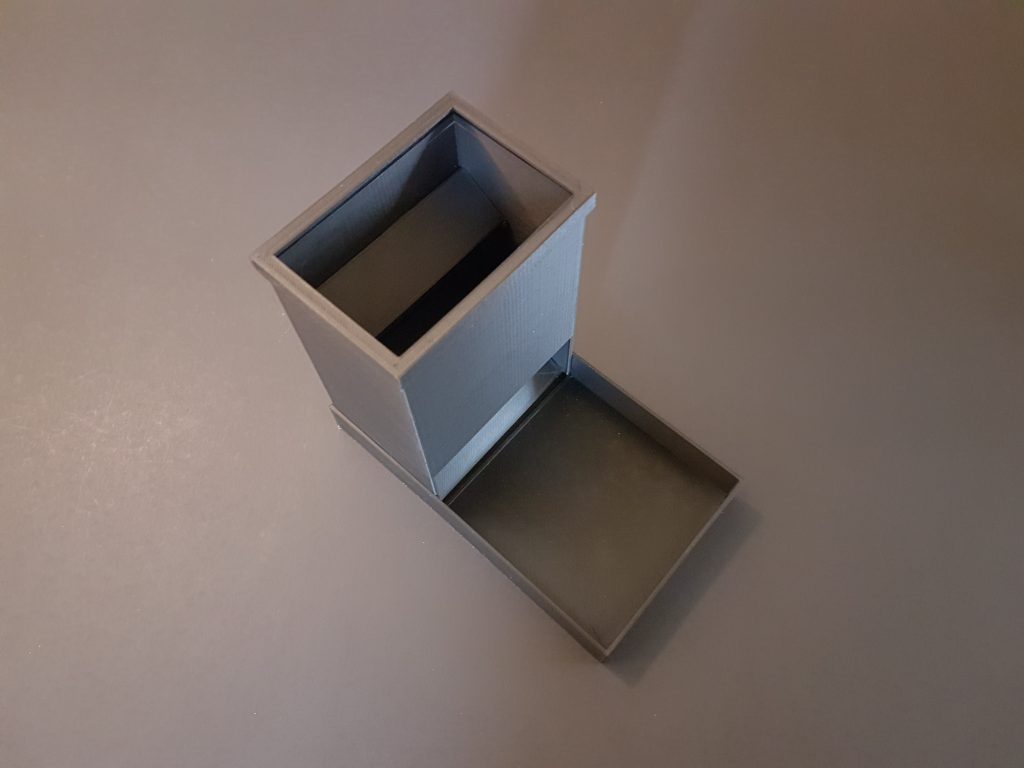
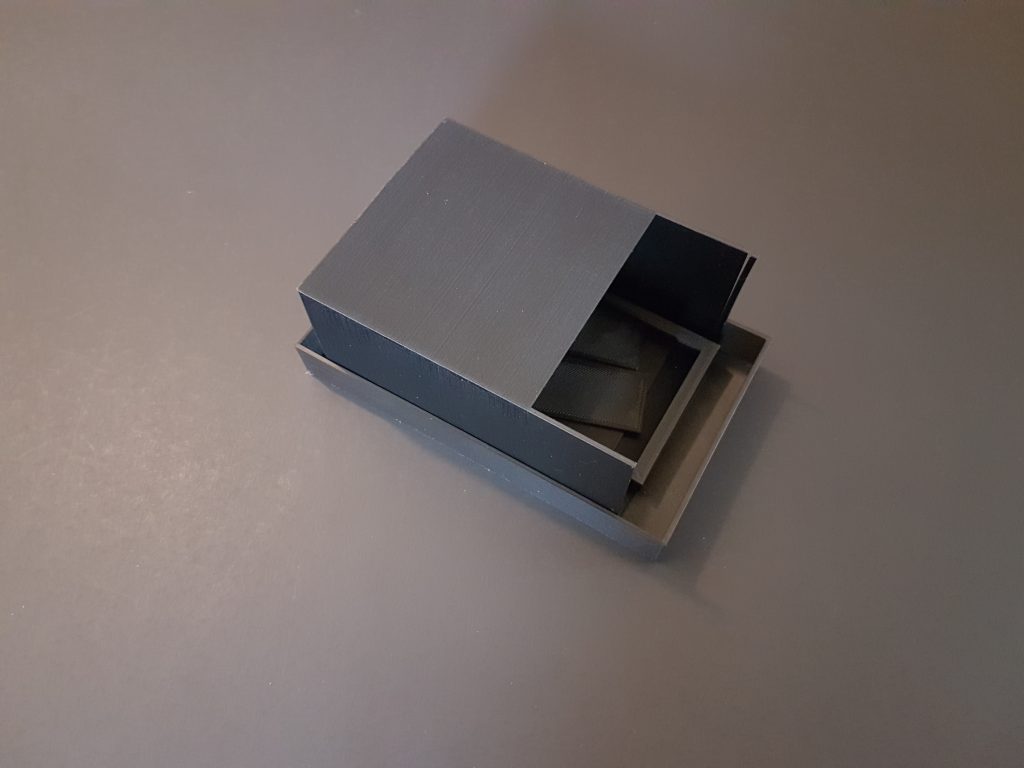
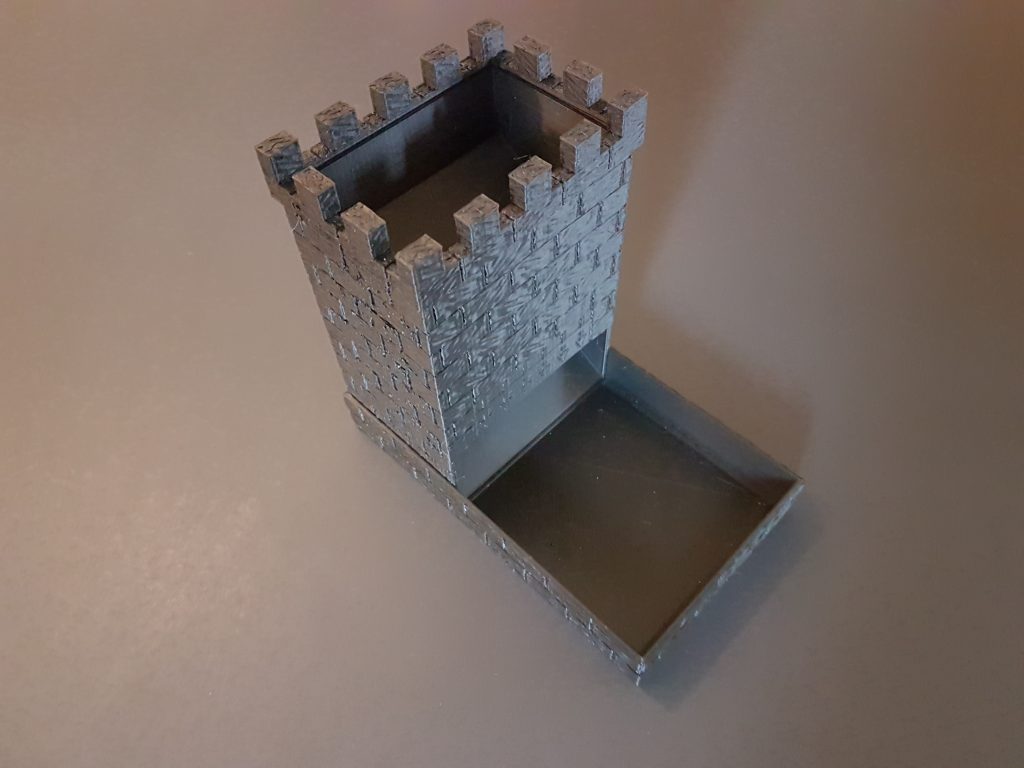
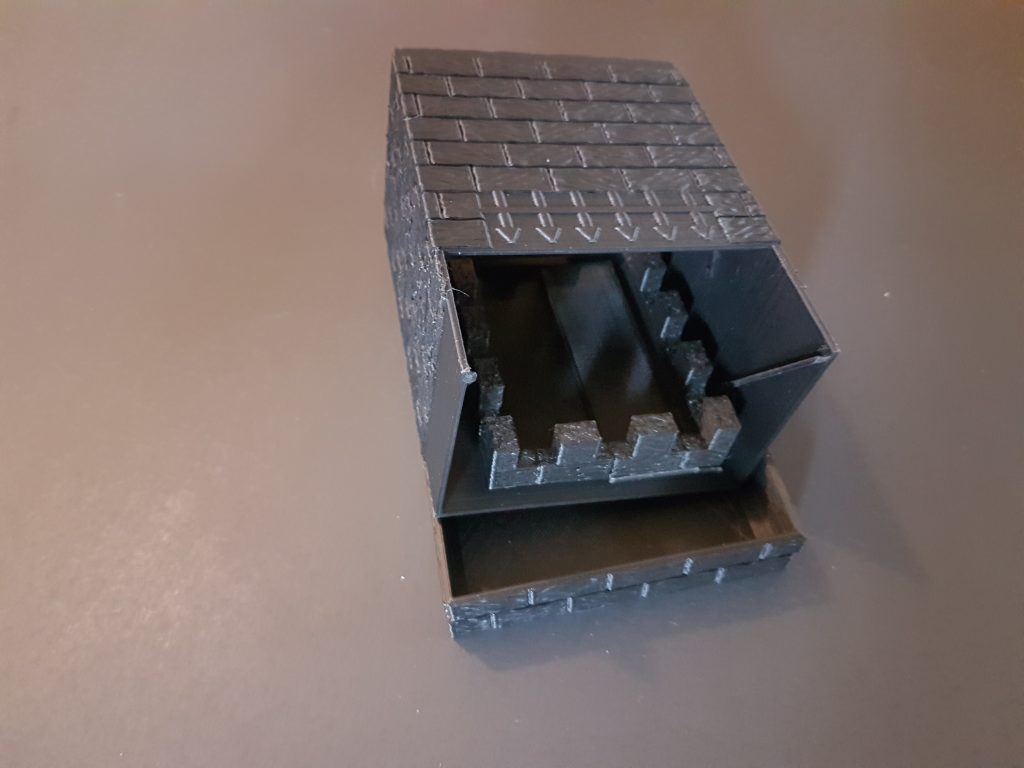
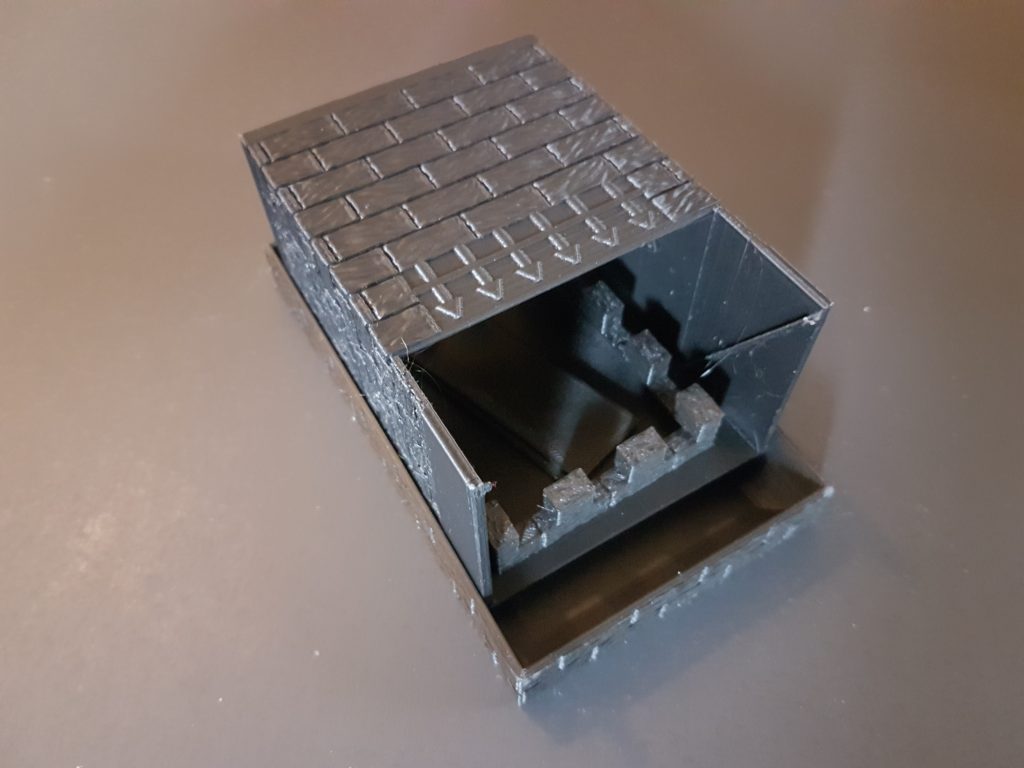
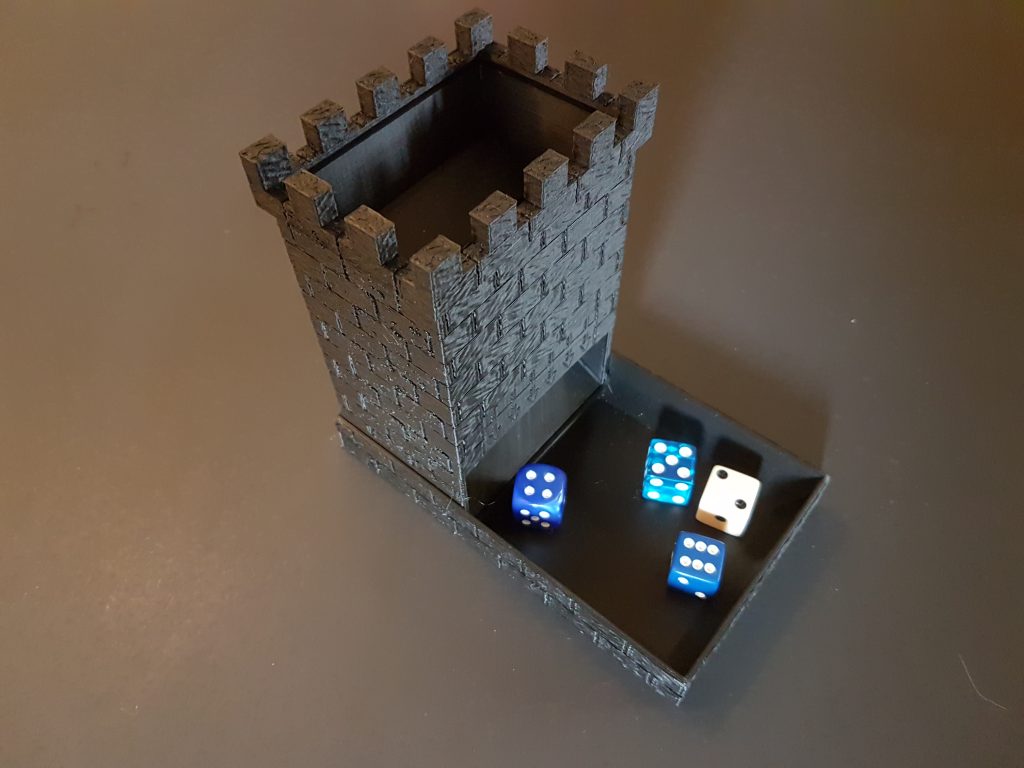
Ongoing Projects

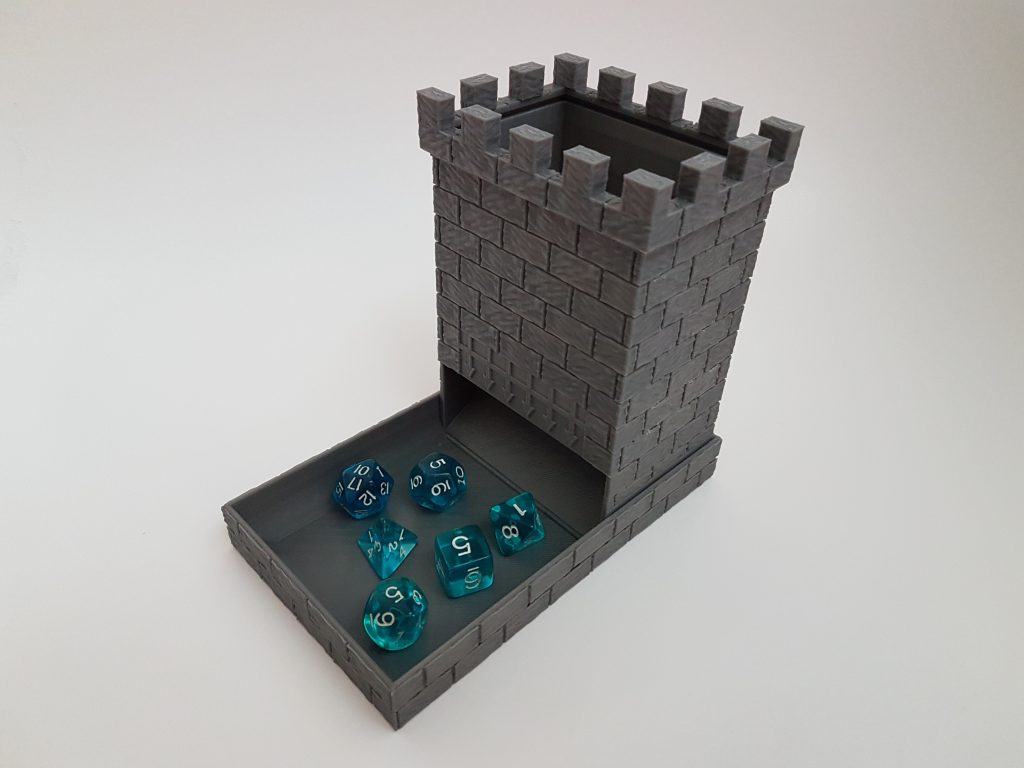
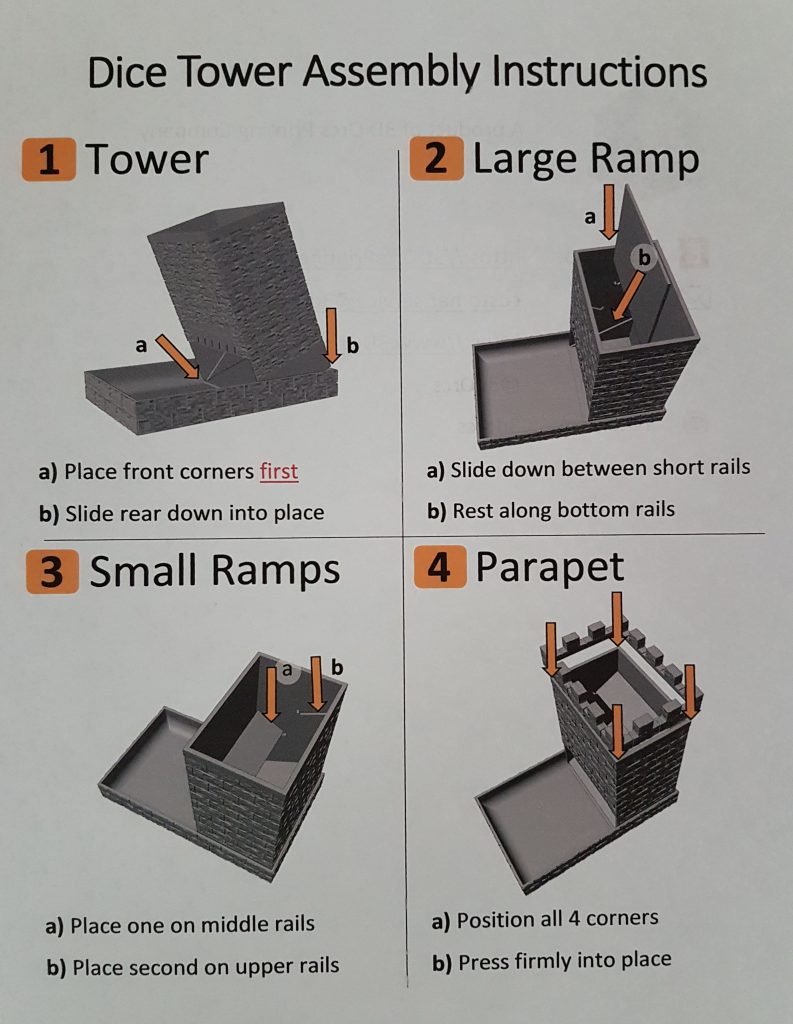
Besides train stations, the Catan expansion, and filling orders, we’re also still working on the Jankó keyboard, Dice Tower variants, and ideas for new themed game pieces. Come back next Monday to see which of these we end up focusing on!

Here Comes Peter Catan-Tail

It’s Nearly Easter!

And we’ve got some treats for you that are better than chocolate! Well, maybe not better exactly, but at least they’re easier on the waistline.

You can hide Easter eggs across the country with our Ticket to Ride set. And the hatching egg score markers are SOOO cute!

Or if Catan is your preferred game, the egg rows are roads, the hatching eggs are settlements, and you get these awesome Easter baskets for your cities!

Rolling in Style

We were also excited to launch our Collapsible Dice Tower! We talked about its development last week, and it was nearly ready to go. But two final steps ended up taking so long we nearly didn’t launch in time for today’s blog.

First, since it ships in several pieces and needs to be assembled, we needed to write instructions. It’s pretty straightforward, but we really wanted to minimize the chance of our customers not being able to figure it out, or worse, breaking it by doing it wrong.

That meant we needed simple diagrams, understandable annotations, and clear, concise wording. I went through several drafts myself, and then more after getting feedback from our Design Review Department (aka my wife, Lois). Eventually we came up with something we were both happy with.

The other problem we faced was getting good photos for the Etsy listing. This time the problem was shading. I took pictures with a variety of lighting options, but the gray kept coming out looking too light.

I was finally able to get good pictures by switching to a white background instead of the black I’d been using, and we were able to launch!

Dice Tower Variants

Though we currently just have the one design shaped like a castle keep, we’re working on more. They’ll have the same basic structure, but with different surface details to appeal to different gamers. If you have an idea for a different version of our dice tower, let us know in the comments below!

A Brand New (to us) Game Variant

Even with everything else we have going on, we still take time to play board games. This past weekend we got to enjoy our brand new copy of Ticket to Ride – Europe! Better yet, we each chose a different 3D Orcs themed set of game pieces to play with!

We had Easter eggs,


coffins,

canoes,

and standard trains printed in gold. The gold pieces aren’t available on Etsy yet due to continued production problems, but we’re still working on making it happen because when it does work, they look incredible!

But Those Train Stations are the Wrong Colors!

You might have noticed the train stations don’t match the train colors. That’s because this version of Ticket to Ride is so new to us that we haven’t yet modeled the stations and had to use the standard ones out of the box. That’s something multiple customers have asked for, and is what prompted us to buy the game. Now that we know exactly what they look like, we’ll be working on adding train stations to our sets on Etsy. First as an optional add-on to the standard set, and then to some of our specialty themed sets. Come back next Monday to see how we’re doing!

Evolution of a Dice Tower

Our Biggest Prints Yet

Over the past couple weeks we’ve been working on an exciting new game accessory – a dice tower! This is a big deal for us in two ways. First, it’s our largest print to date, and second, it’s the first one that’s printed in multiple pieces to be fitted together after printing.

First Attempt

As is often the case in 3D printing, our first attempt was a pretty dismal failure.

We had a great concept – a dice tower printed in mostly flat pieces, which could be disassembled for convenient storage. And in our design software it all fit and worked perfectly!

But with the actual print it very quickly became apparent that it was completely unworkable. The pieces would not hold together tightly enough to maintain structural integrity.

We could have solved that with more interlocking slot connections, but we really wanted the outside to look good, without a bunch of extra protruding connector bits.

Second Attempt

We ended up shifting away from the separate panel concept and combined the four main walls into a single tube-shaped print. This gave us our tower in four separate prints:

The base, to provide a catching tray for the dice and a stable support for the tower.


The tower tube, which needs to be printed upside down because of the opening at the bottom of the front.


The deflector ramps, which fit inside the tower to help randomize dice rolls.


And the top, providing a structure for the crenellations.

The pieces fit together fairly well,

and could all nest inside the base for shipping and storage.

This basic structure has remained the same since then.

Third Attempt

We made a few sizing adjustments to make the fit even better, and added all the surface detail – stone blocks/bricks, a portcullis, and crenellations. We also added curved bevels in the tray to make dice removal easier, and improved the supports for the deflector ramps.

At first we thought this design might be the final version.

But then we noticed something – the pieces no longer fit together nicely for shipping/storage! We hadn’t taken into account the thickness of the surface detail, and it was just enough to ruin the fit.

Fourth Attempt

So we had to adjust the sizes of several pieces to make it all fit nicely when disassembled, and still work when assembled.

We also increased the size of the tray bevel to make it more helpful in lifting dice out, and thickened the walls in some places for added strength.

Now it fits nicely when collapsed,

and still looks great when assembled!

This is likely our final design, but we’re going to print it again using one or two other filament colors in case that highlights other needed changes. (You’d be surprised what can happen just from using filament from a different supplier!)

That will also give us more photo options for our Etsy listing. In particular we envision it in gray to simulate stone walls, or a bright color for a fairy castle! But just printing more copies is no small feat. Print time for the entire dice tower totals around 20 hours!

And that assumes no failures, like this piece that came loose from the print bed 5.5 hours into a 9 hour print!

Jankó Update

If you read last week’s blog, you know we’ve been working on a funky keyboard project as a special request. It turned out there were still a few small issues to overcome. I’ve got them fixed now, and I’m awaiting approval from the client before moving ahead with the rest of the keys.

New Seasonal Game Pieces

We have an ambitious week ahead of us! We hope to get the dice tower listing up on Etsy, we’ll be producing more keys for the Jankó keyboard, and we’re very excited to be launching some new sets of game pieces for both Ticket to Ride and Catan! Come back next Monday to see them featured here!

What the Heck is a Jankó Keyboard?

A Fascinating Musical Concept

I’ll start with a one sentence lesson in musical history. The Jankó (pronounced Yanko) keyboard was designed over 100 years ago, and has the clever benefit of allowing each scale and chord to be played with the same fingering regardless of the key. Wild! There’s more on Wikipedia if you’re interested.

Why didn’t it catch on? Seems to be the same kind of thing that saw VHS succeed over Betamax, or Qwerty over Dvorak.

But it’s still really cool!

What’s That Got To Do With 3D Printing?

I was approached by a customer who likes to tinker with musical instruments. He had a small electronic keyboard, and wanted to convert it from a standard piano layout to Jankó keys. He had even found 3D models online for printing the replacement keys. He just needed the keys printed.

Each key involves three pieces: the key itself, and two keycaps that attach to a pair of posts.

Easy enough, right?

Not So Fast

The first problem (did you see the foreshadowing there? yup, there turned out to be several issues…) was that the keys extended far out in both directions from the lowest point, and therefore needed to be printed with supports. I talked a bit about printing supports last week, and prefer to avoid them when I can.

In the case of these keys, the support removal was time consuming, risked damaging important parts, and left an ugly mess that would have been even more time consuming to clean up.

Inversion Therapy

Looking at the keys, we saw a nice big flat top surface. If only we could print with that as the base and not need supports. But those posts would be a problem.

Print the posts separately and glue them on later? It would be pretty hard to get them positioned exactly right.

Unless…

If the key base included geometry to ensure a precise fit, it should be doable.

The Solution

I ended up cutting holes in the tops of the keys so that the posts could sink into them, mimicking the way the keycaps attach to the post tops.

More Challenges … And Solutions

There were several more problems that needed to be resolved before I could deem it a workable design.

Sinking the posts into the keys made them too short, so the keycaps would strike adjacent keys when depressed. So I made the posts longer.

Getting the post height precise was difficult due to the awkward geometry. So I added a ring around each post, ensuring it would sink an exact distance into the hole, and no further.

There was a slight depression in the top of each key, requiring supports when printed upside down. So I flattened out the top of the keys.

Some of the holes went right through the keys, resulting in loose-fitting wobbly posts. So I thickened the affected region of the keys to more firmly embed the posts.

There were other issues as well, mostly caused by strange behaviour in Blender, the 3D modelling tool I use. But eventually I worked my way through all of them.

It took several attempts with keys that didn’t work, but I think I’ve finally got a design approach that will work nicely.

Taking Shape

I have several more keys to do, but here’s a look at the keyboard so far, giving you a glimpse of what it will look like when it’s finished.

Game Accessories

Through this week I’ll be producing more keys for this project, and with luck I’ll have a finished Jankó keyboard to show you next Monday. But I’m also working on another entirely new board game accessory. It’s not game pieces, nor is it strictly for any one particular board game. But if I can work out a few remaining kinks it’ll be really cool, and will be the largest item I’ve printed to date!

You’ve Been Punked!

Steampunked, That Is

This past week we launched both of our Steampunk game piece sets, and we love how they all turned out!

First came Settlers of Catan, with airships for the cities, roadsters for the settlements, and rows of gears for the roads.

There’s also a robber with a steampunk goggle hat!


Next was Ticket to Ride, which used the same roadsters for the trains, and includes a steampunk goggle hat for the scoring marker.

Overcoming Challenges

One challenge that is omnipresent in 3D printing is the difficulty of printing overhangs. Since the plastic is laid down in layers, each layer needs to have something below it to hold it in place. Otherwise the printer is extruding soft melted plastic into air, and it has nothing to stick to and hold its shape while it cools and solidifies. You can get away with very small projections, but anything beyond a 45° angle, or projecting more than a millimeter or two, will fail without support. There are ways to print temporary supports which can later be removed, but that tends to leave a messy surface where the support structure breaks away, and requires a lot of effort to clean up afterwards.

All of this means that printing the airships with noses and tails sticking out from the undercarriage was simply not feasible without added support. Or coming up with a whole new approach.

I decided to tip them nose up, so the tail would be printed first, then on up through the body to the nose. That let the tail fins support the rest of it as it printed, reducing the overhangs to something the printer could handle.

Printing Multiples

One of the advantages of having a printer with a large print bed is that I can print multiple items at once. It would take a ridiculous amount of manual effort if I had to print an entire Ticket to Ride set (48 trains and a scoring marker) one piece at a time!

Here’s a full set of standard Ticket to Ride pieces printing all together.

But there’s a risk to doing that. Having that many separate pieces on the print bed means the print nozzle needs to jump from piece to piece MANY times while printing the dozens of individual layers. And each such jump incurs a tiny chance that the nozzle will bump a partially finished piece, knocking it loose from the print bed and putting it out of position. And when that happens, the entire print job is usually ruined.

First, the loose piece tends to get pushed into others, knocking them loose as well. Second, the filament that’s extruded trying to print onto the failed pieces ends up sticking to other nearby pieces, ruining them and adding extra projections that in turn are more likely to be struck by the moving nozzle.

Here’s an example of one such failed meeple print.

And a failed Catan print.

Fortunately, I’ve got my printer configured now so that while it still happens from time to time, it usually works smoothly for straightforward prints like Standard Ticket to Ride and Catan sets.

What if it Still Won’t Work?

With more complex geometry, like our latest Steampunk pieces, this kind of problem happens more frequently. Sometimes I can correct it by simplifying the geometry of the model, which I did for every Steampunk game piece. But when that still isn’t enough and I can’t make it work the way I want, sometimes the only solution is to print fewer pieces at once. This reduces the chance of a problem, and also decreases the impact when a problem does occur, because instead of ruining a whole set, it only ruins a few pieces.

For the Steampunk pieces, the roadster proved the most problematic. (Which was particularly annoying, since it’s used in both the Catan and Ticket to Ride sets.) In the end I had to print most of them in groups of 8 or even 4, which makes producing them that much more time consuming. But they still look great, and it’ll be worth it if players like them even half as much as I do!

Increased Capacity

Fortunately, all of the resulting production delays have been more than offset by the arrival of our new printer!

As I mentioned last week, we chose to get a second Anet ET5X. Setting it up was not without its problems, but all in all it went way smoother than the first one, since I now have a much better understanding of how they work. Having the two of them running side by side makes us feel even more like a professional 3D printing shop!

A Change of Pace

Our current design work is taking us in a bit of a different direction. New game piece sets will be coming before long, but right now our focus is a special request by someone who wants a funky new set of keys for an electronic keyboard. Come back next week to see how this fun new project is progressing!