A Long Haul
It’s taken us two months, dozens of test prints, and several design reviews with the buyer, but we’ve finally finished the Jankó keyboard project that we started back in March!
But First an Apology
This week’s blog post is a bit late. Sorry about that! I got my second COVID vaccine shot (Moderna) on Saturday and it really wiped me out. Thankfully there was nothing super urgent to do for 3D Orcs, so I was able to take it easy and let my body recover from producing a bunch of very welcome antibodies. I’m now nearly back to normal, with just a sore arm left to tolerate.
Well, I guess I’m still tiring easily too, so today’s post will be on the short side.
The Final Stages of Jankó
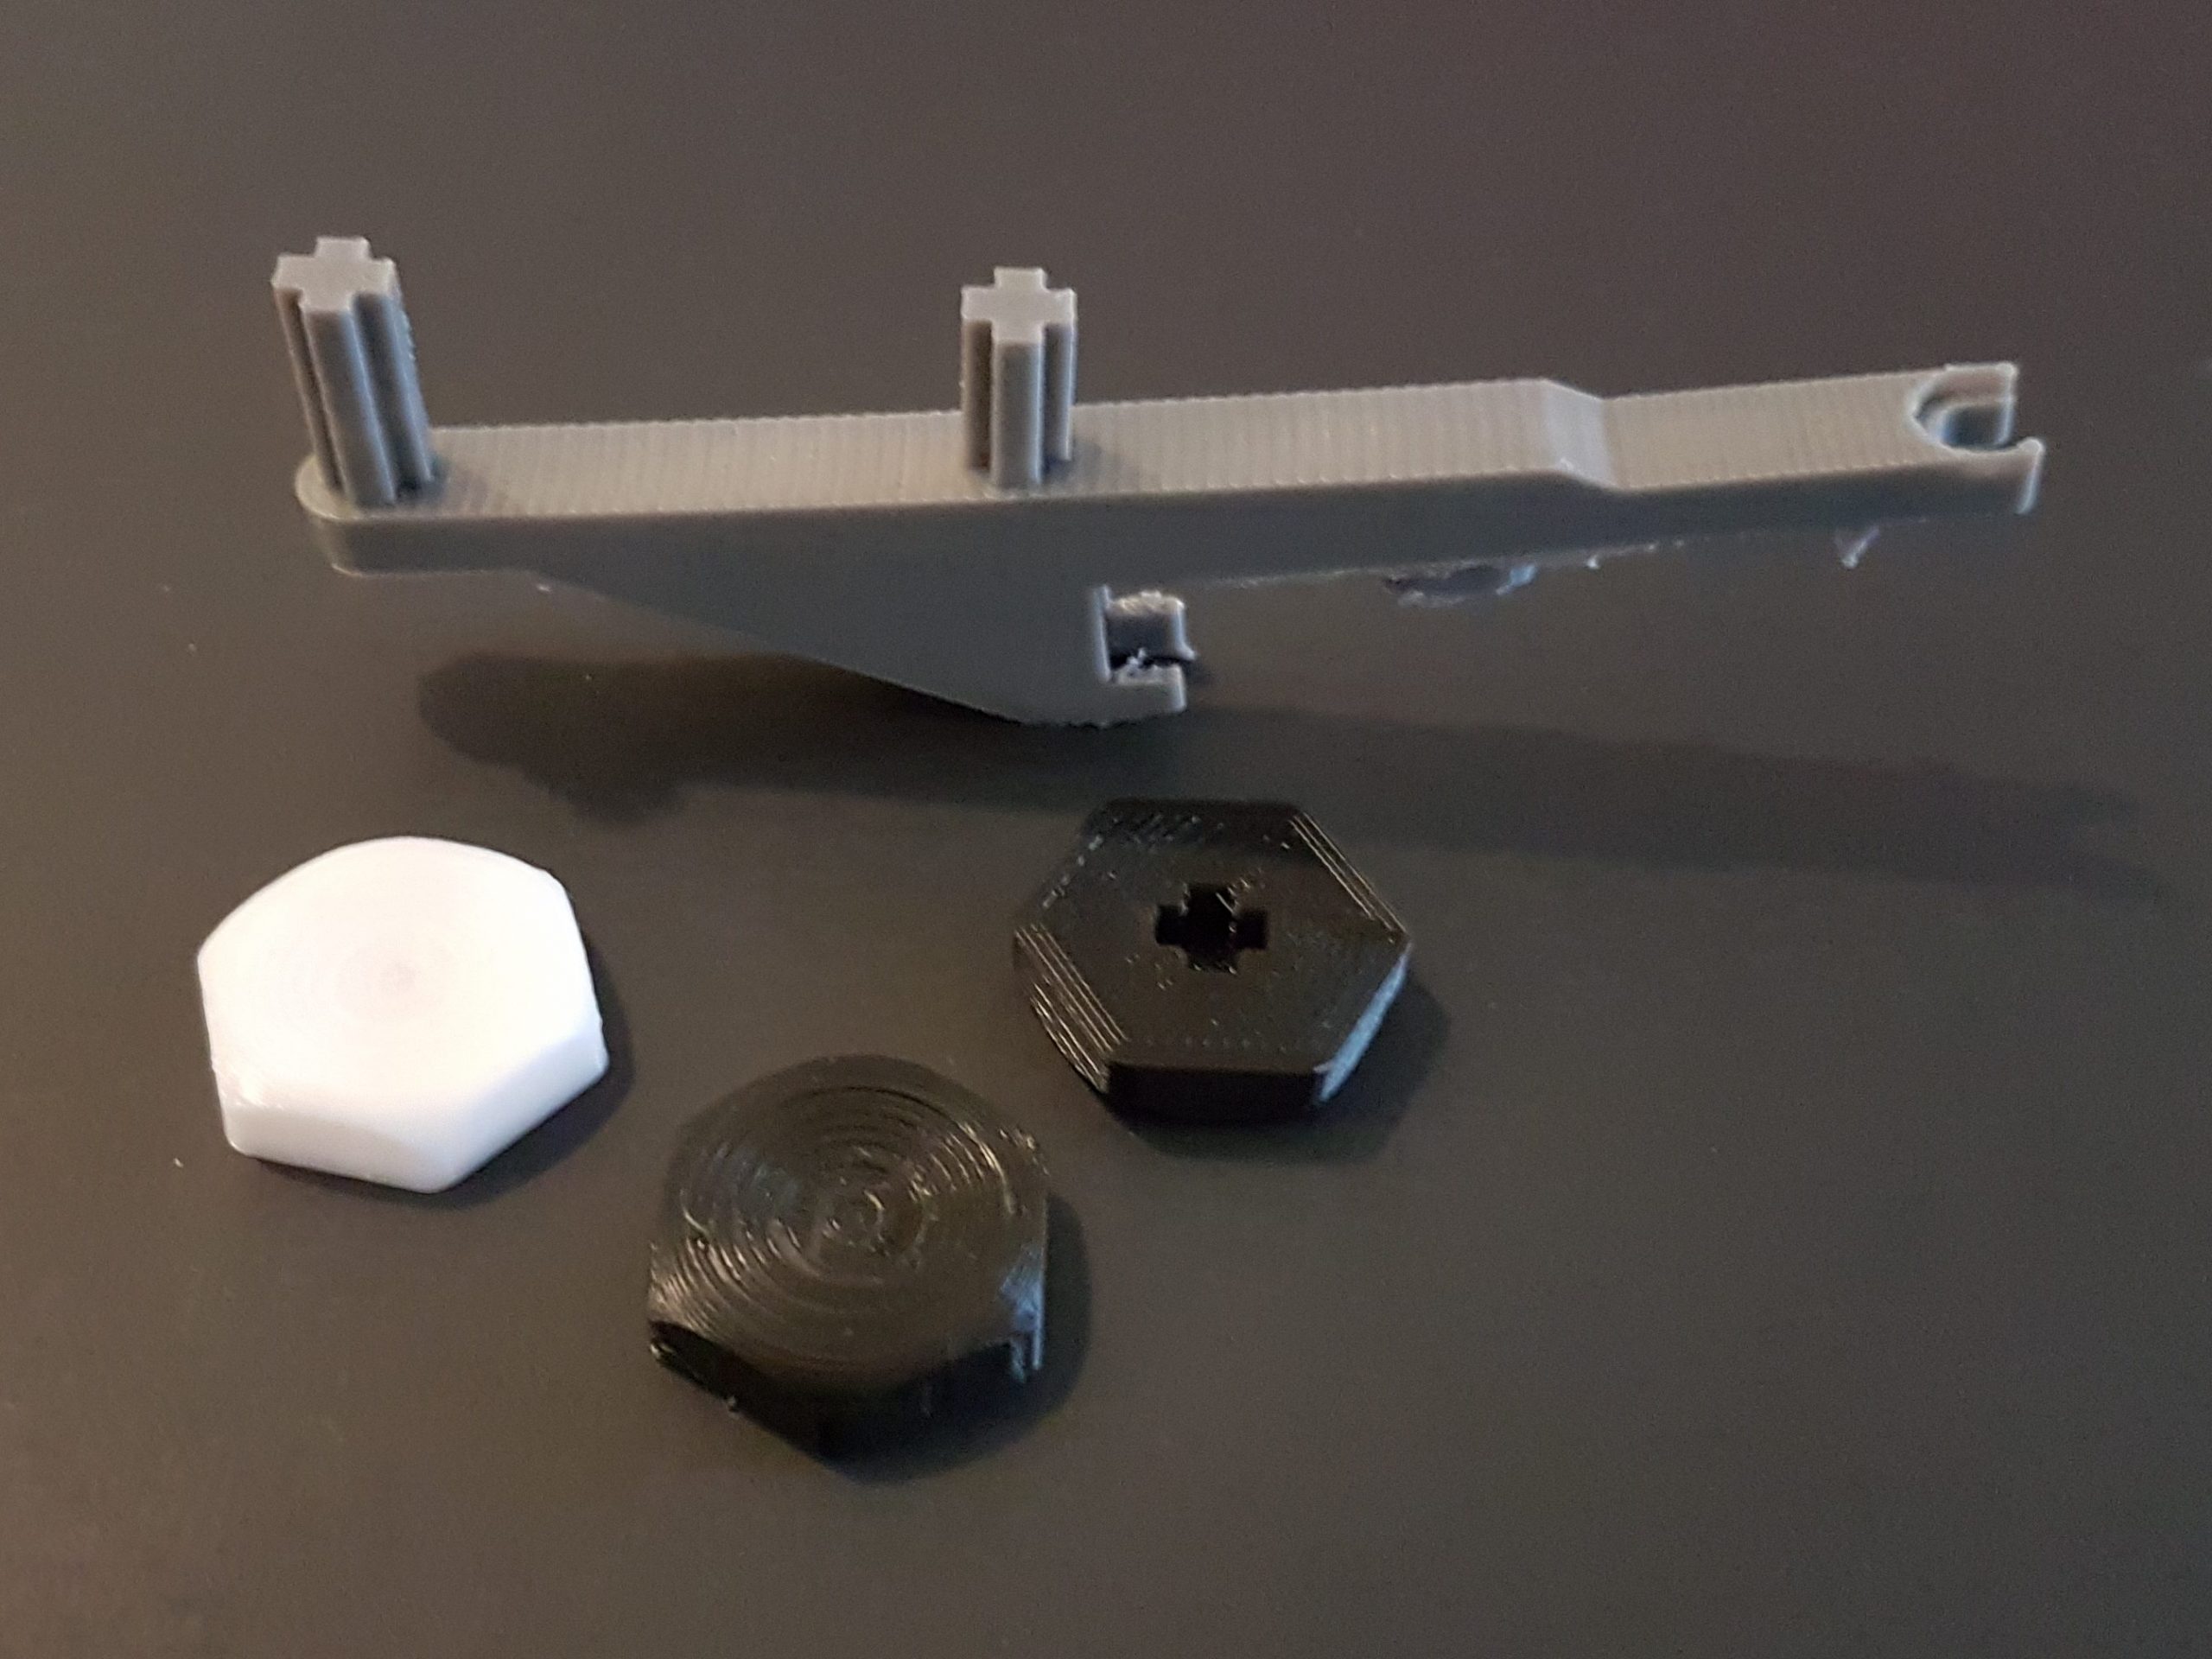
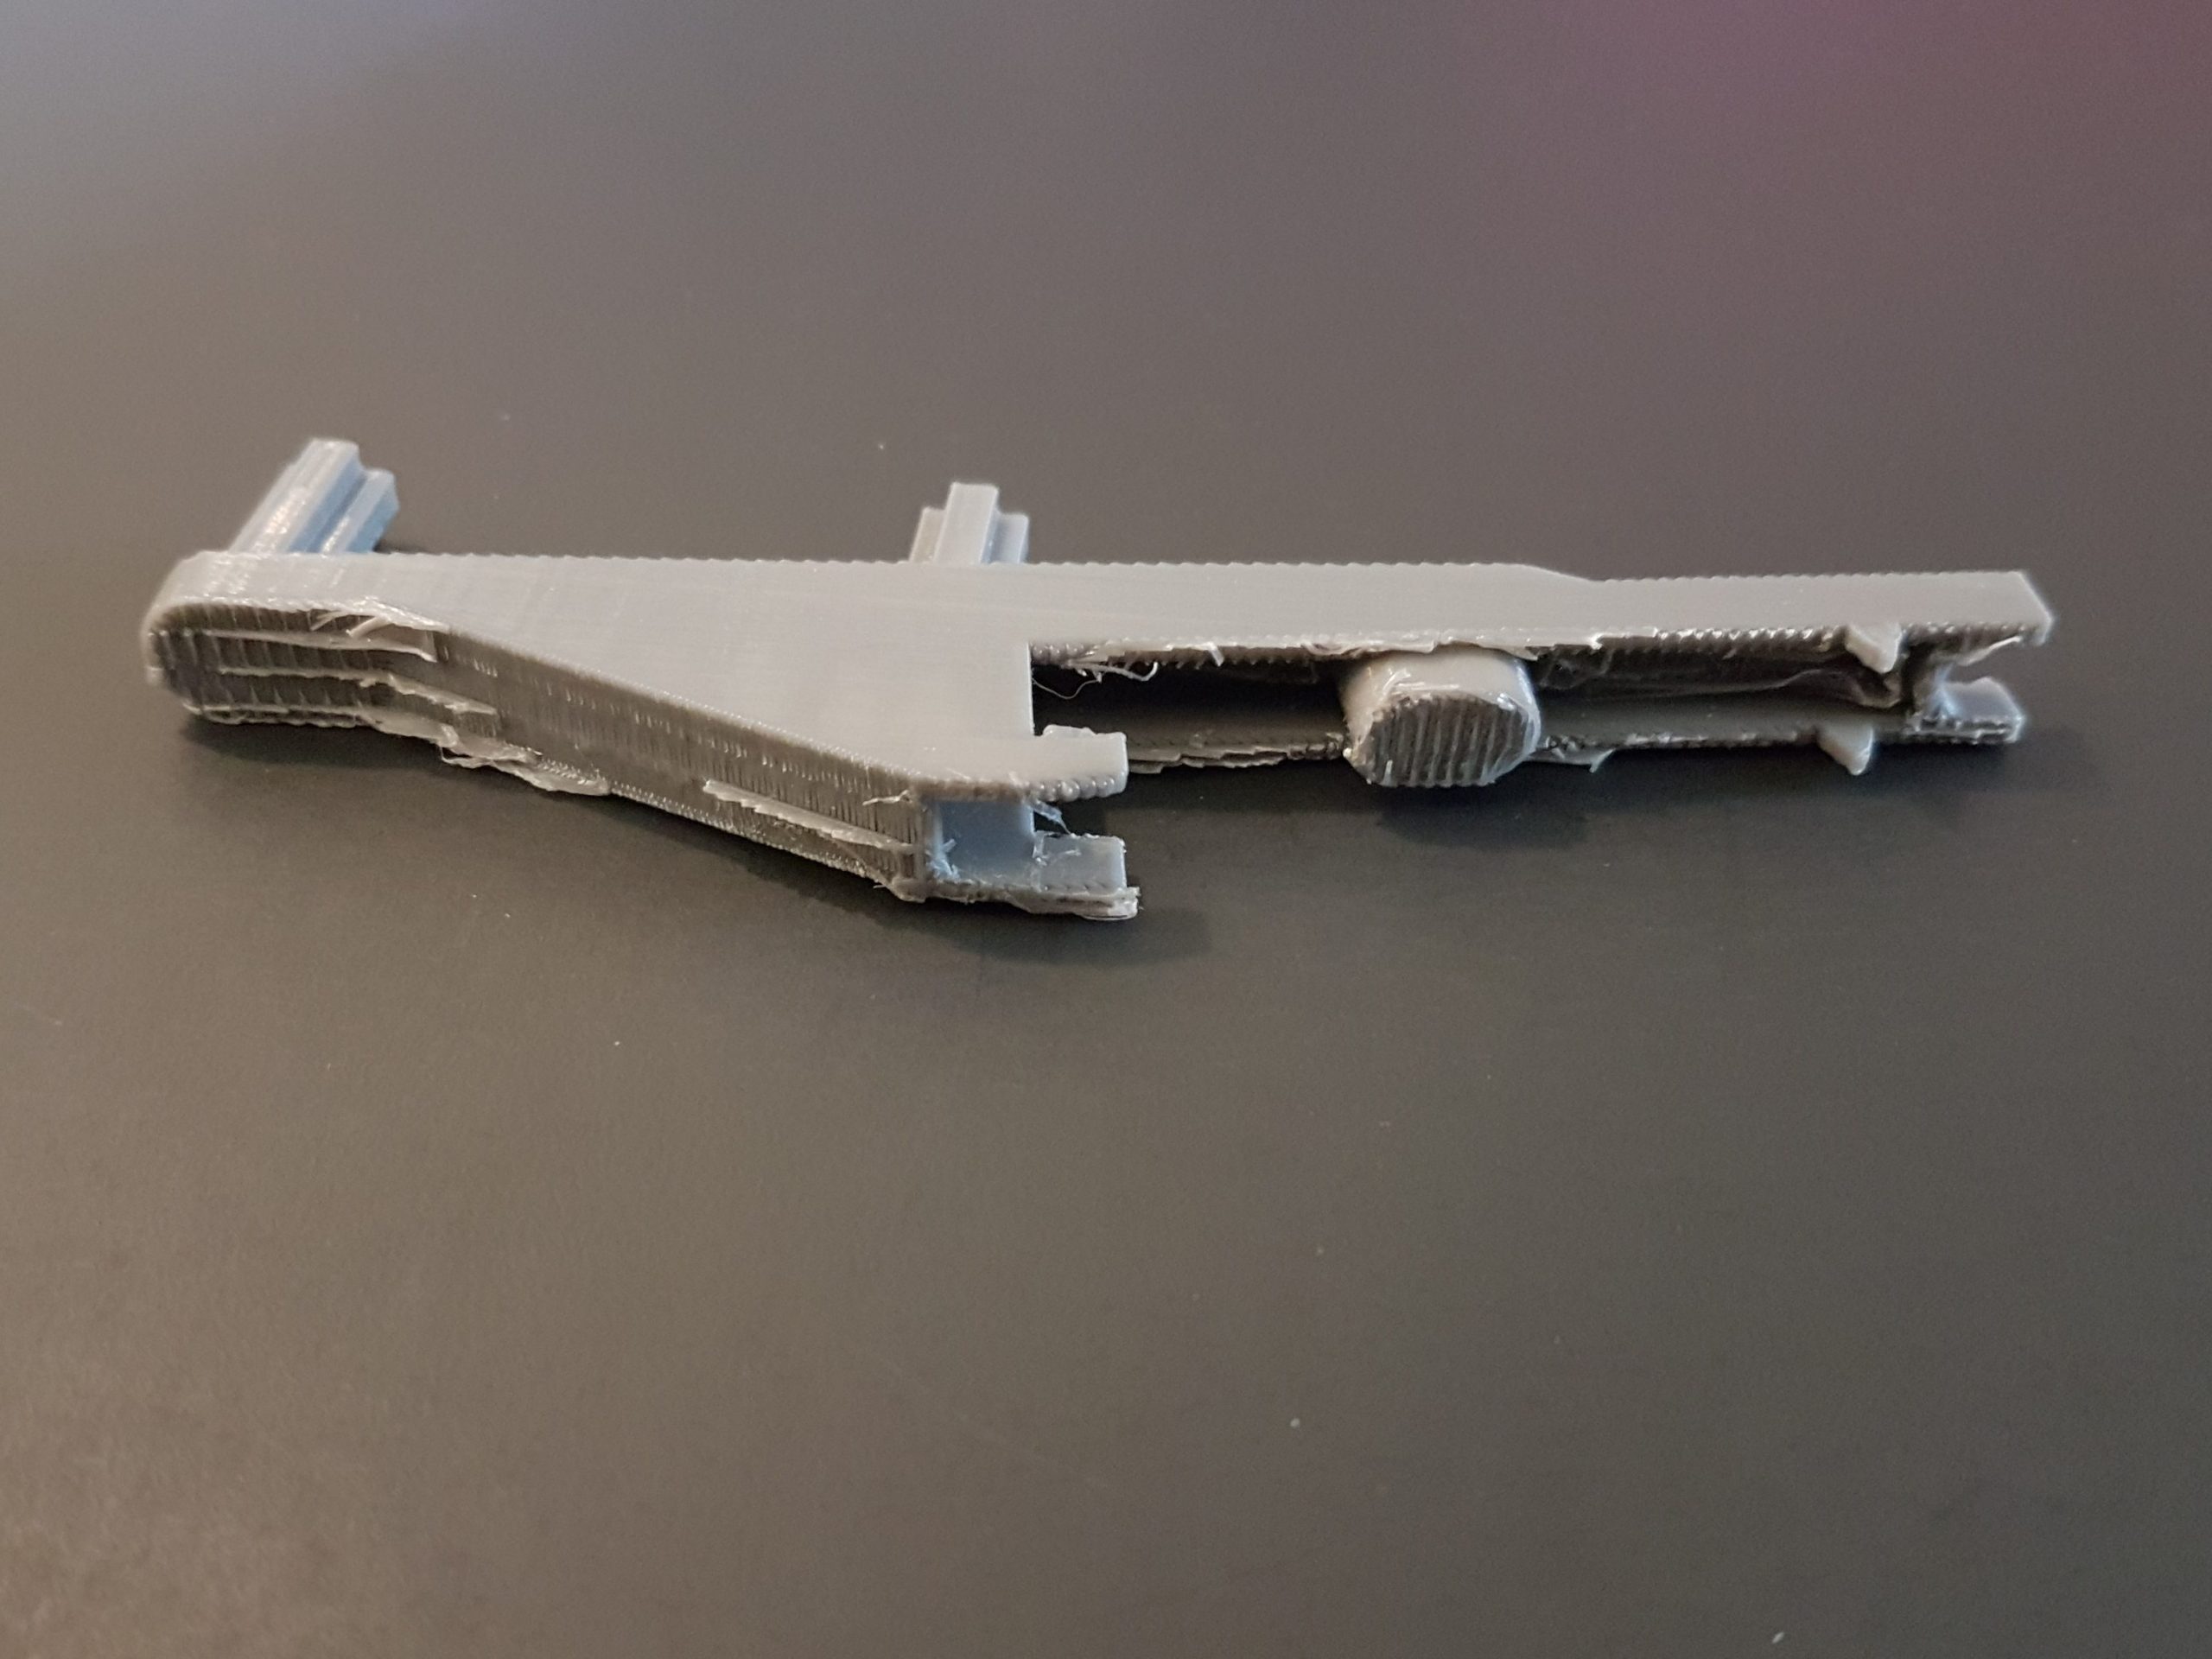
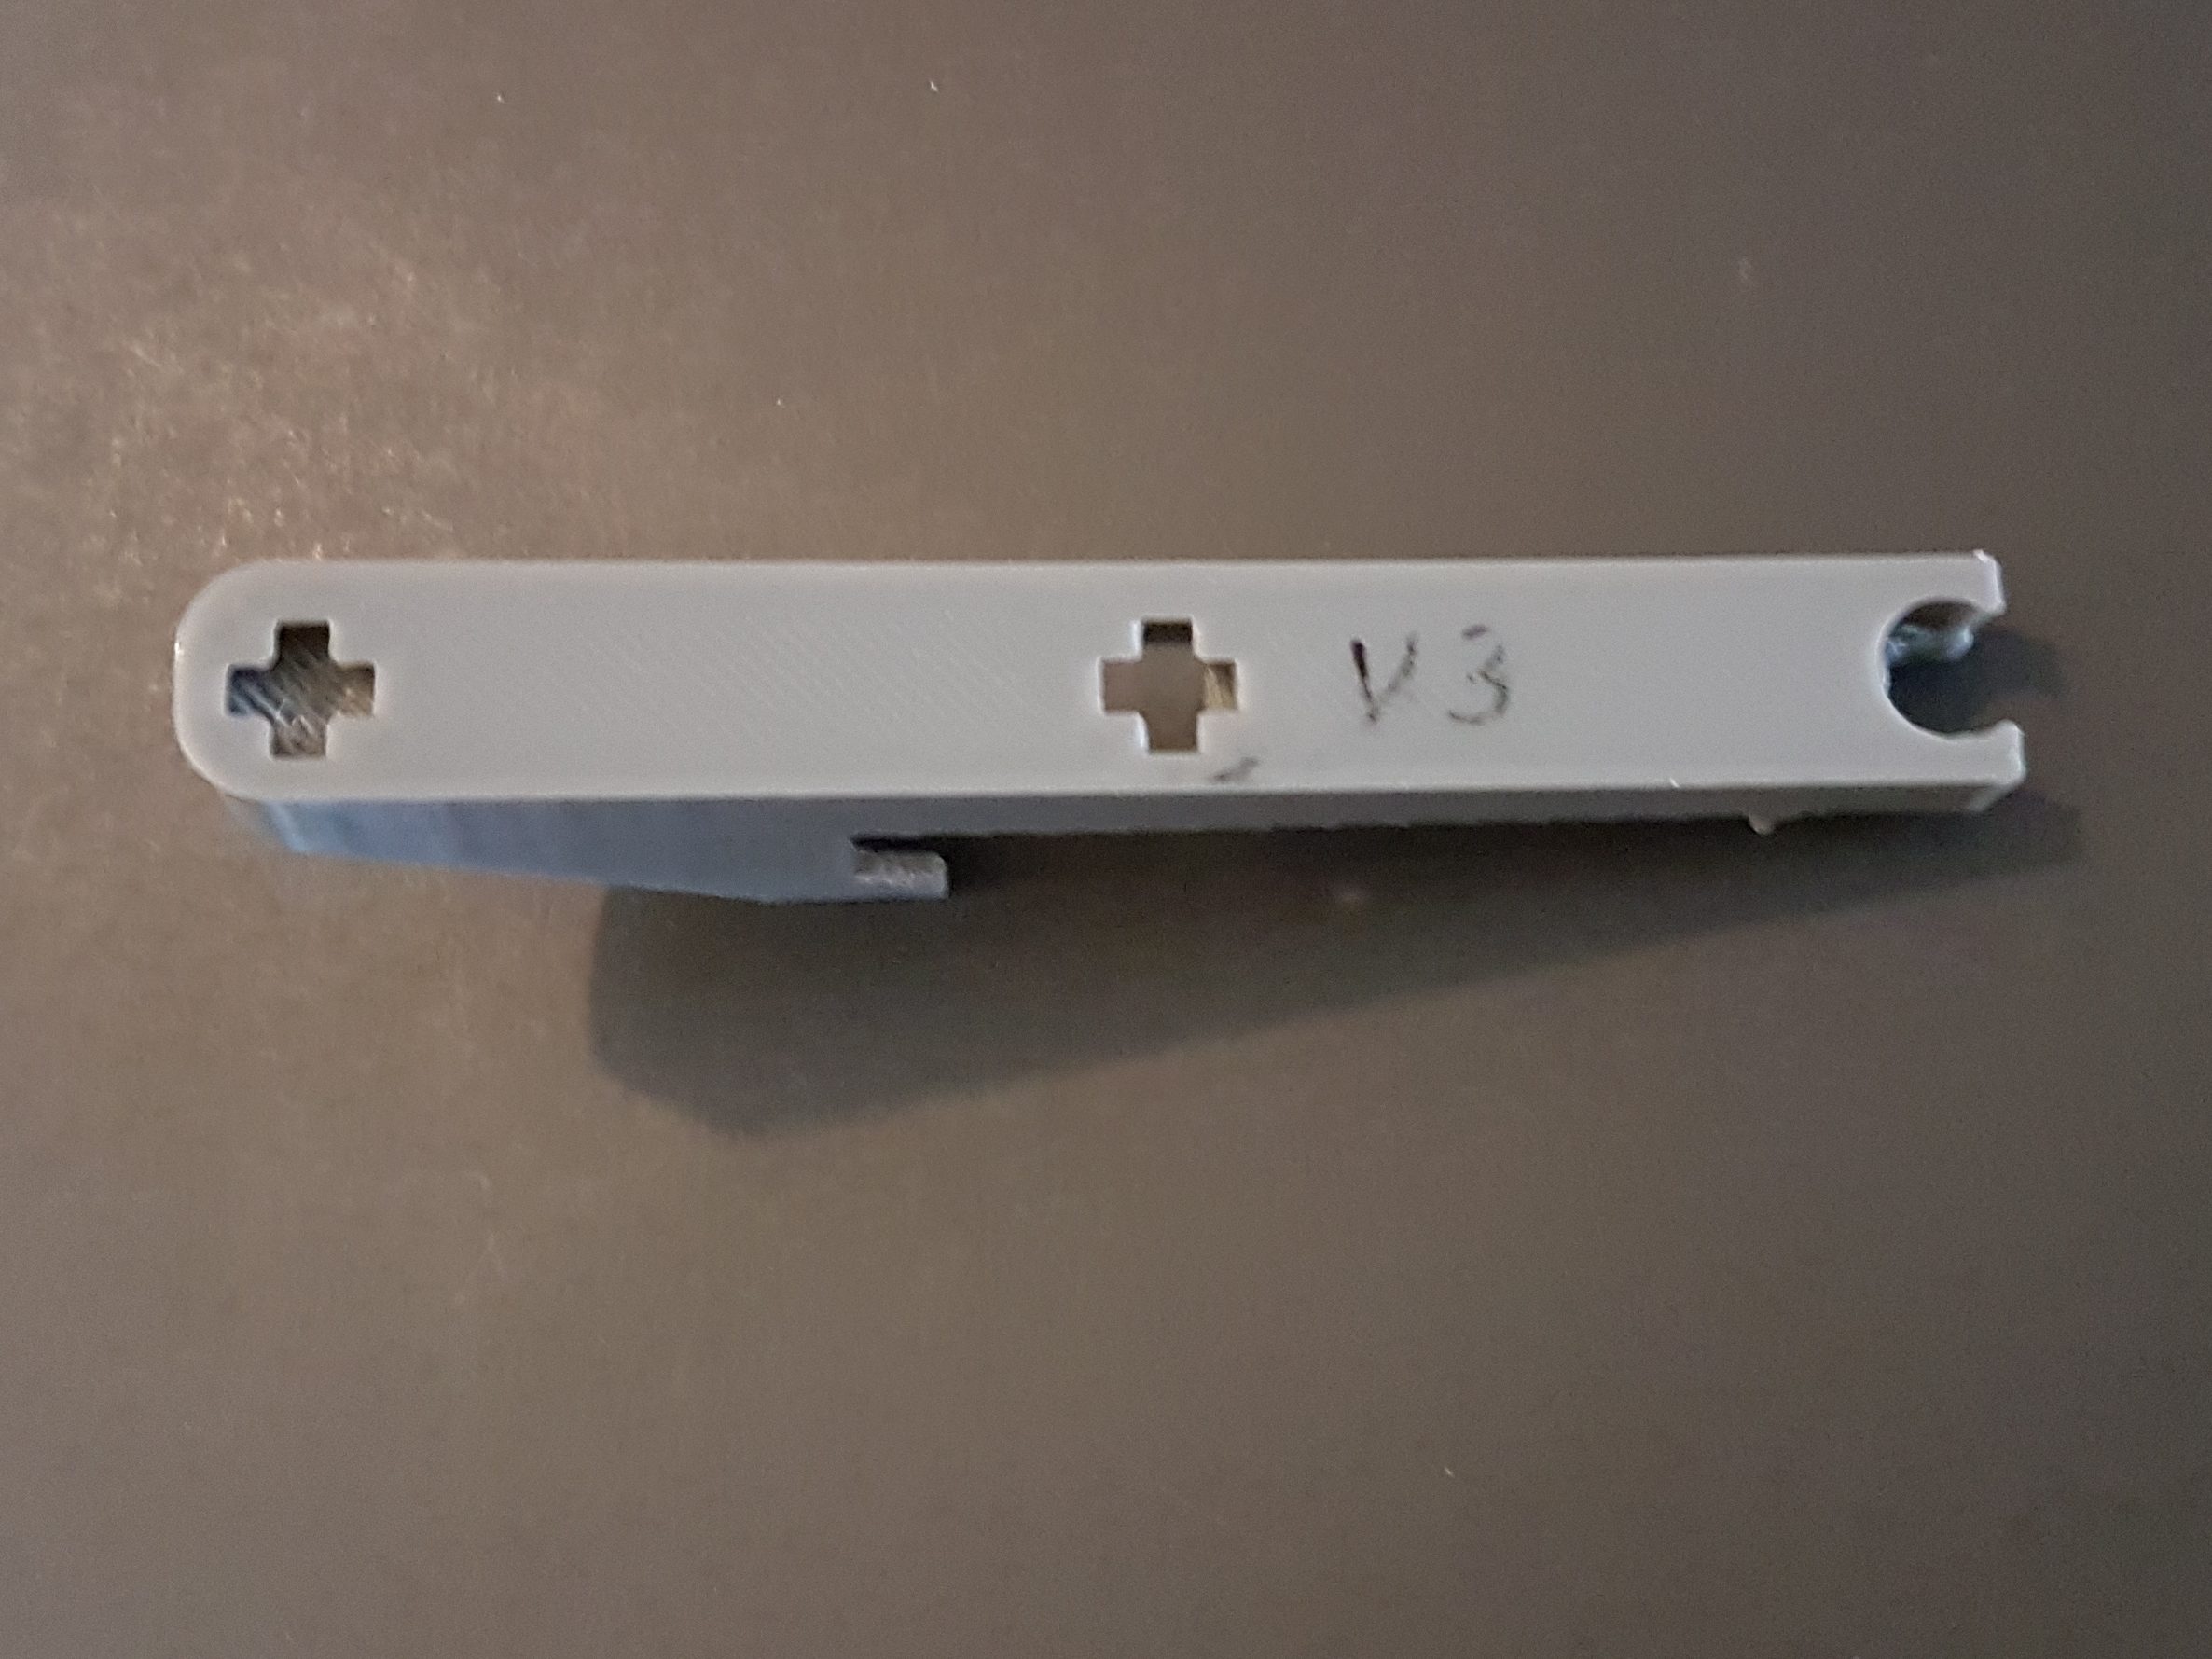
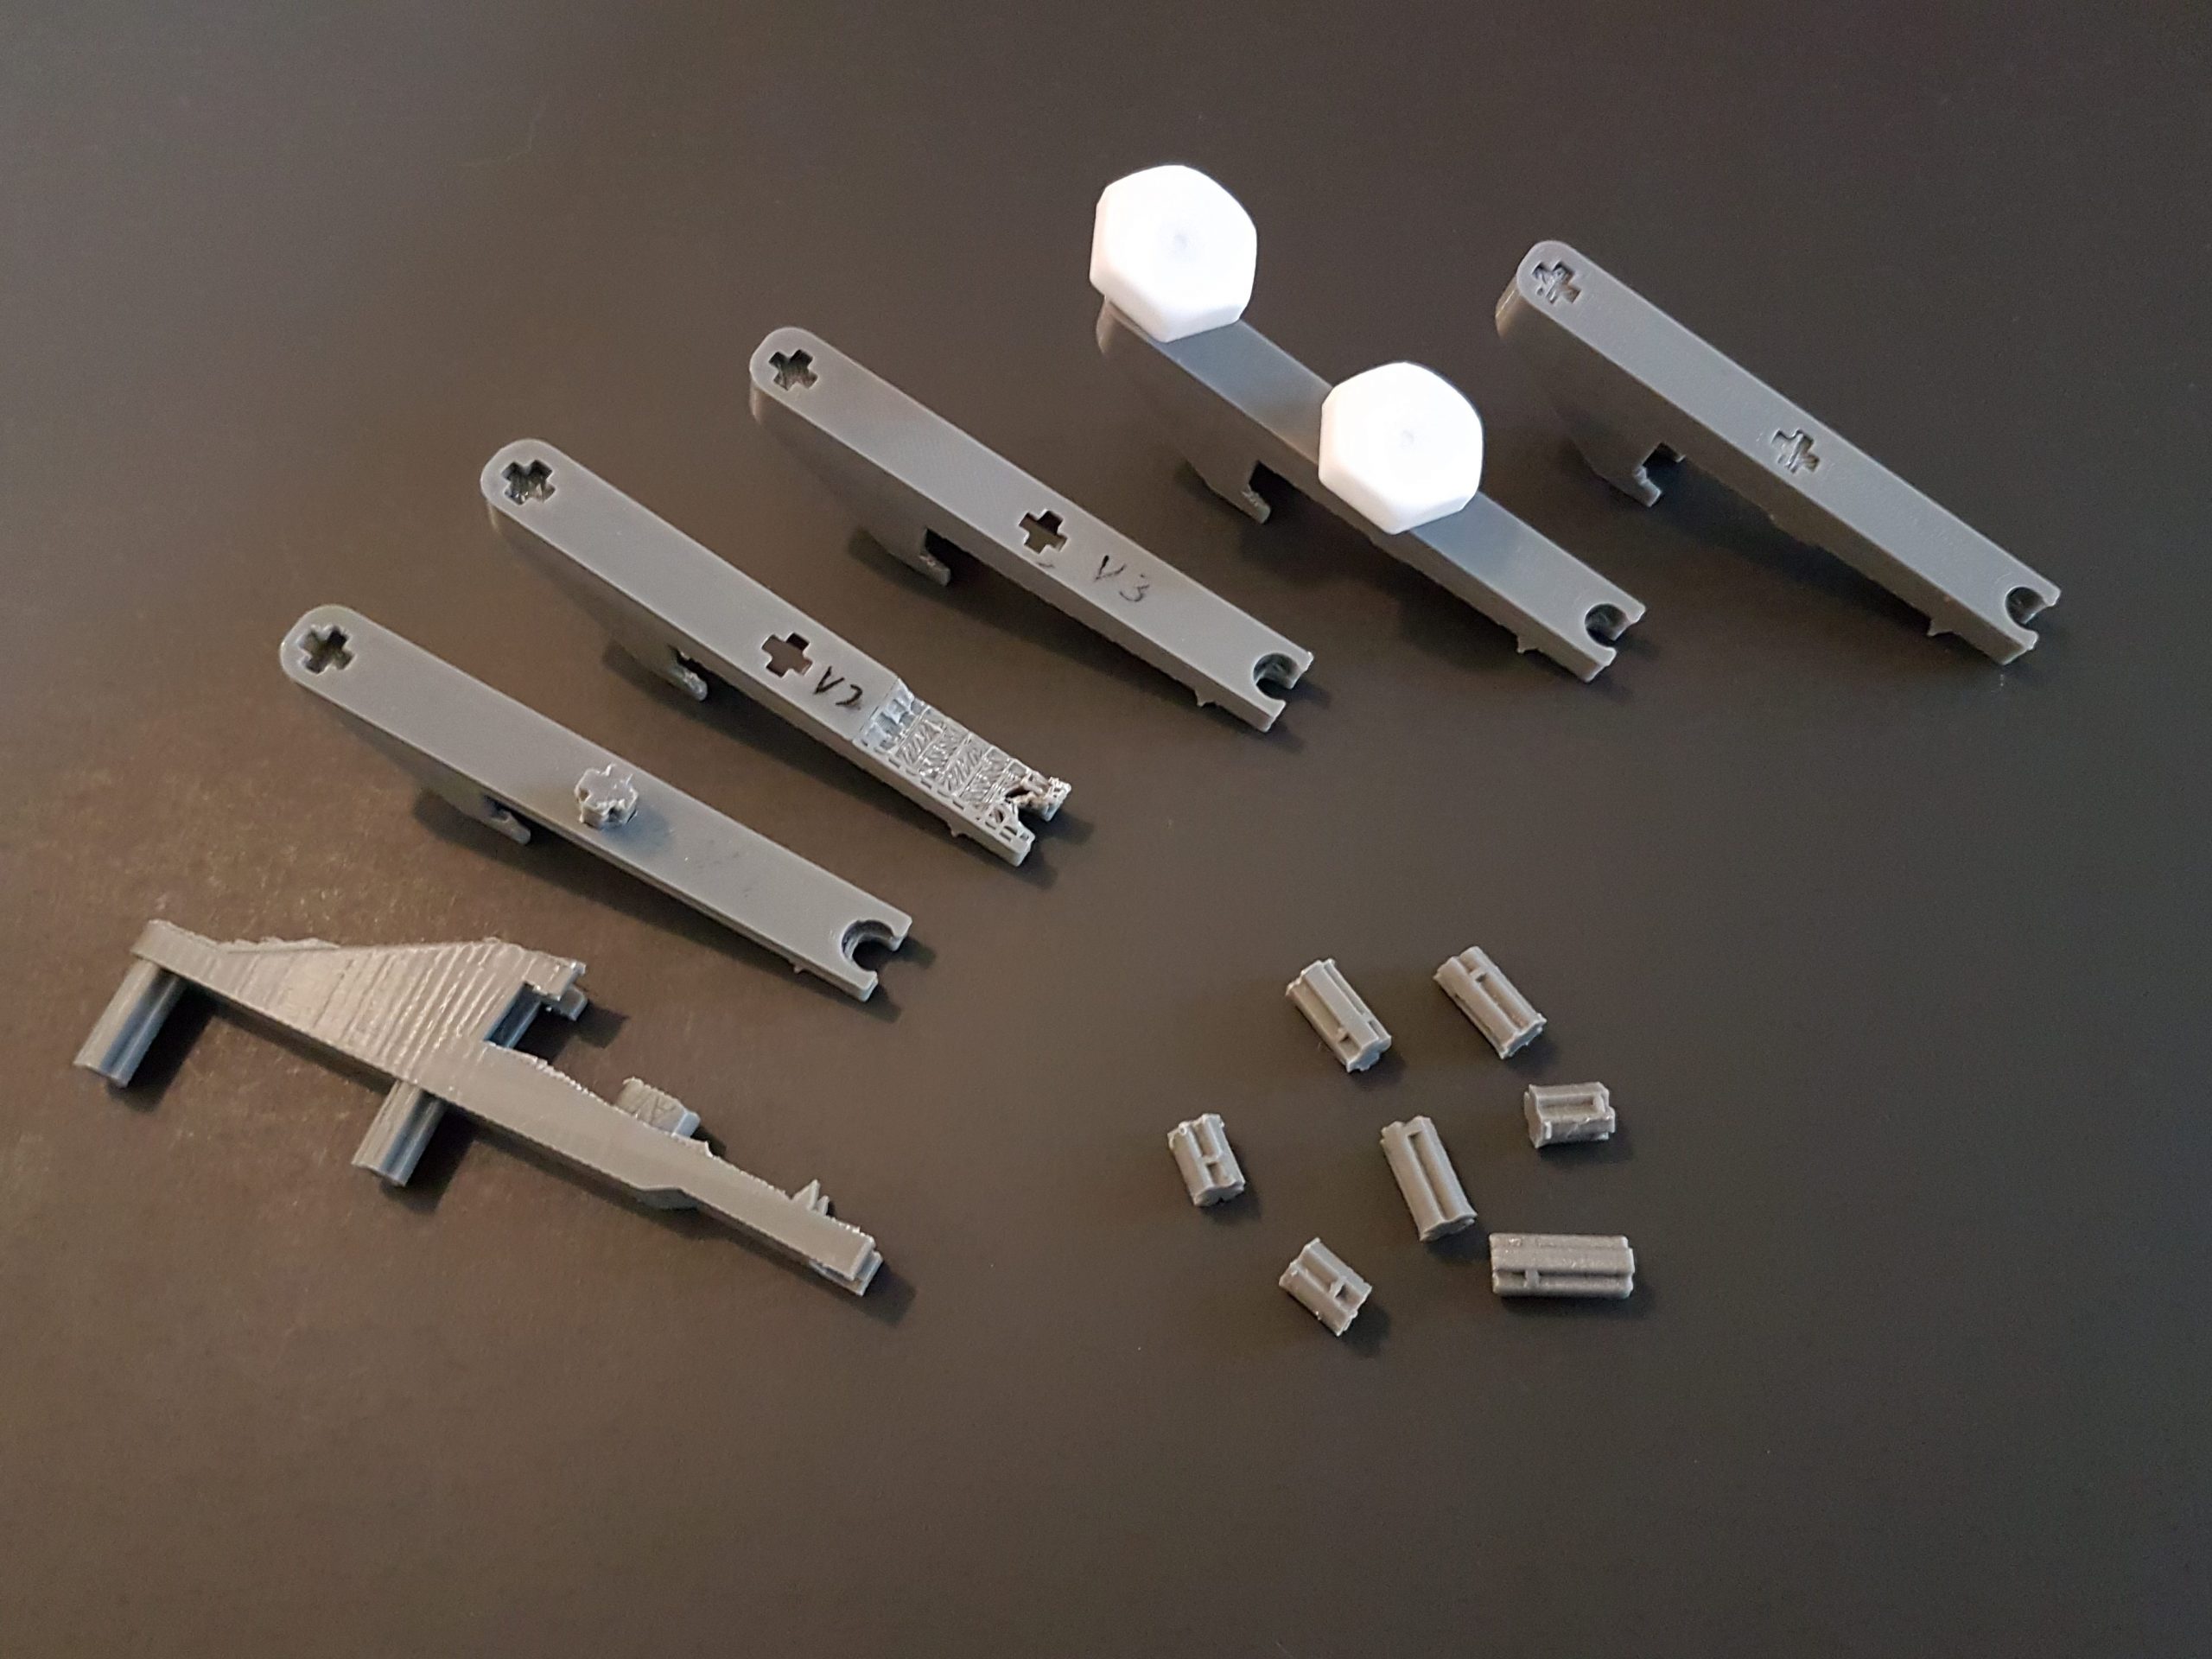
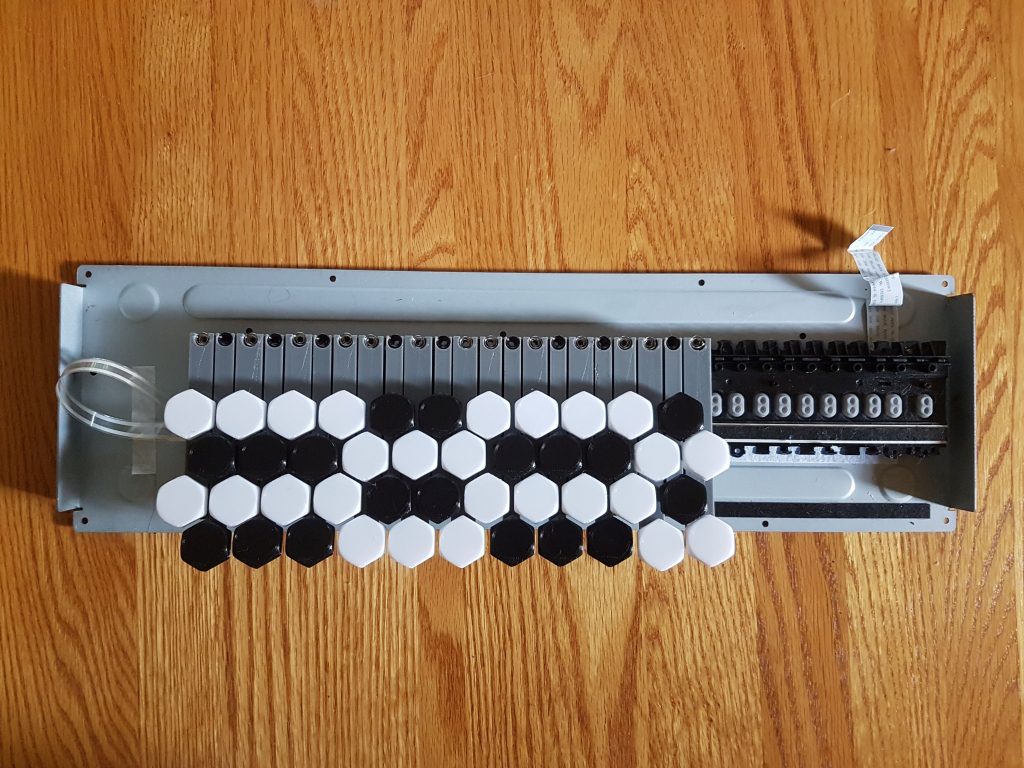
Once we were finally happy with the key design, we still had a lot of printing to do.
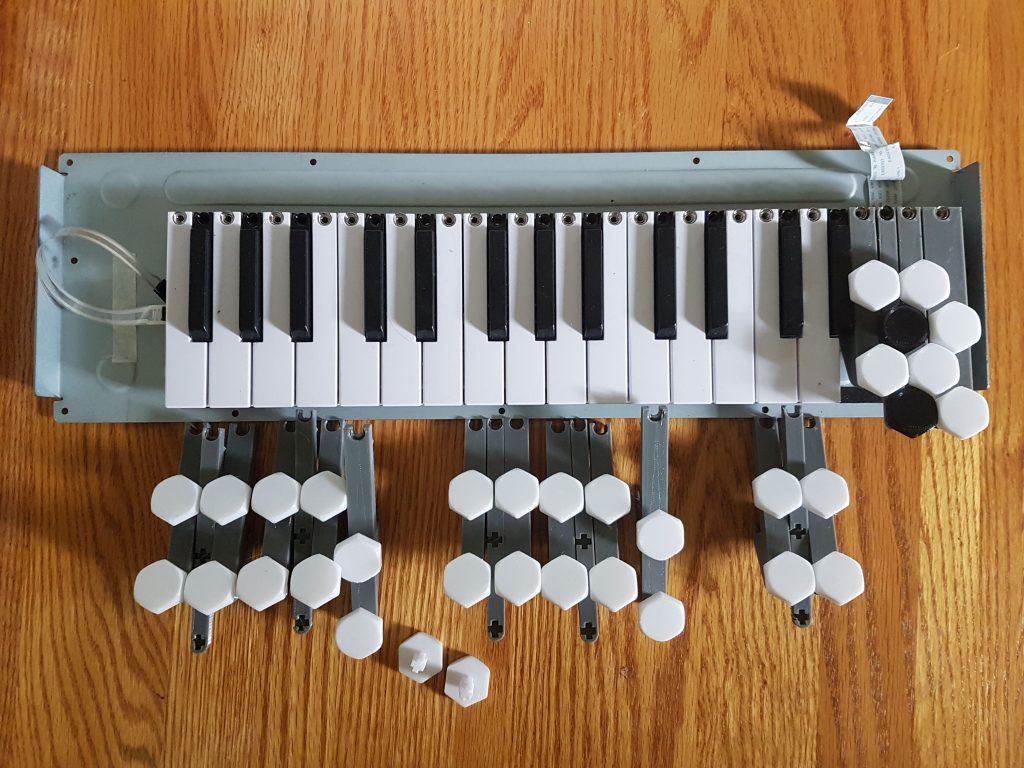
Here’s the keyboard with most of the original keys, and just our few test keys installed at one end. But there are several new keys ready to go!
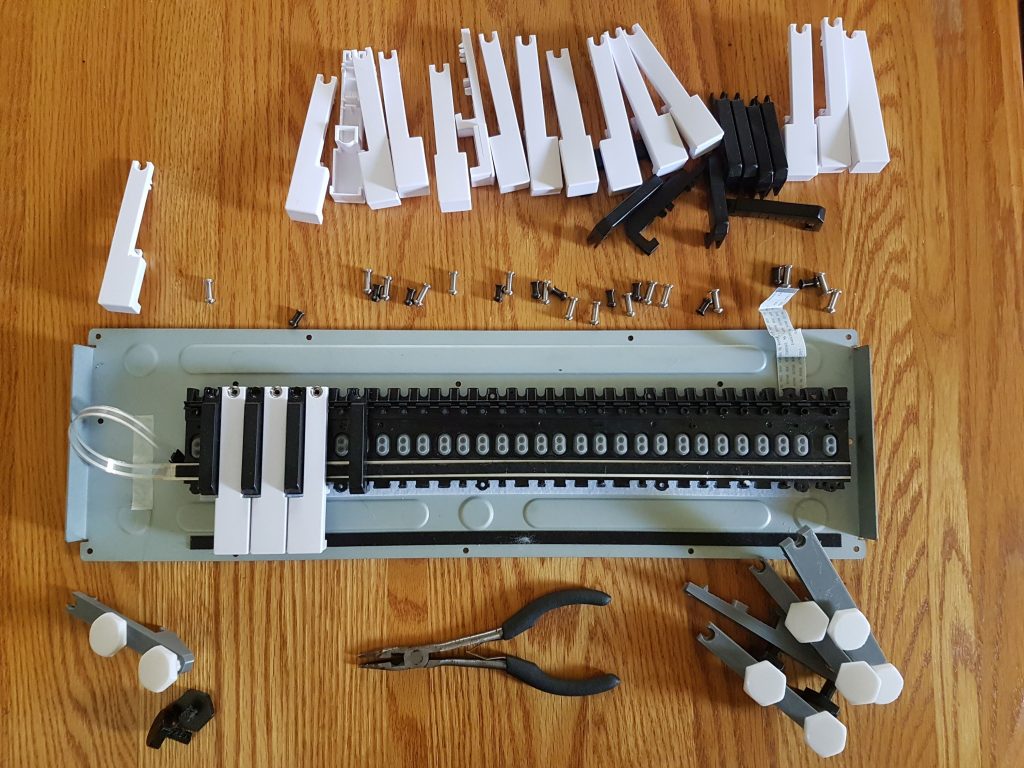
Because the Jankó keycaps overlap neighboring keys, they need to be installed in order from one end, so all of the original keys had to be removed first.
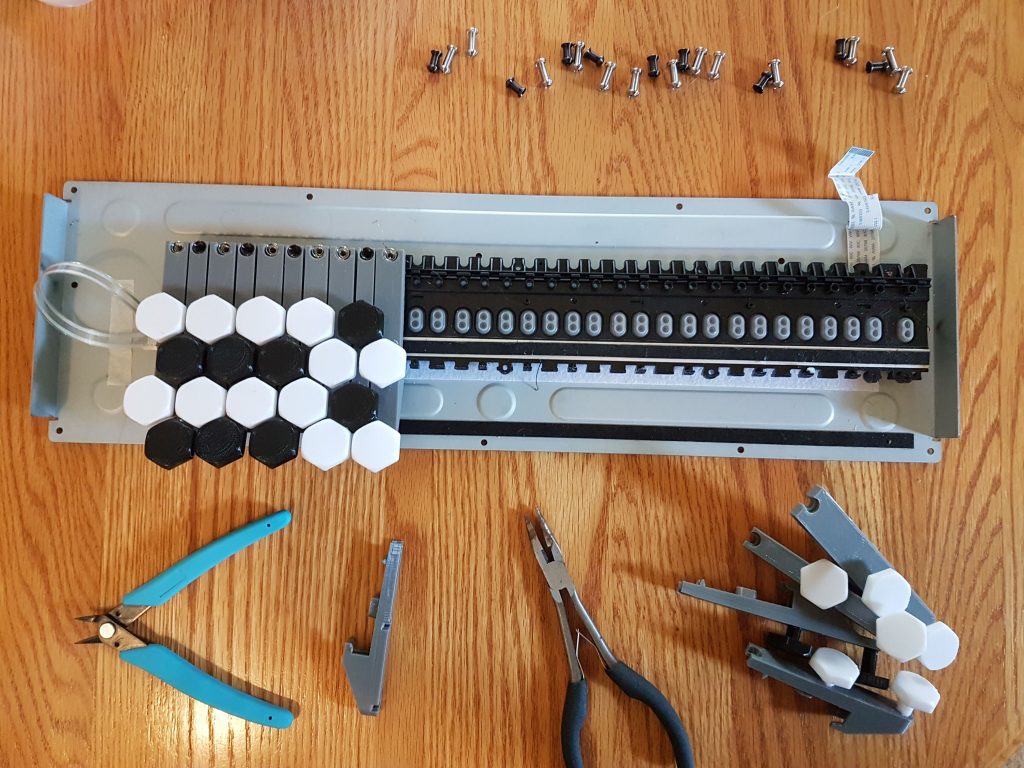
Here we’ve started installing the new keys. It was fun to see the offset black/white pattern start to emerge!
Getting close!
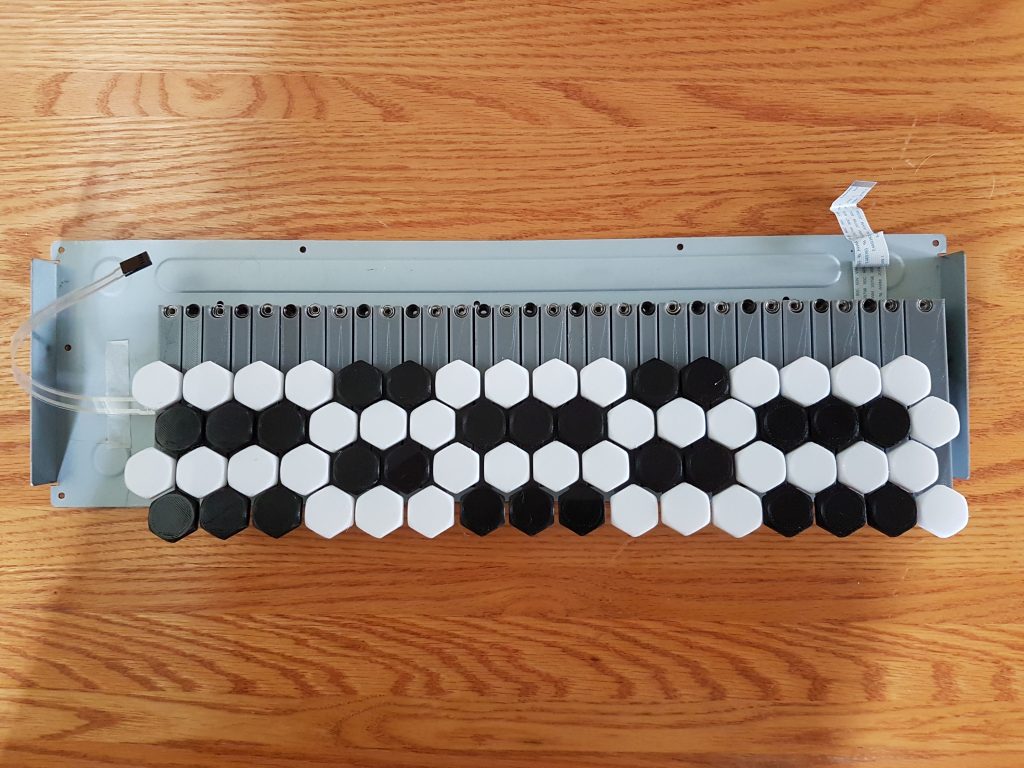
All keys installed!
It was awesome to see it all come together after so much work! But the best part was yet to come.
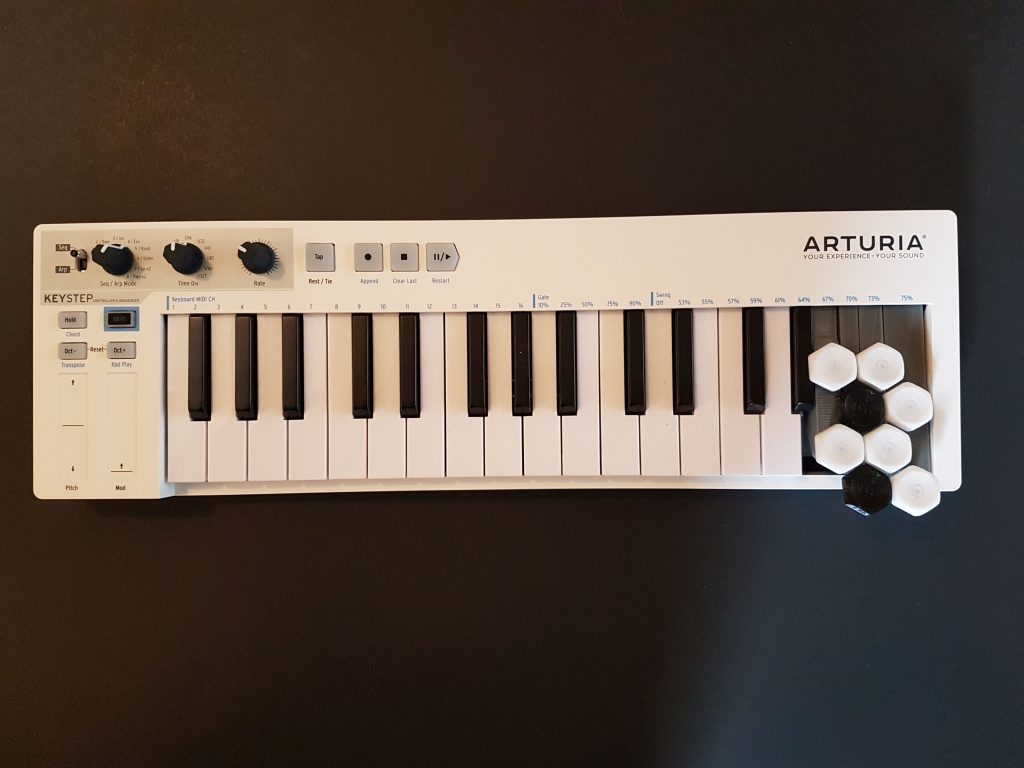
The Completed Jankó Keyboard!
Finally! Fully assembled and operational!
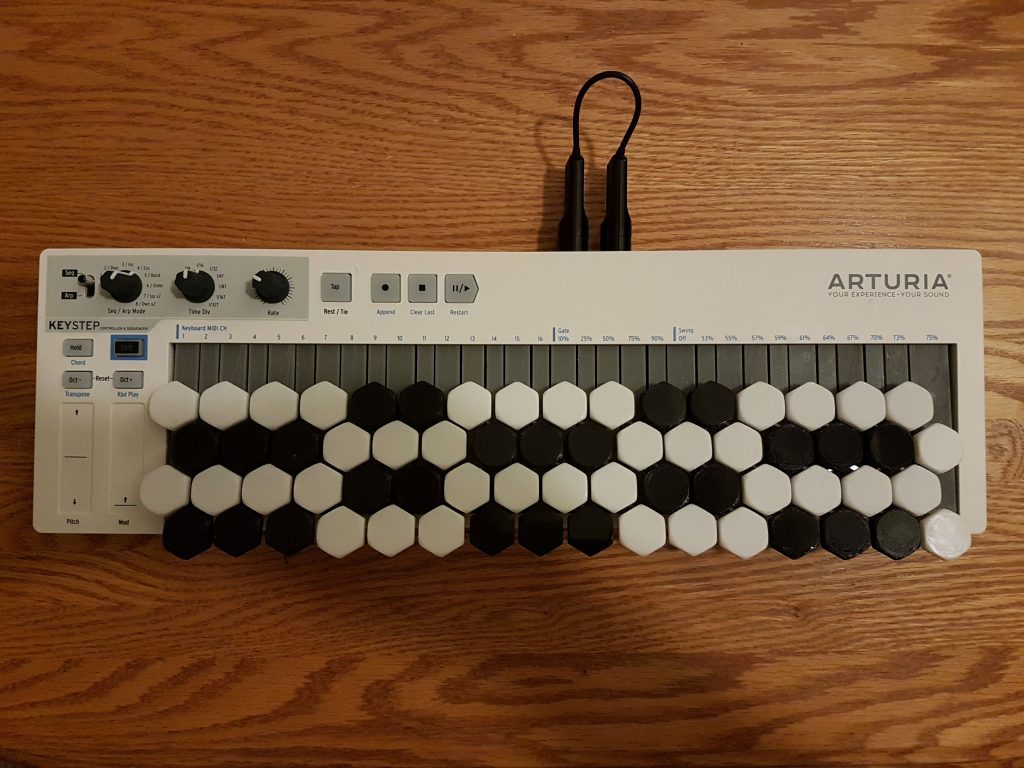
It’s very cool to see our 3D printed products incorporated into an actual functioning electronic device! And the customer is very happy and excited to learn to play it!
In Other News
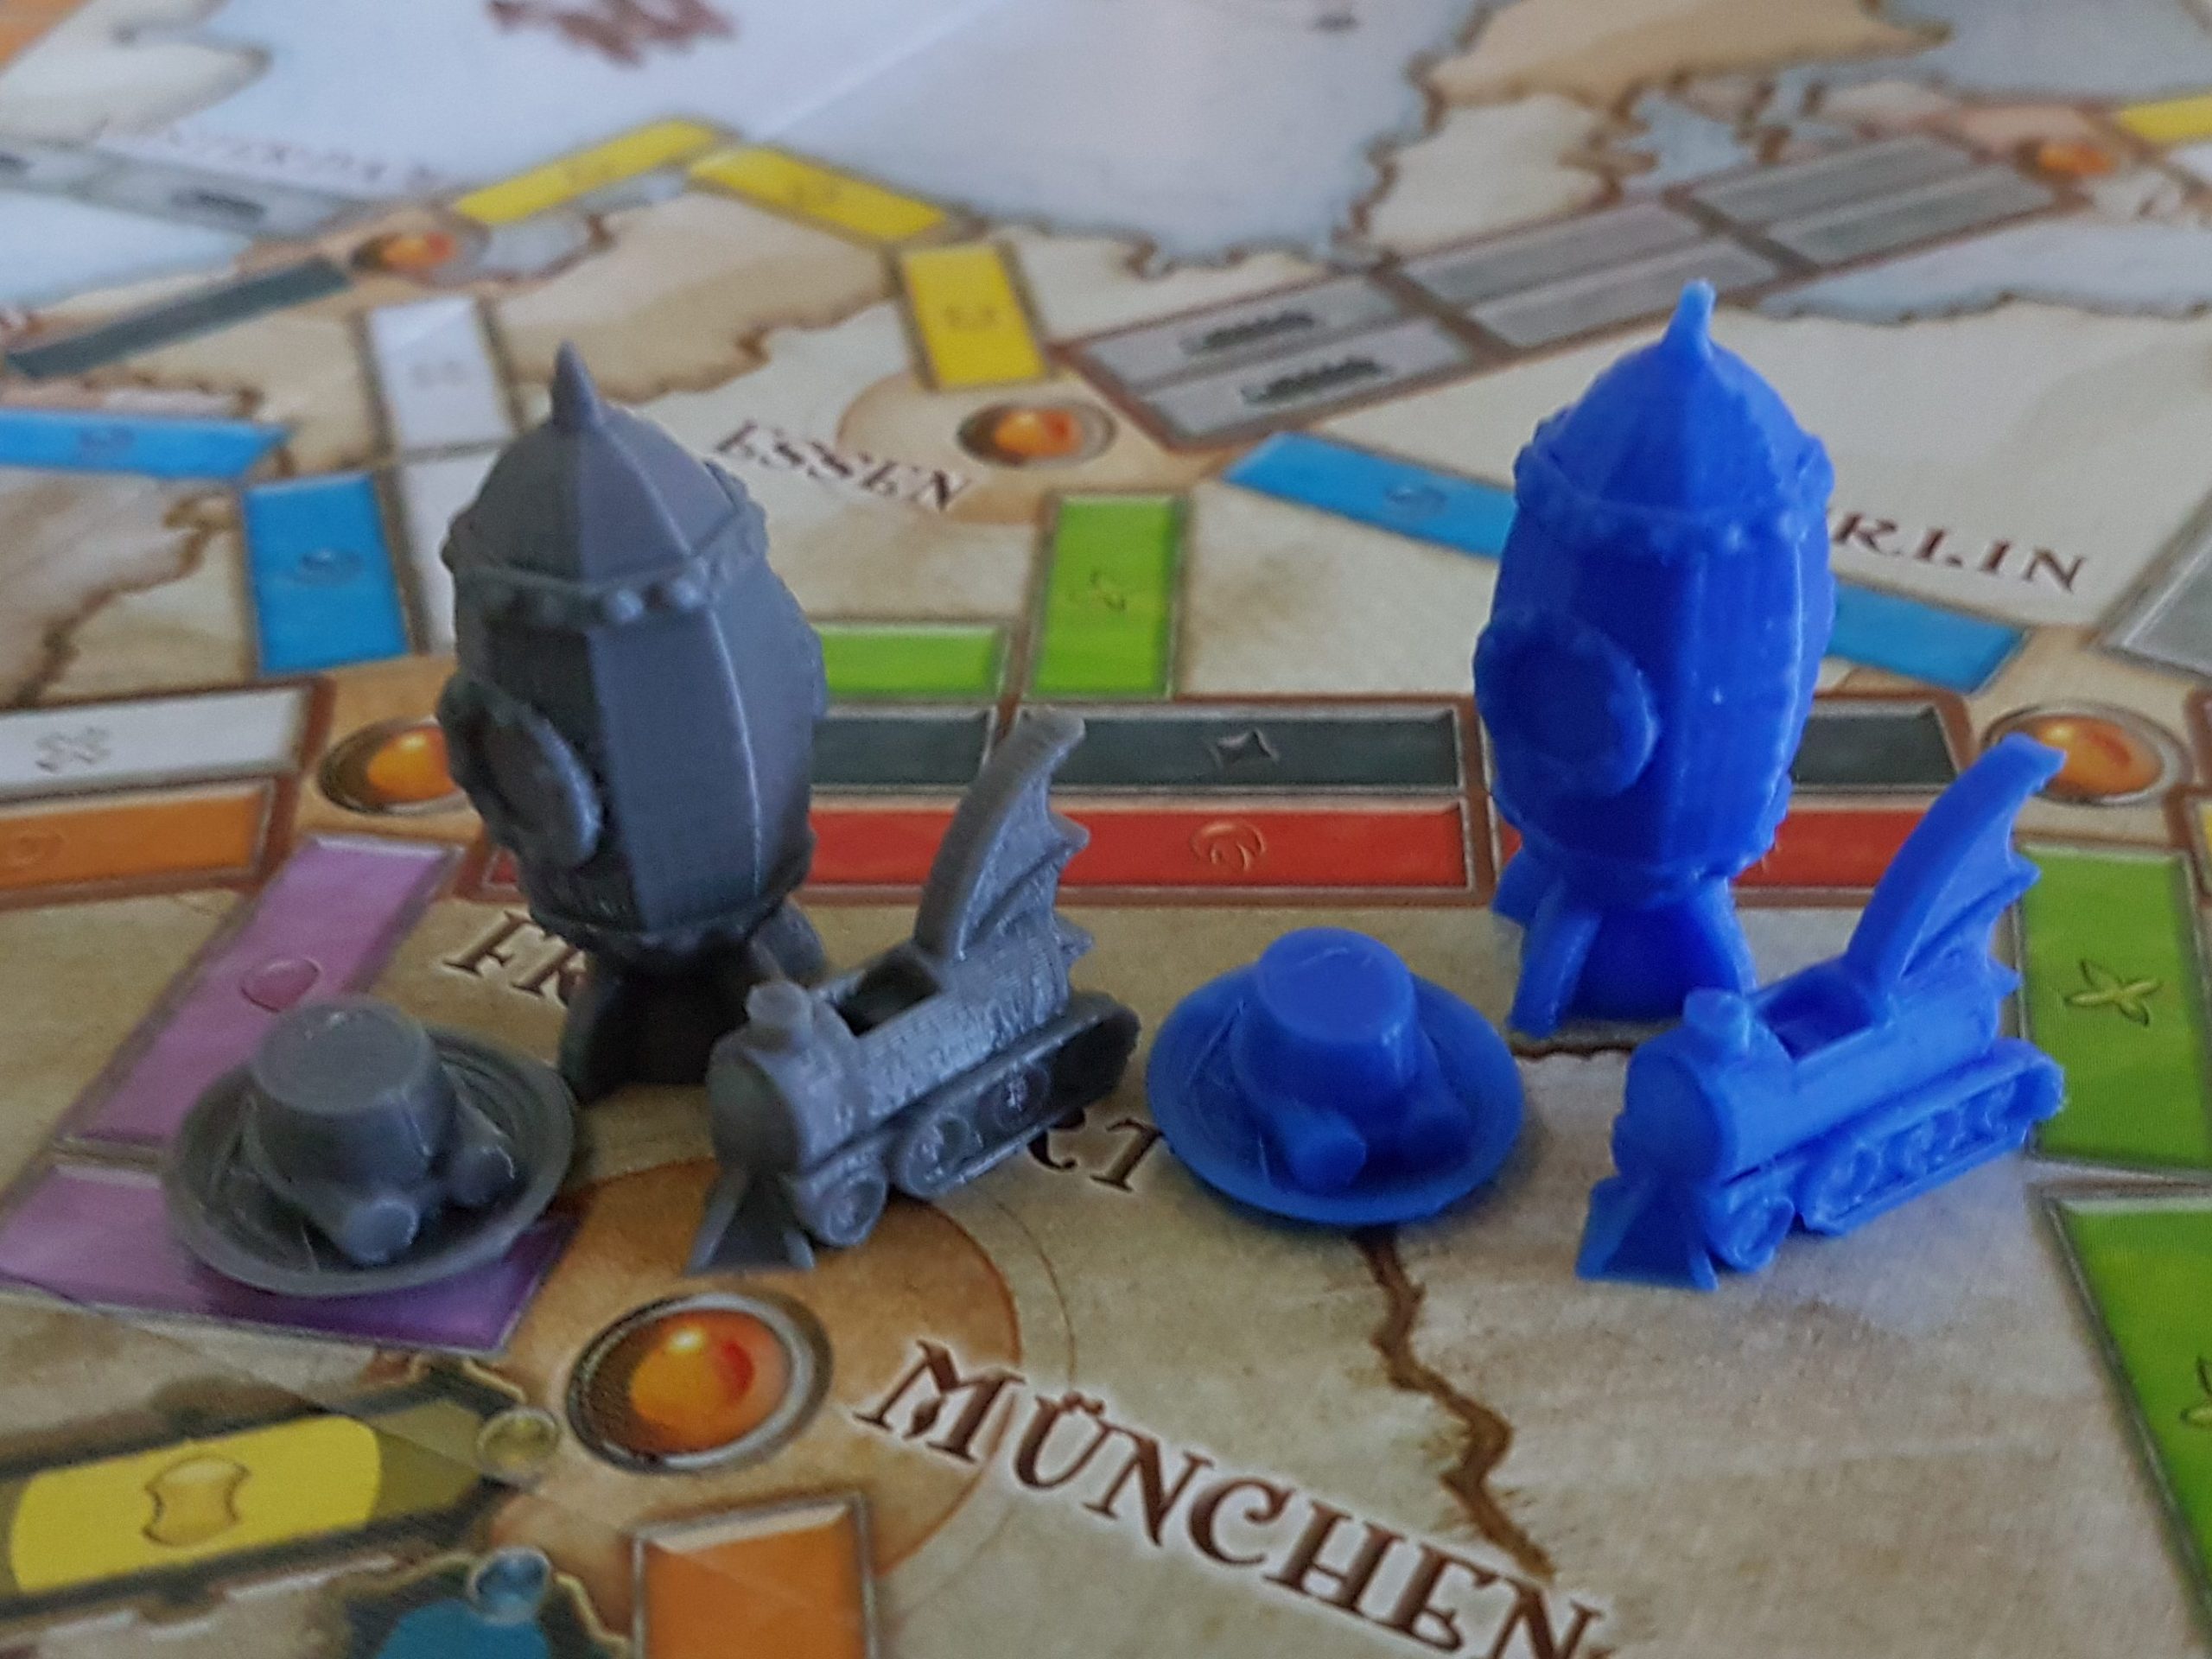
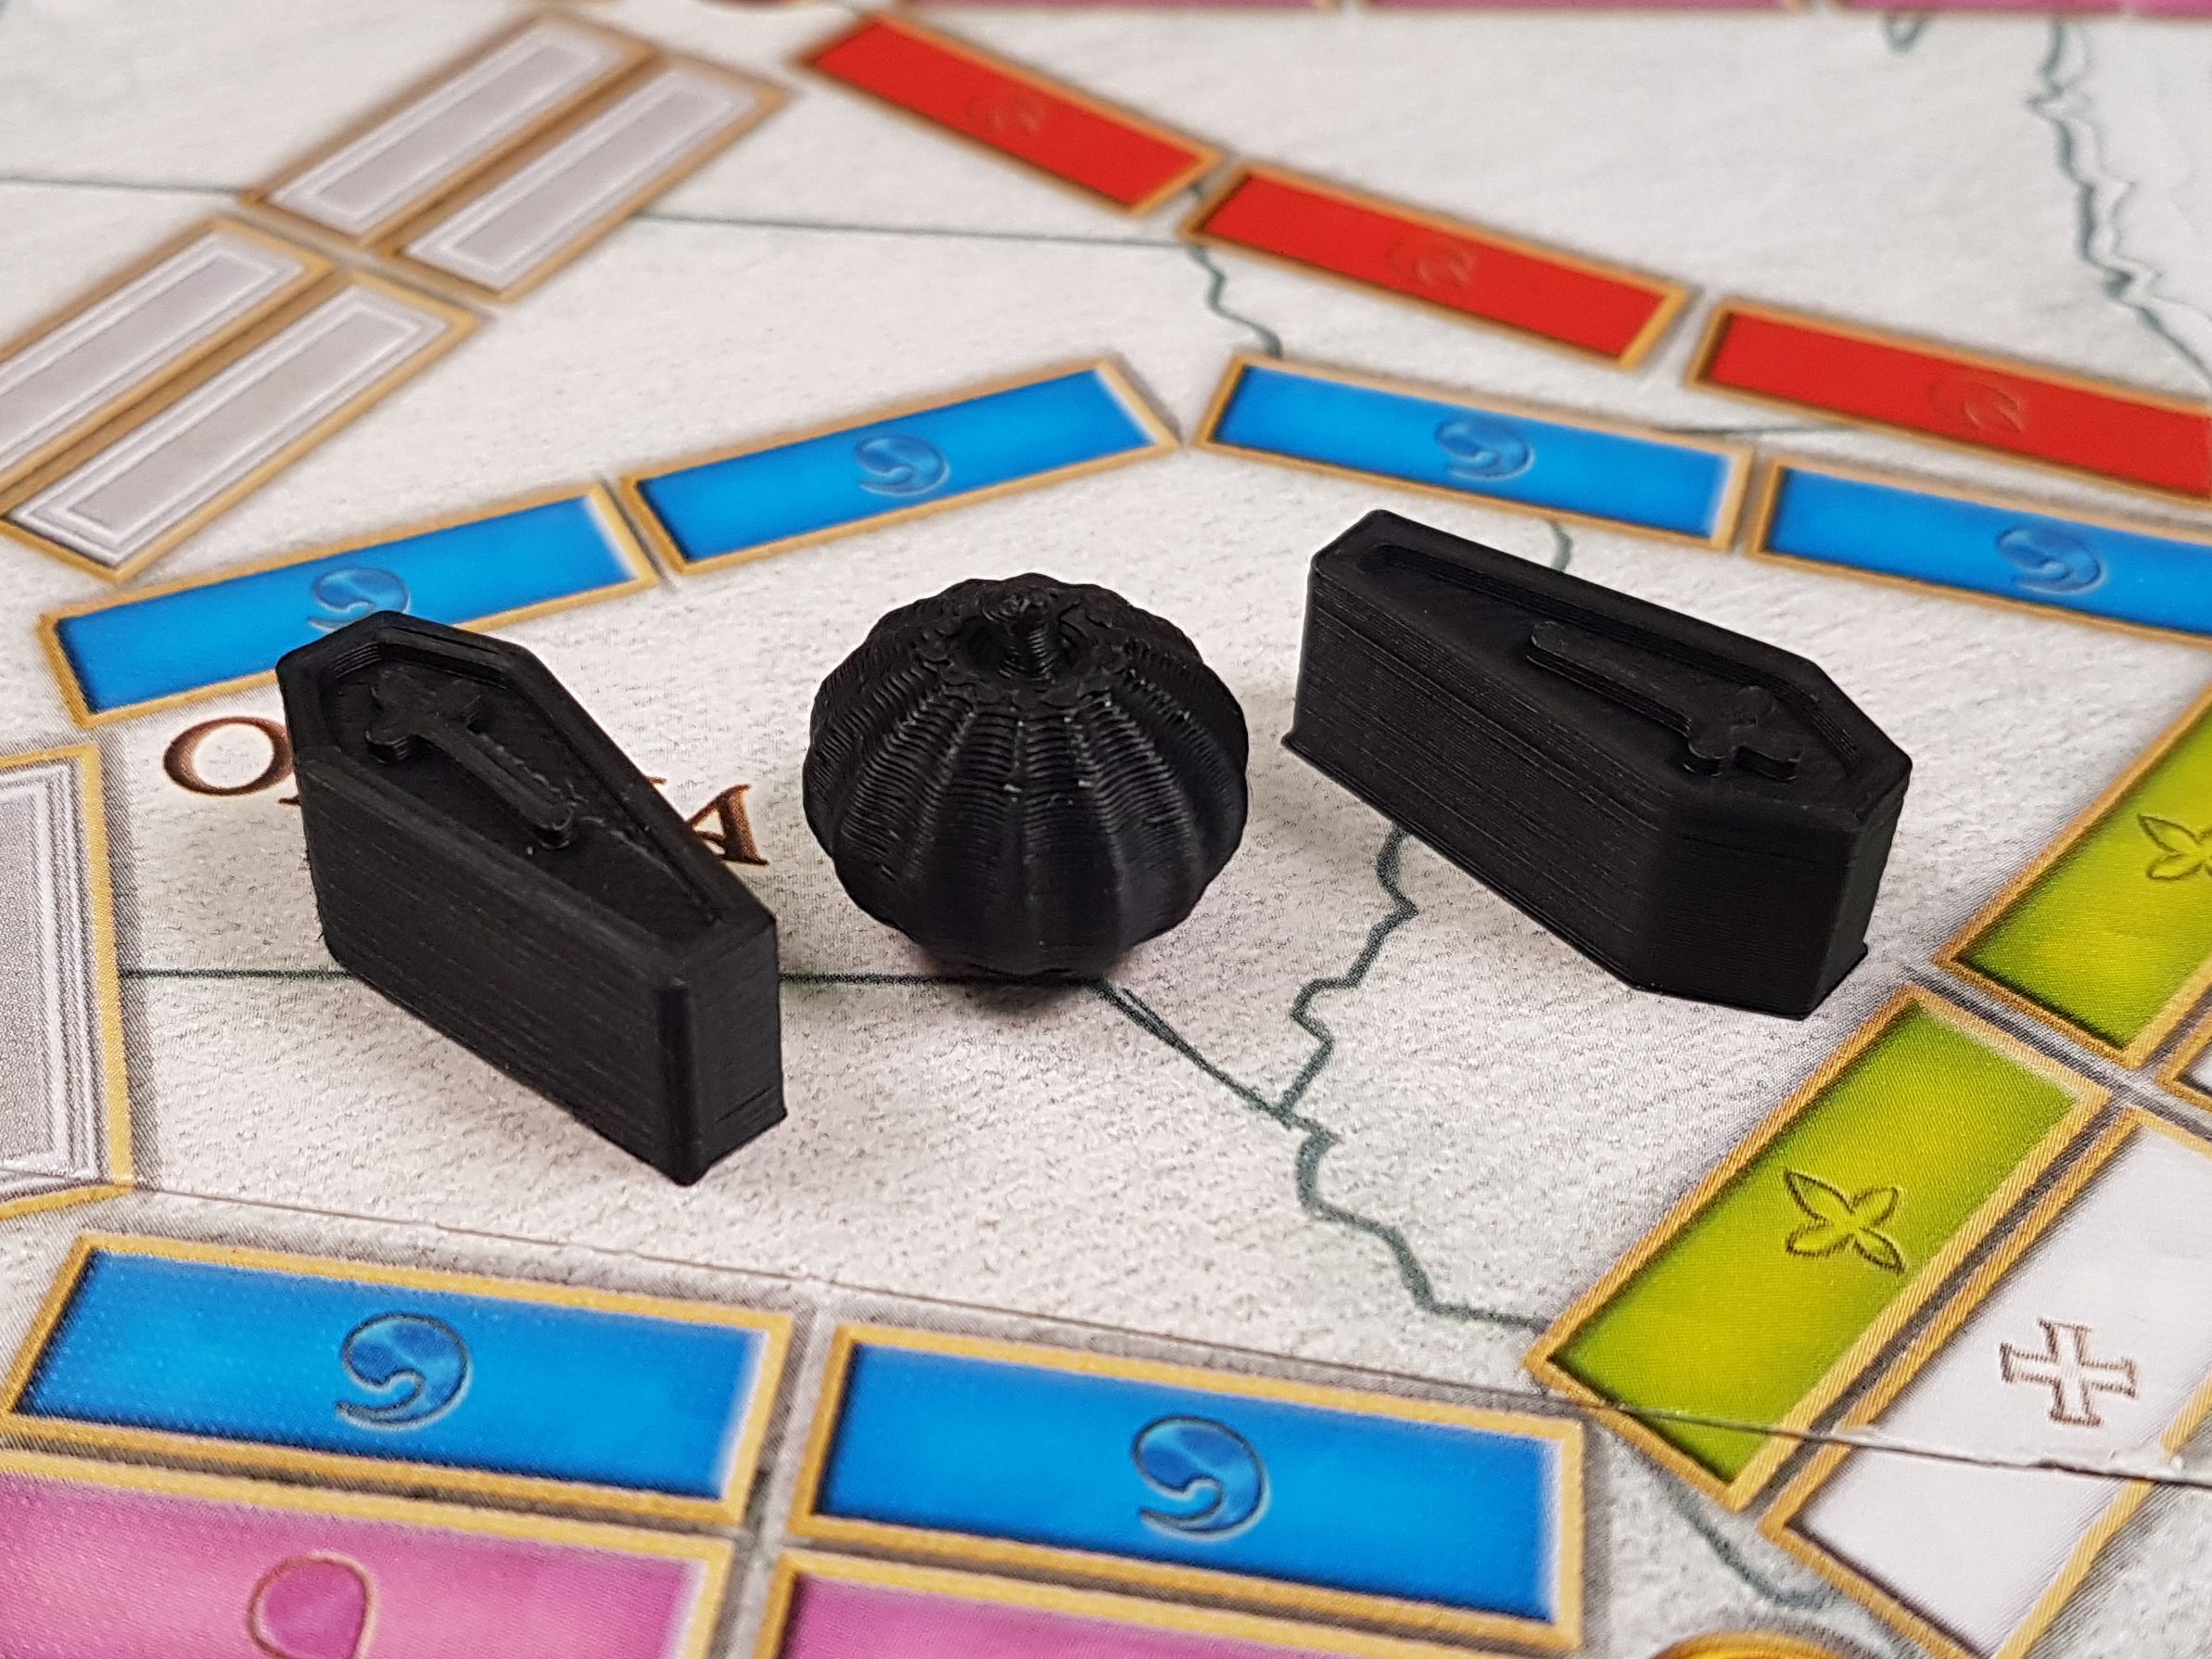
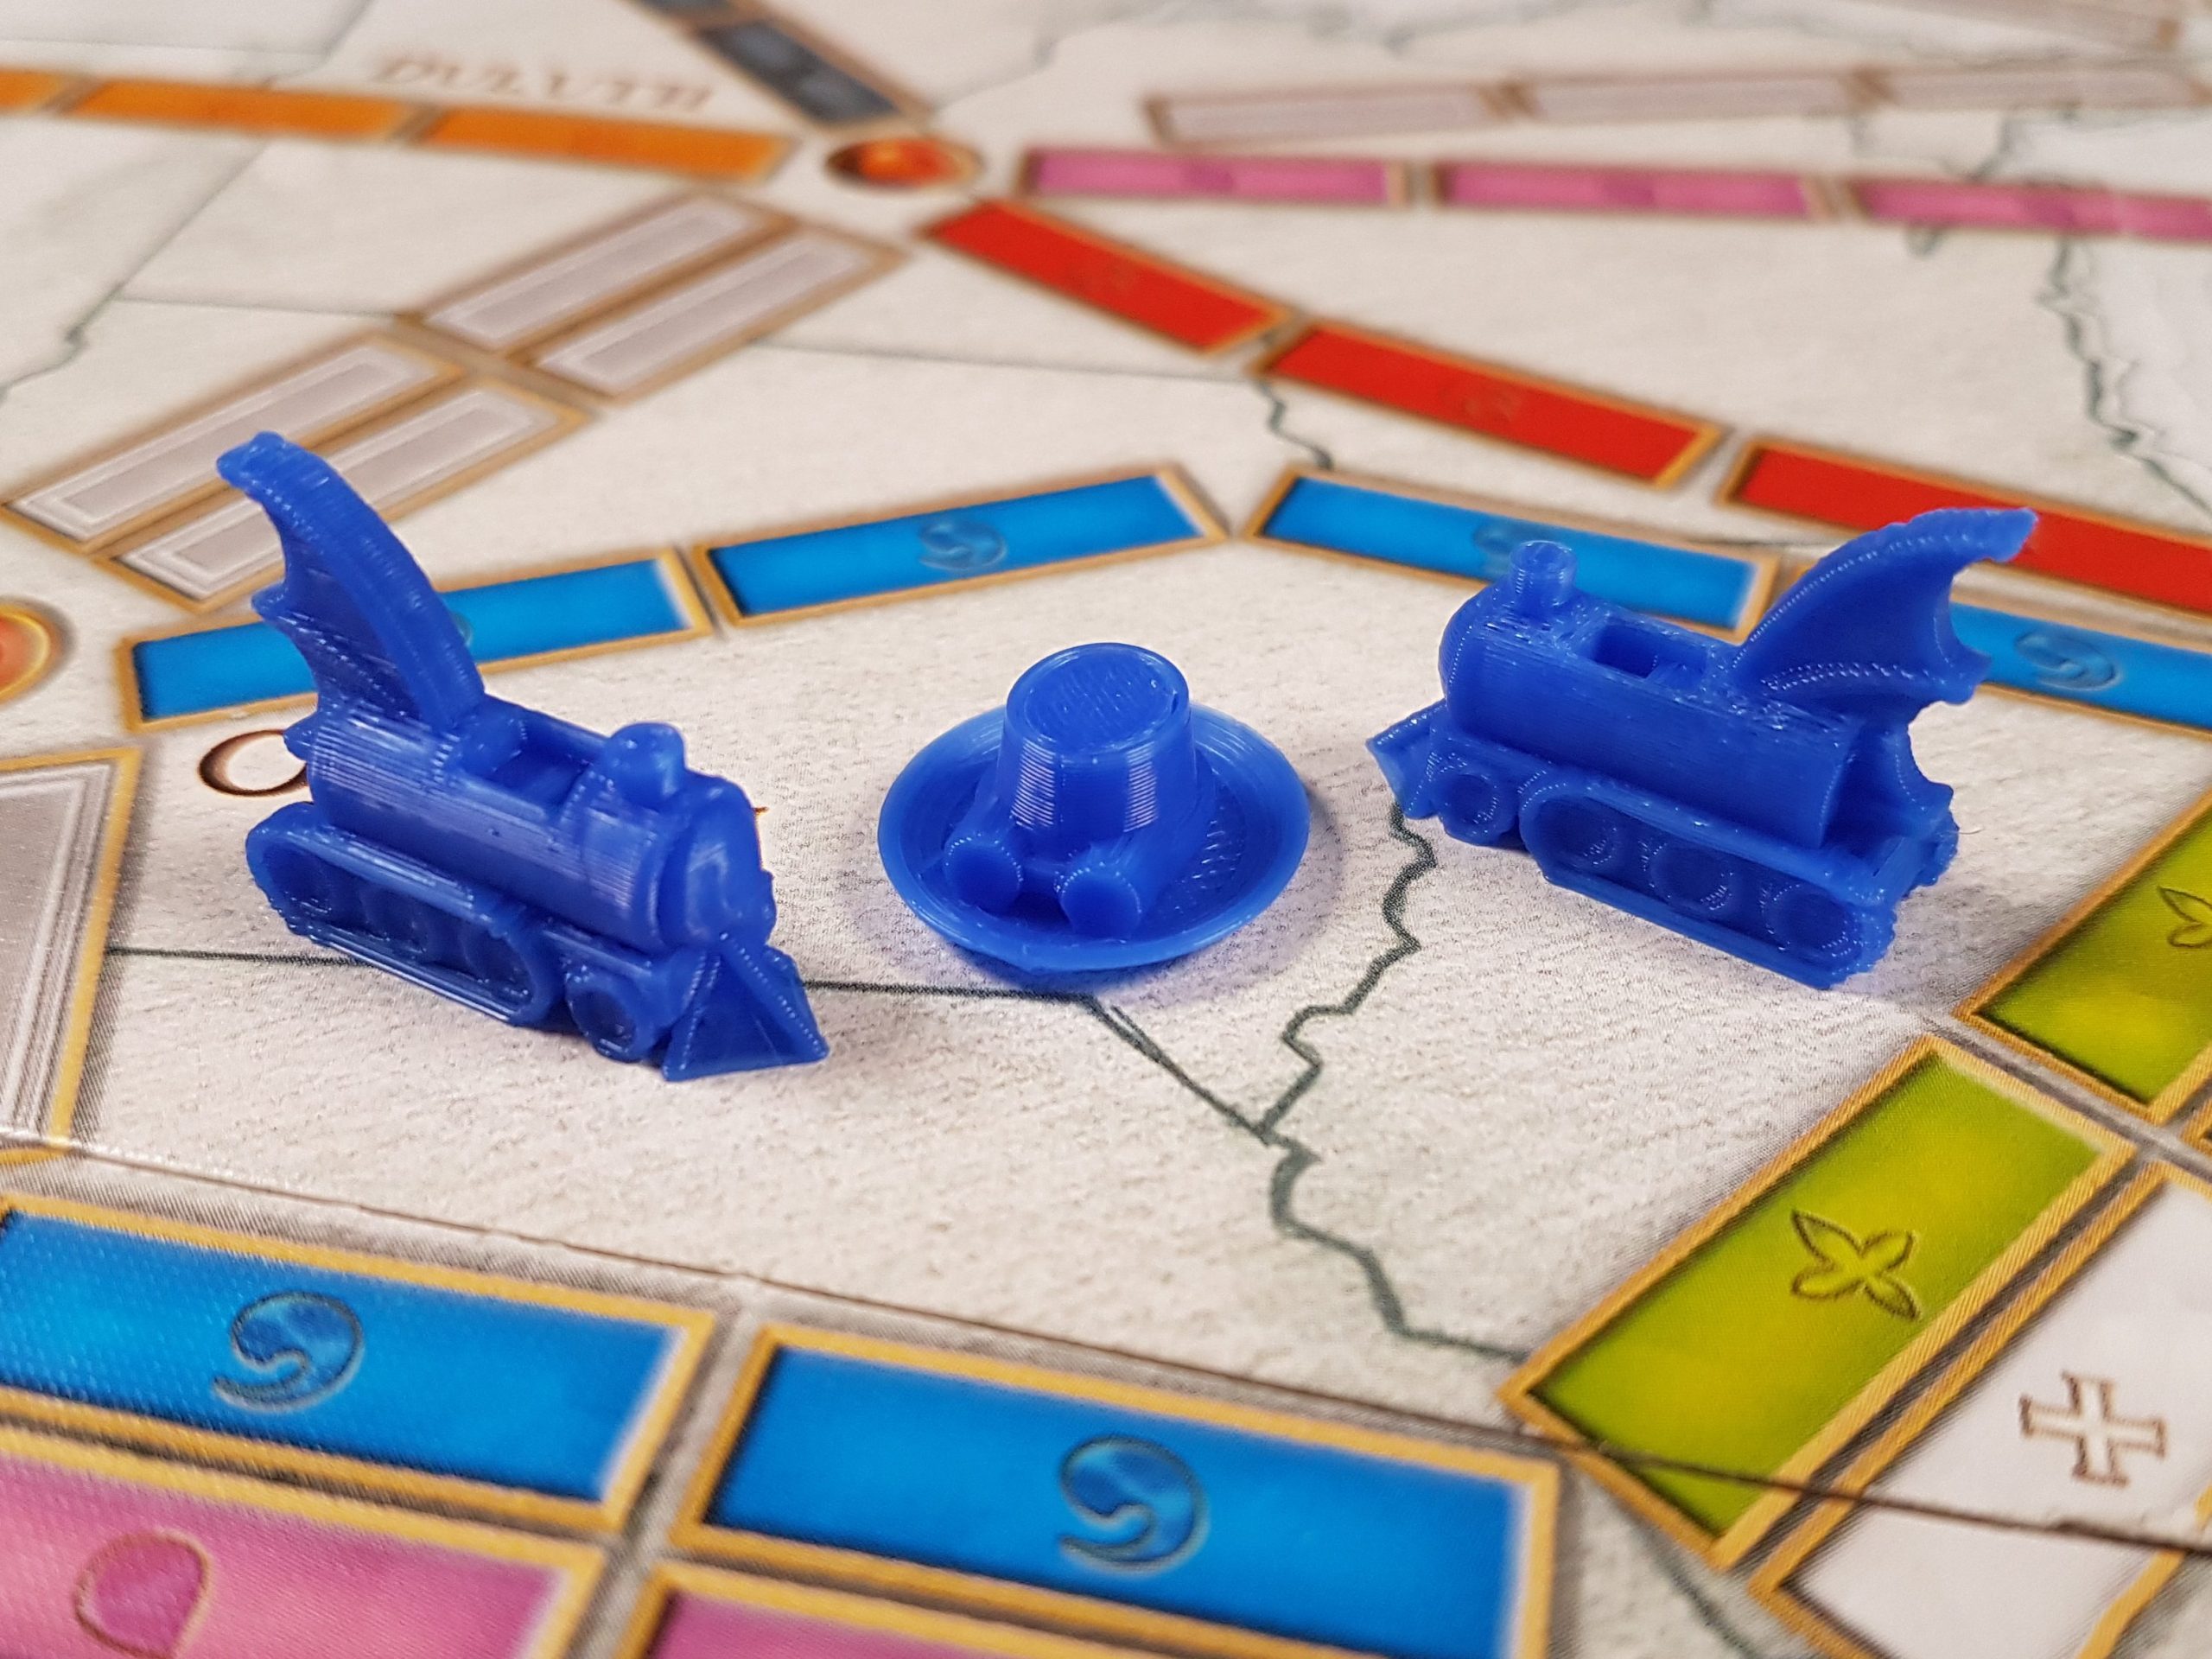
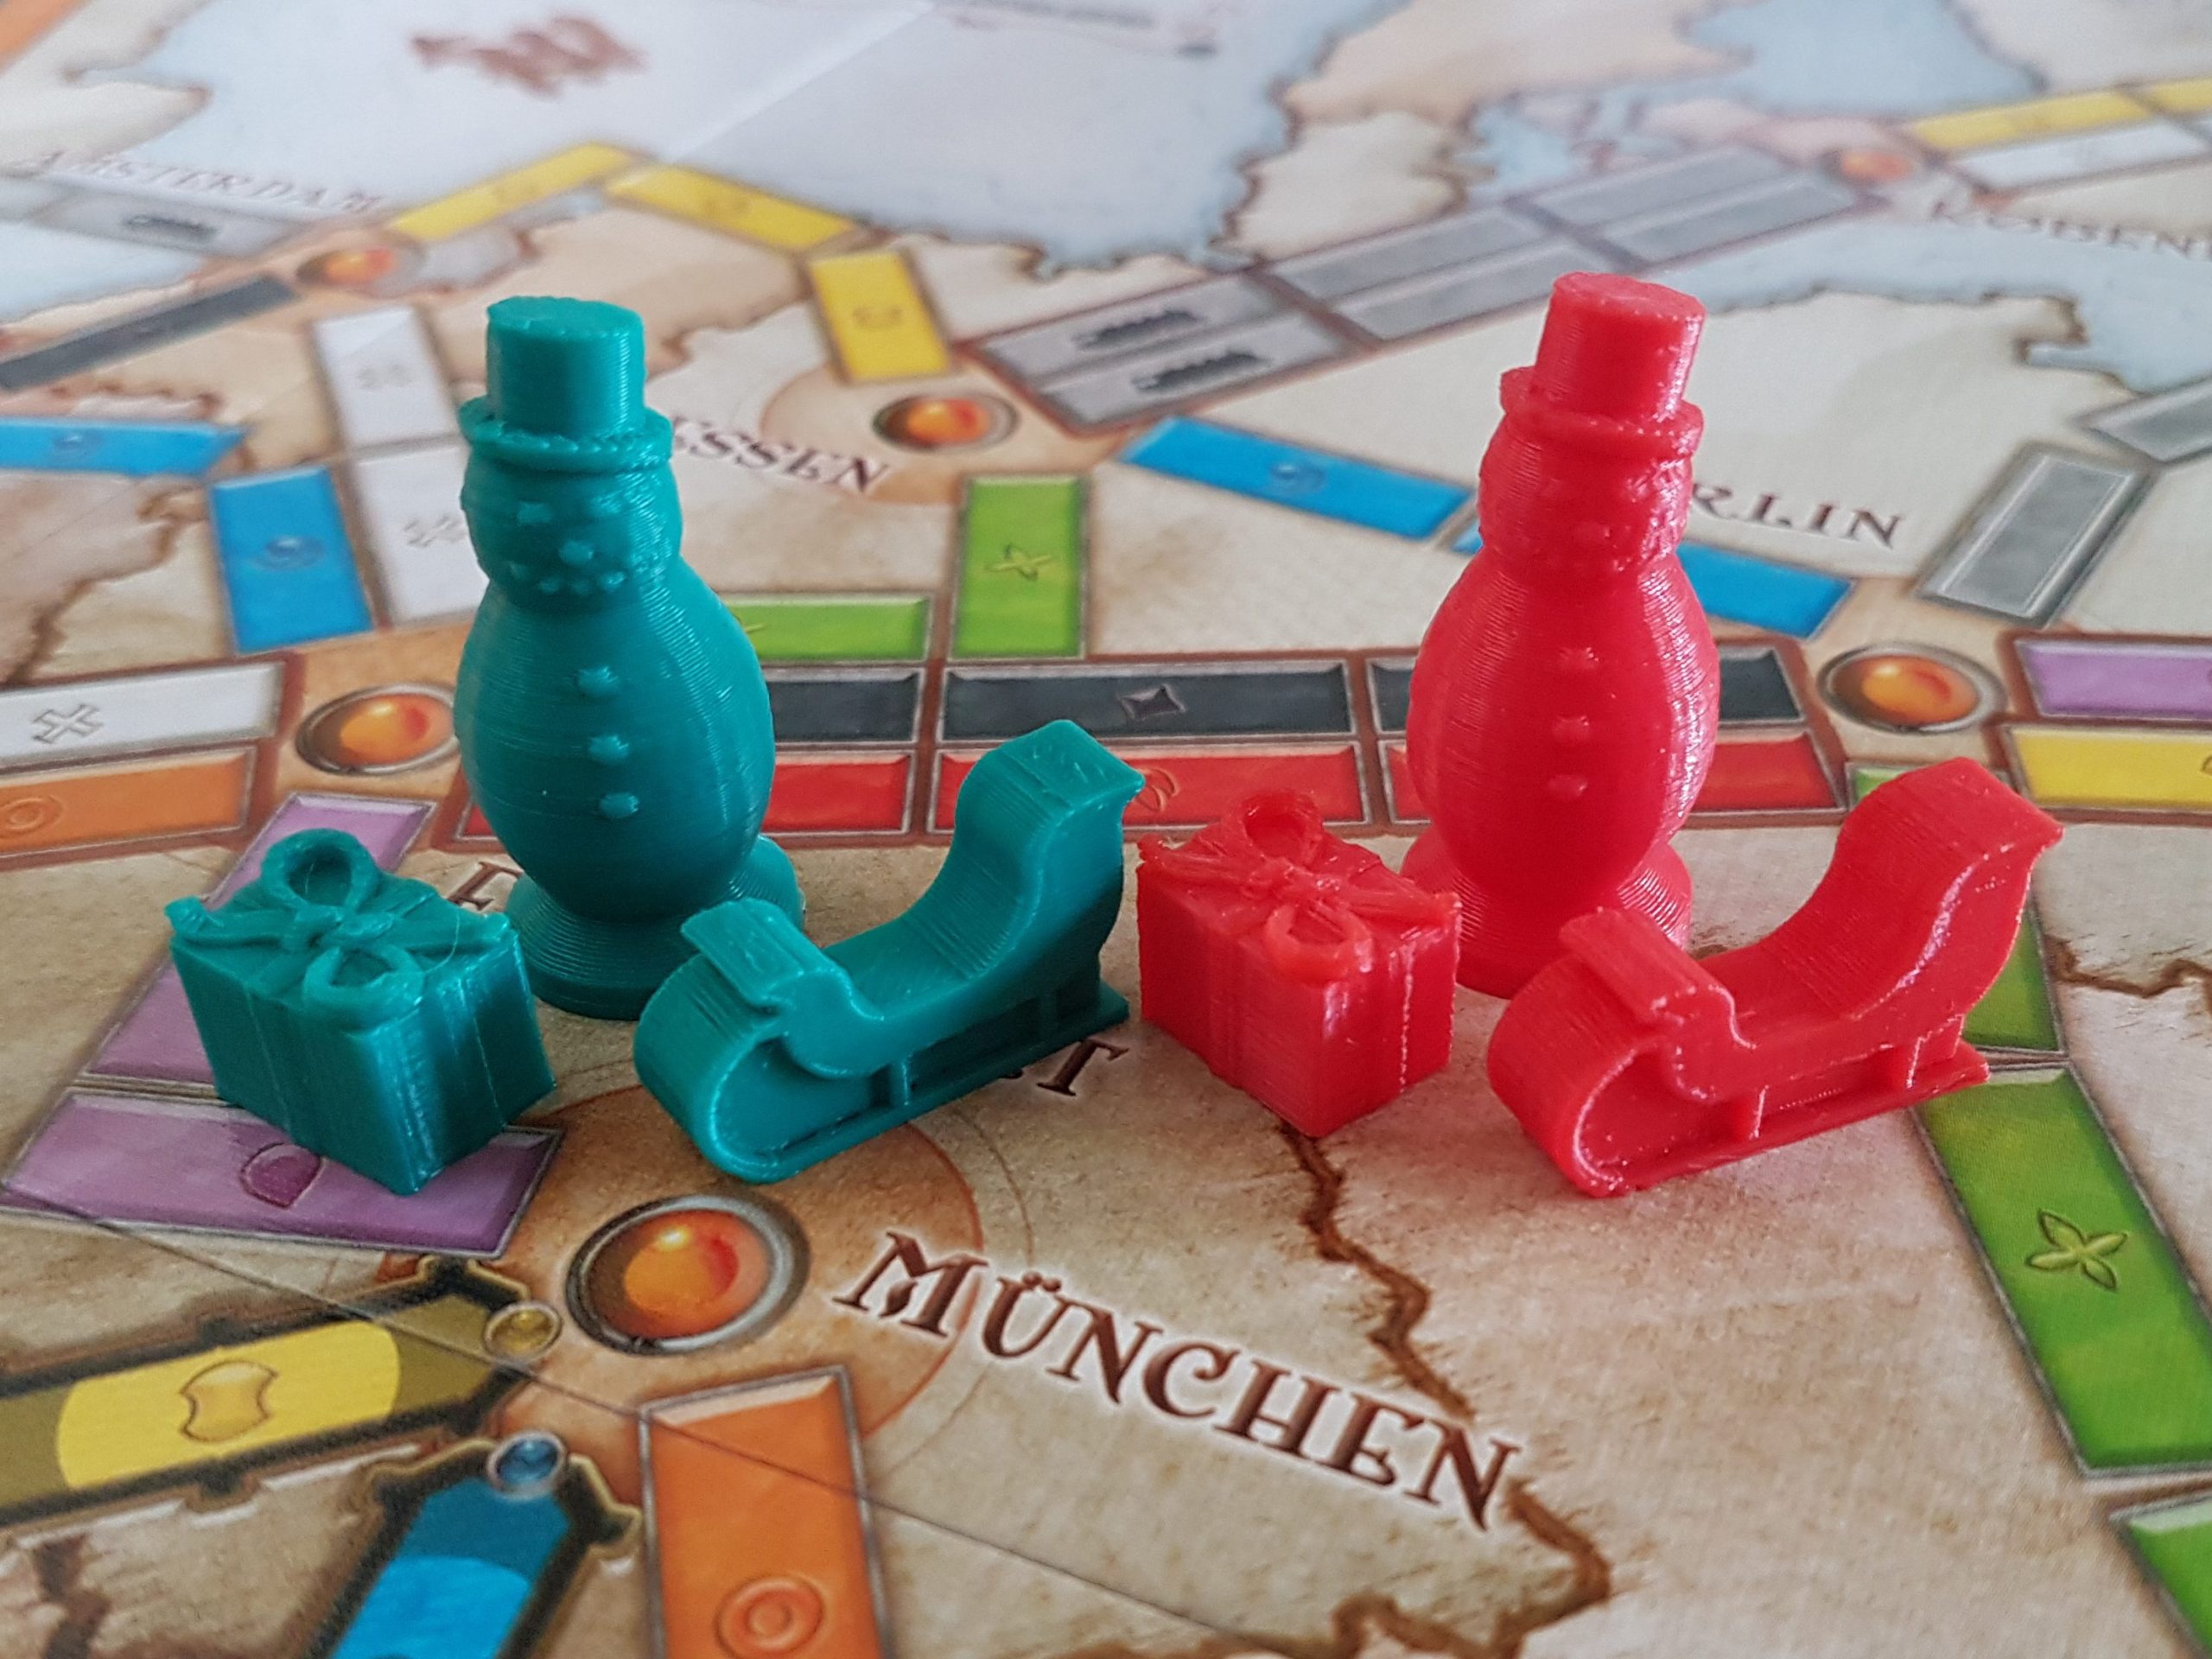
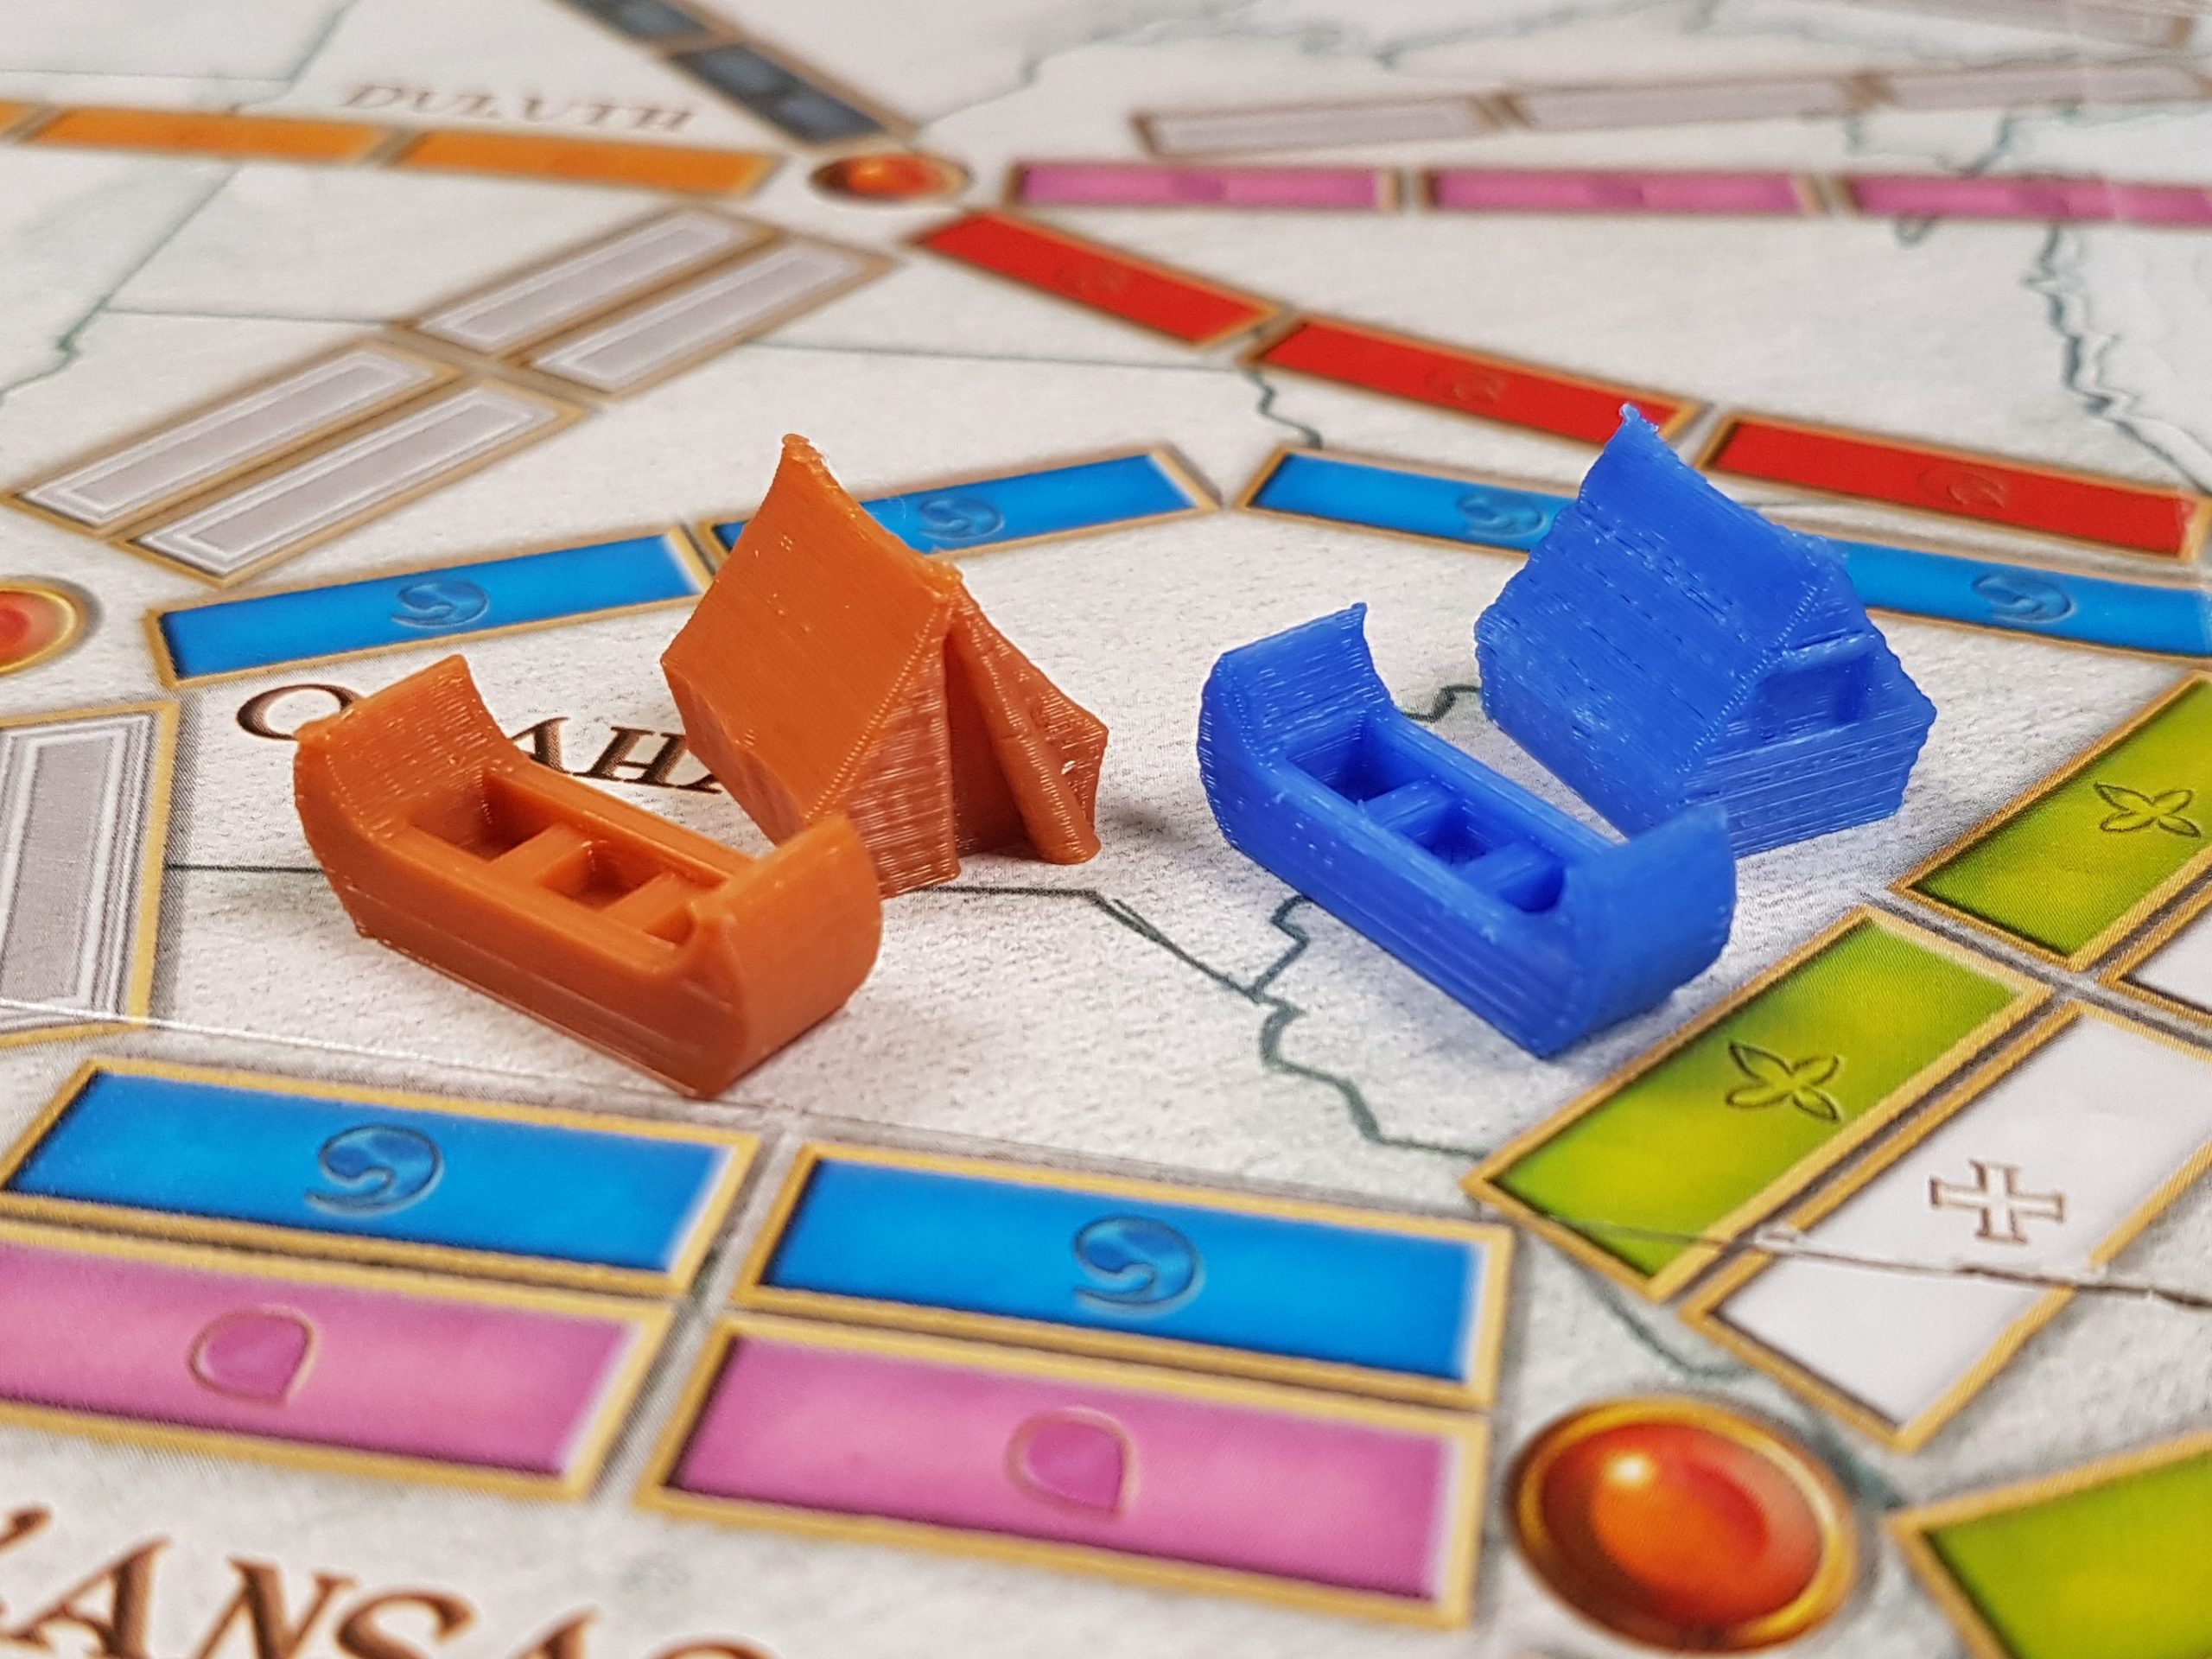
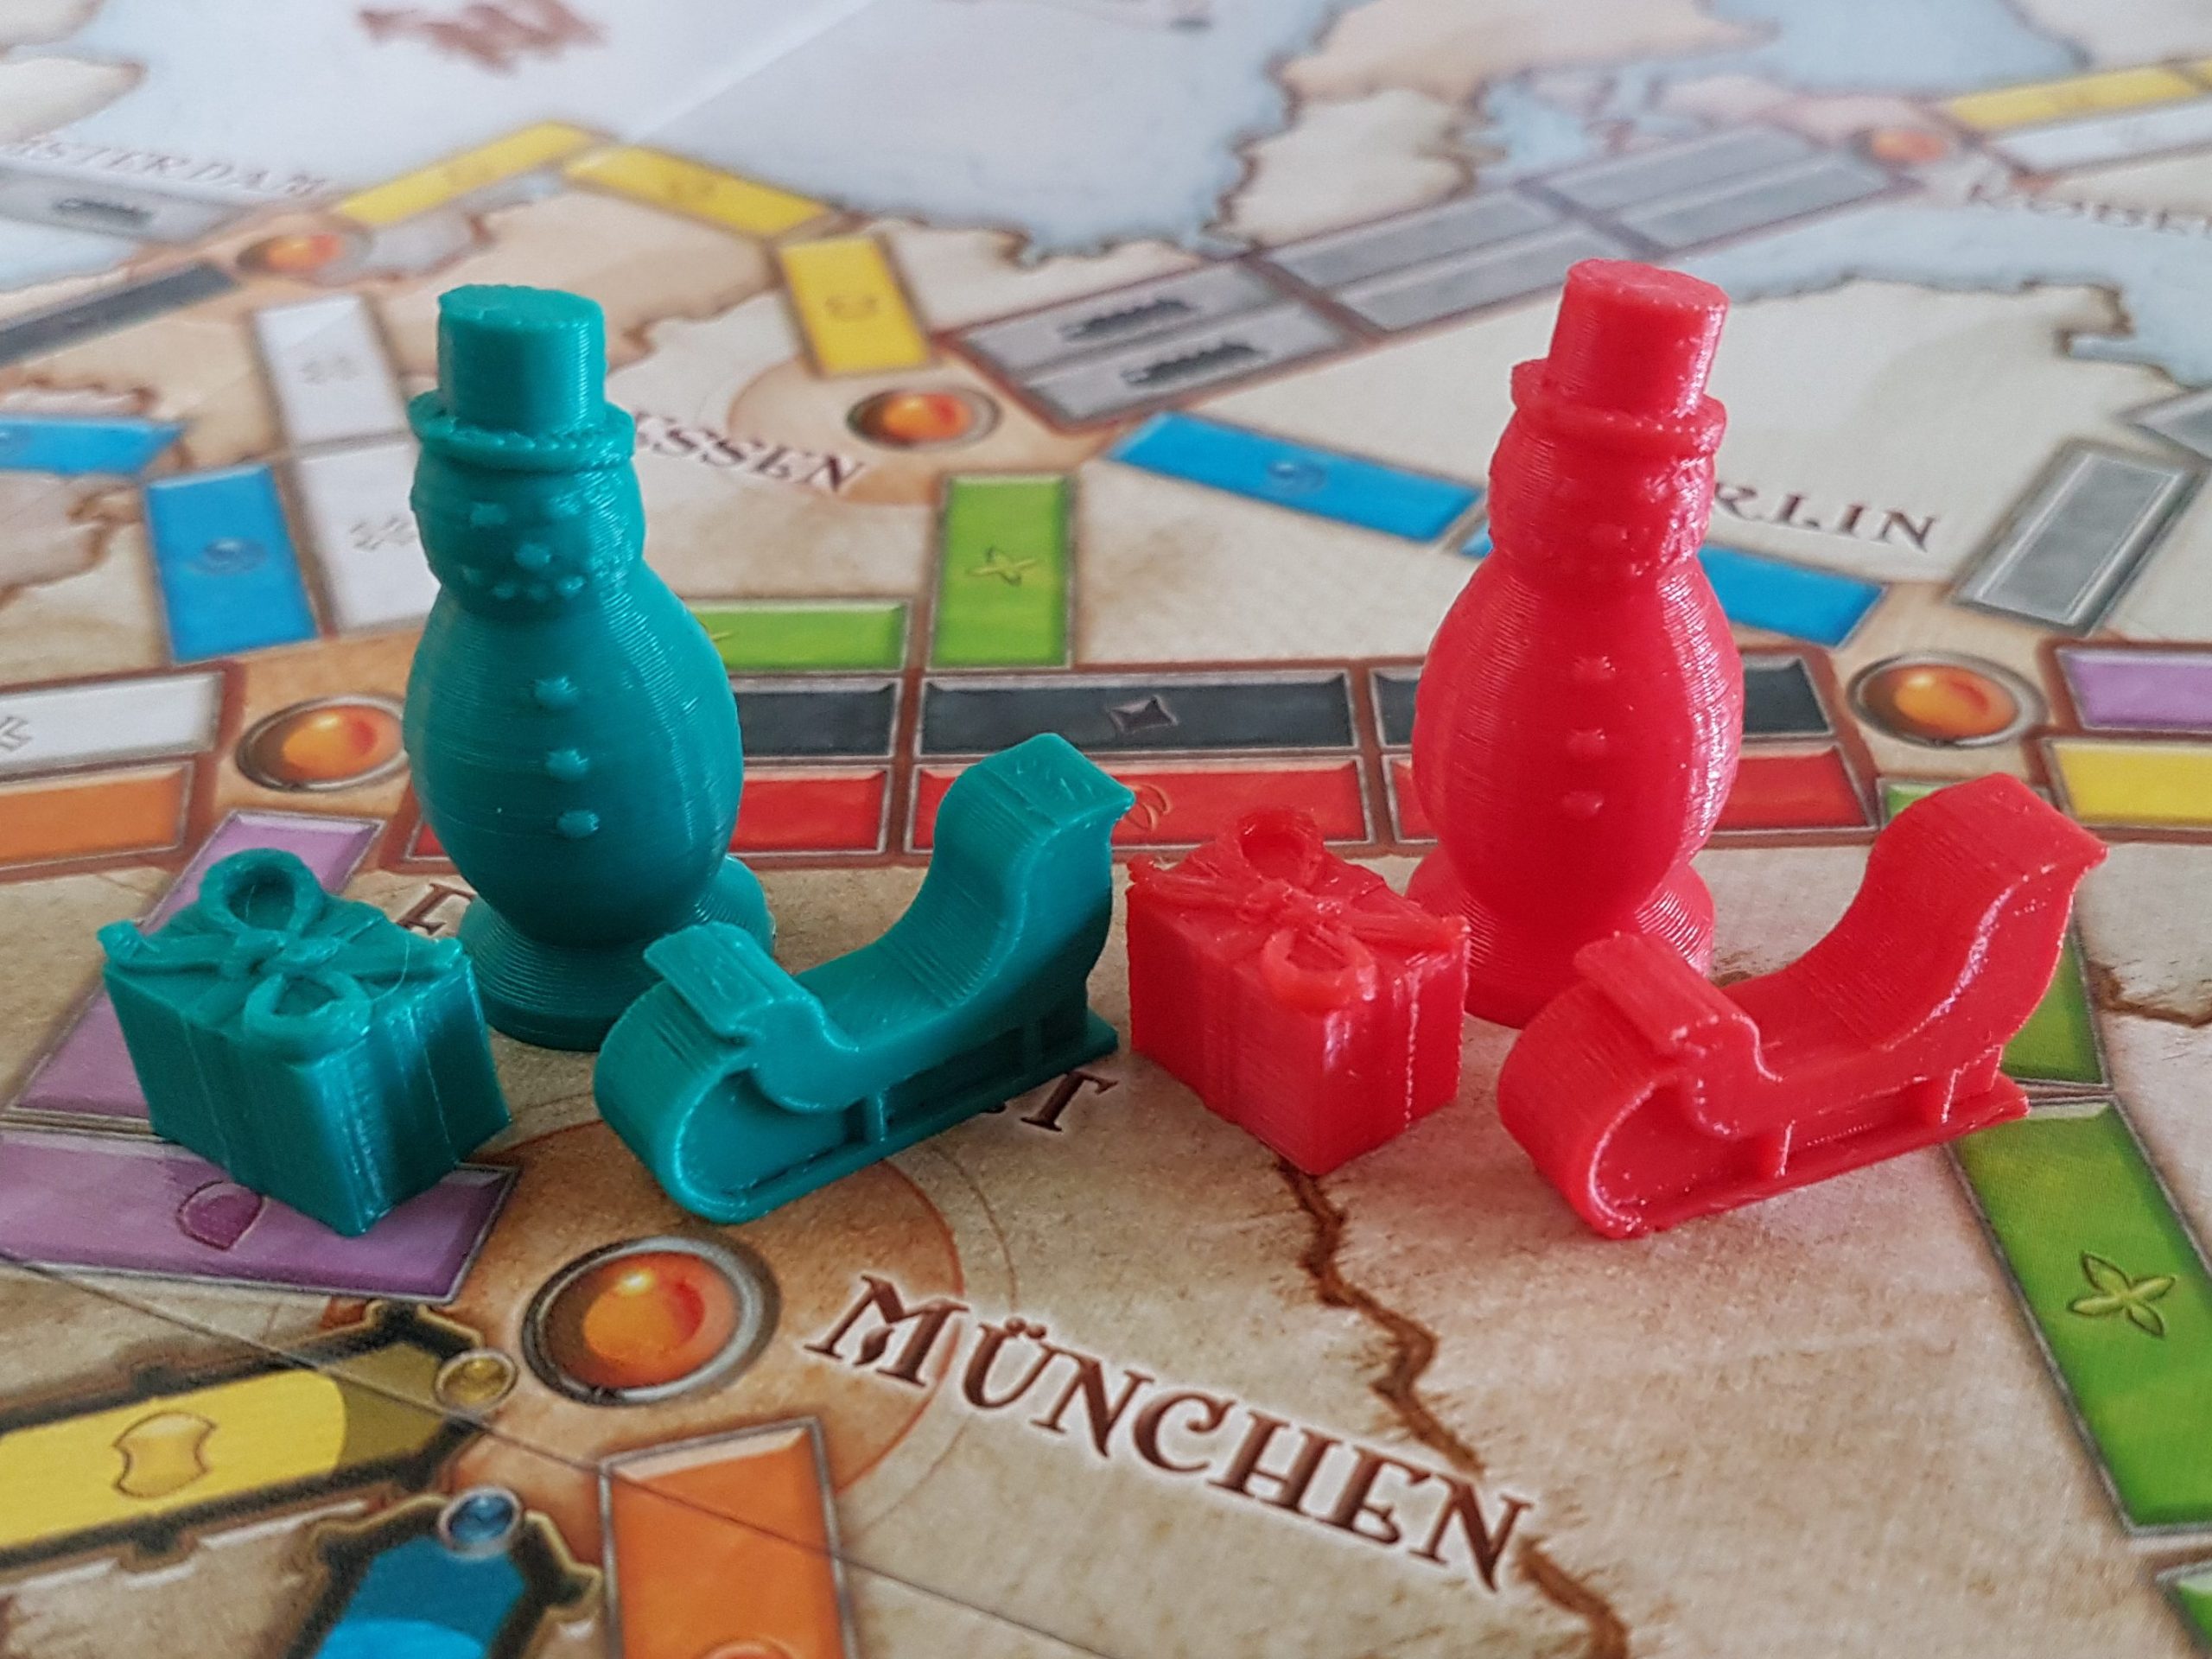
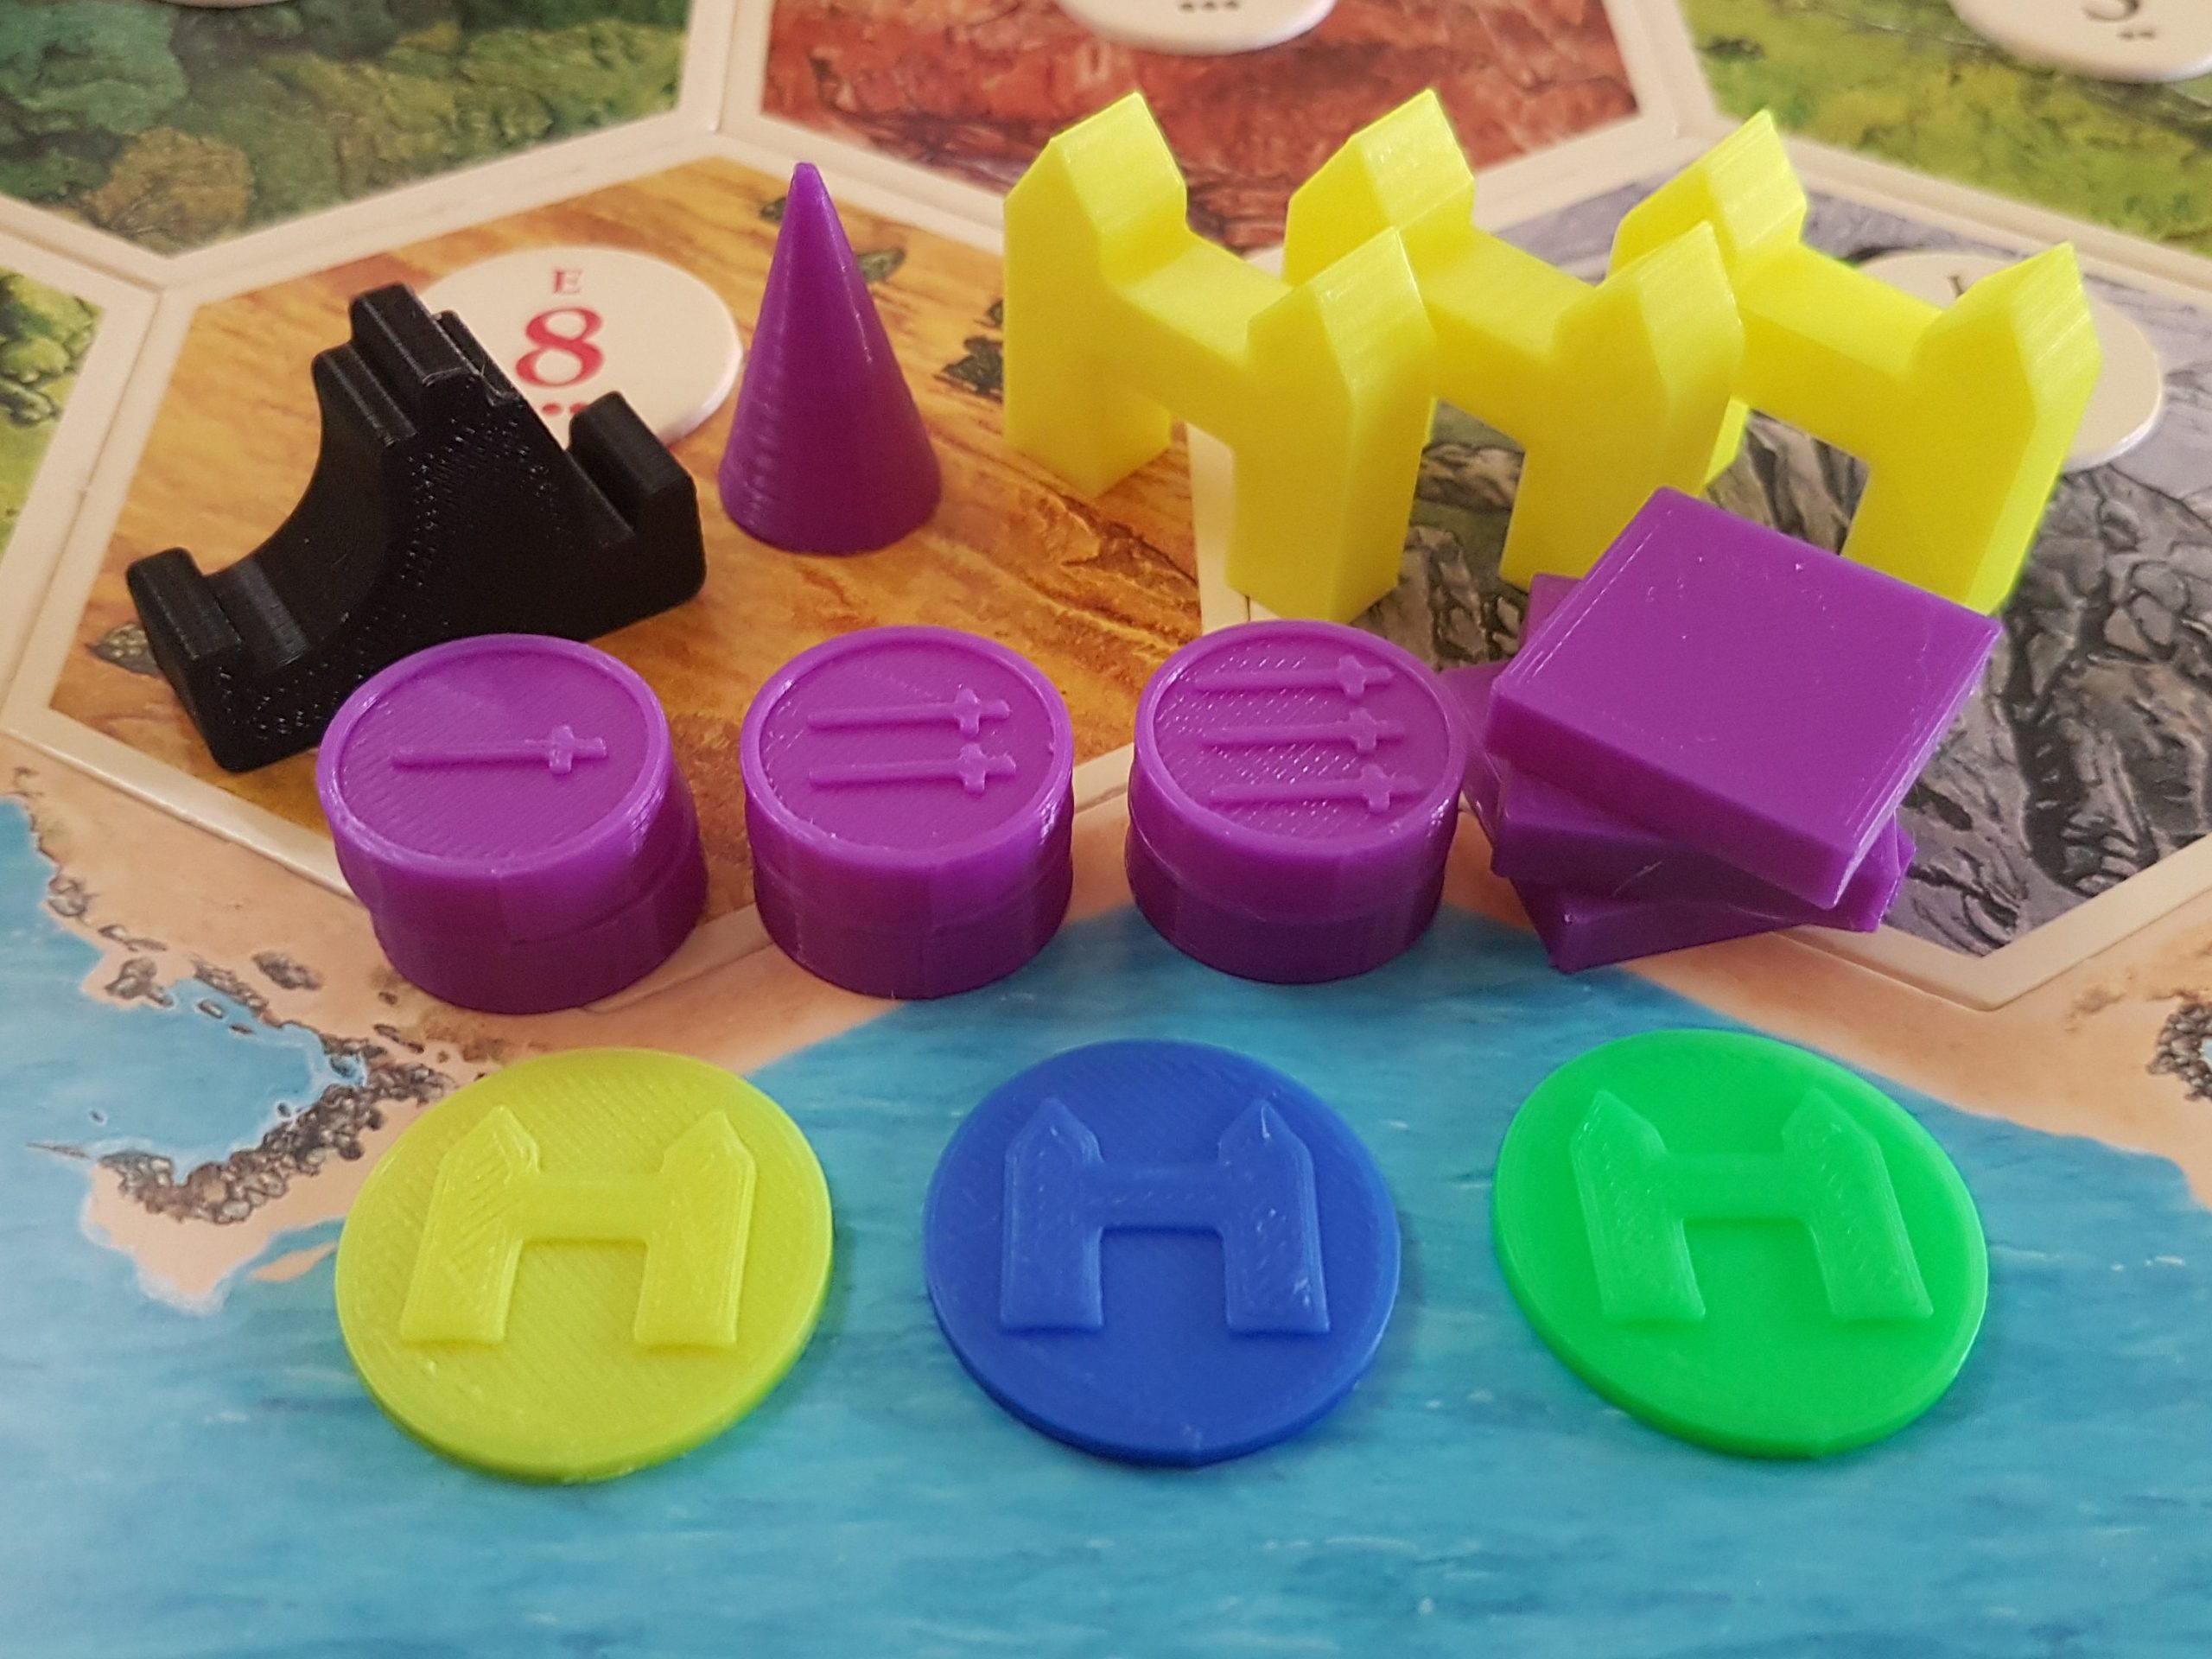
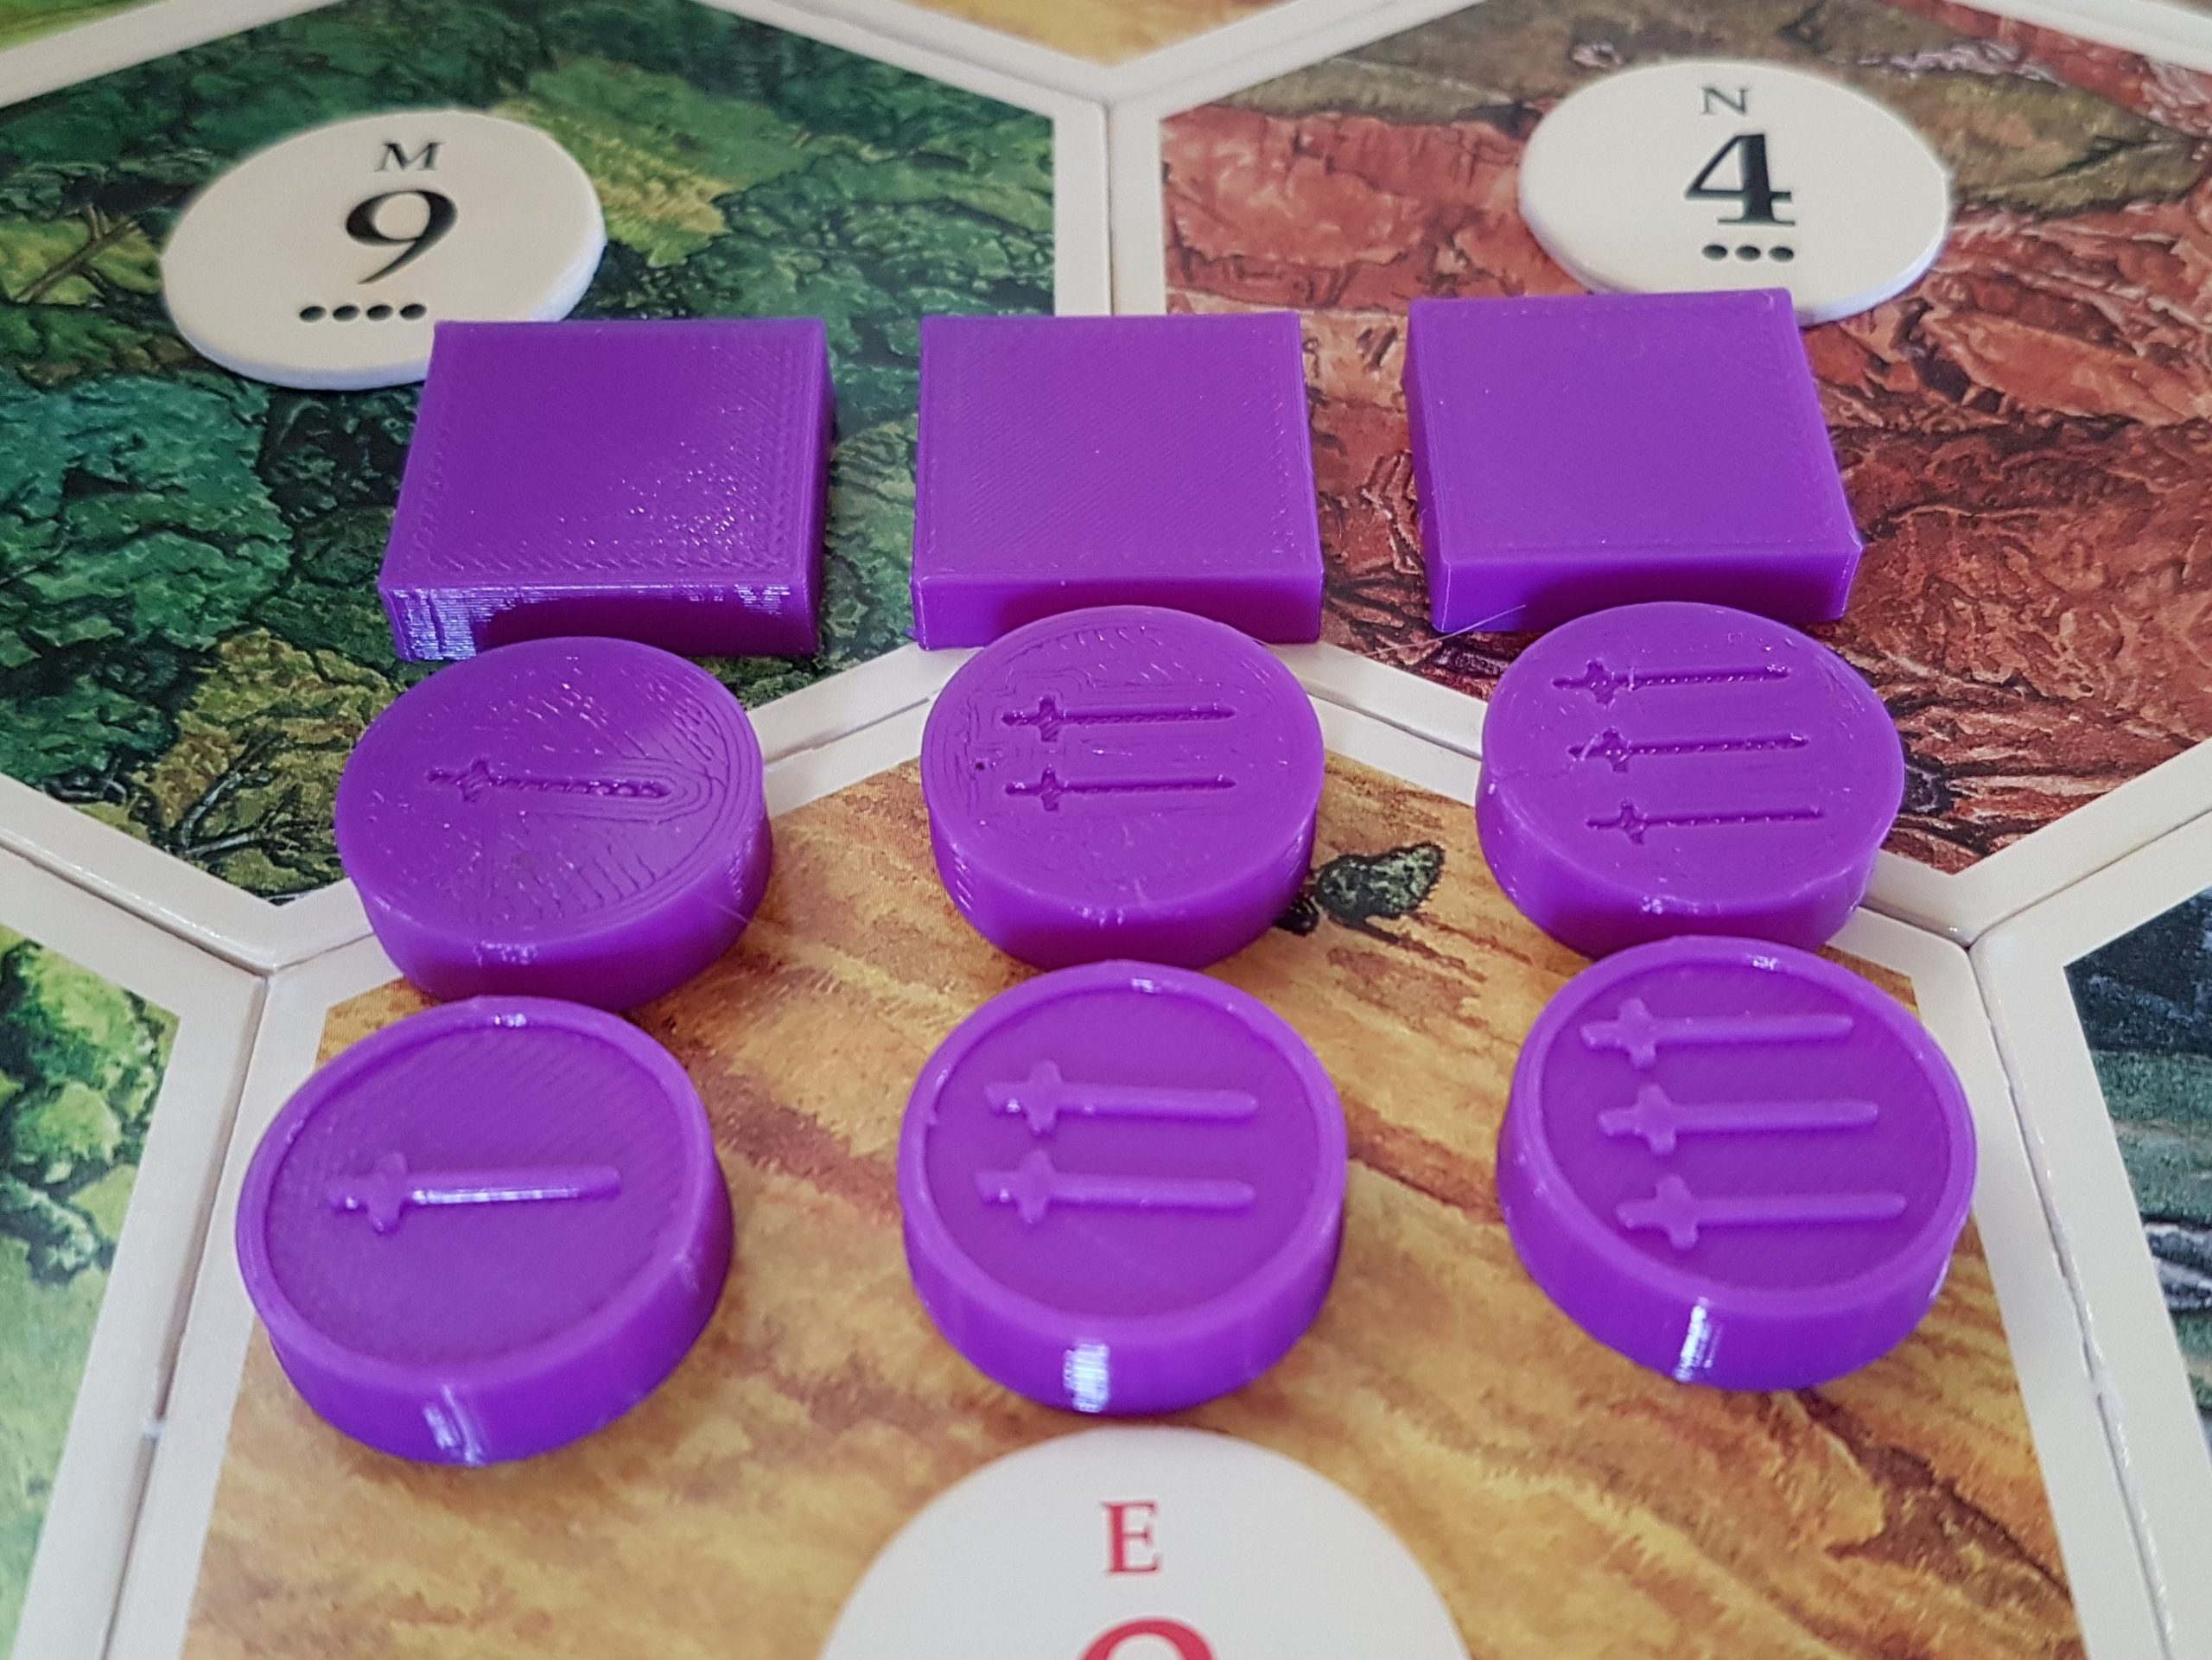
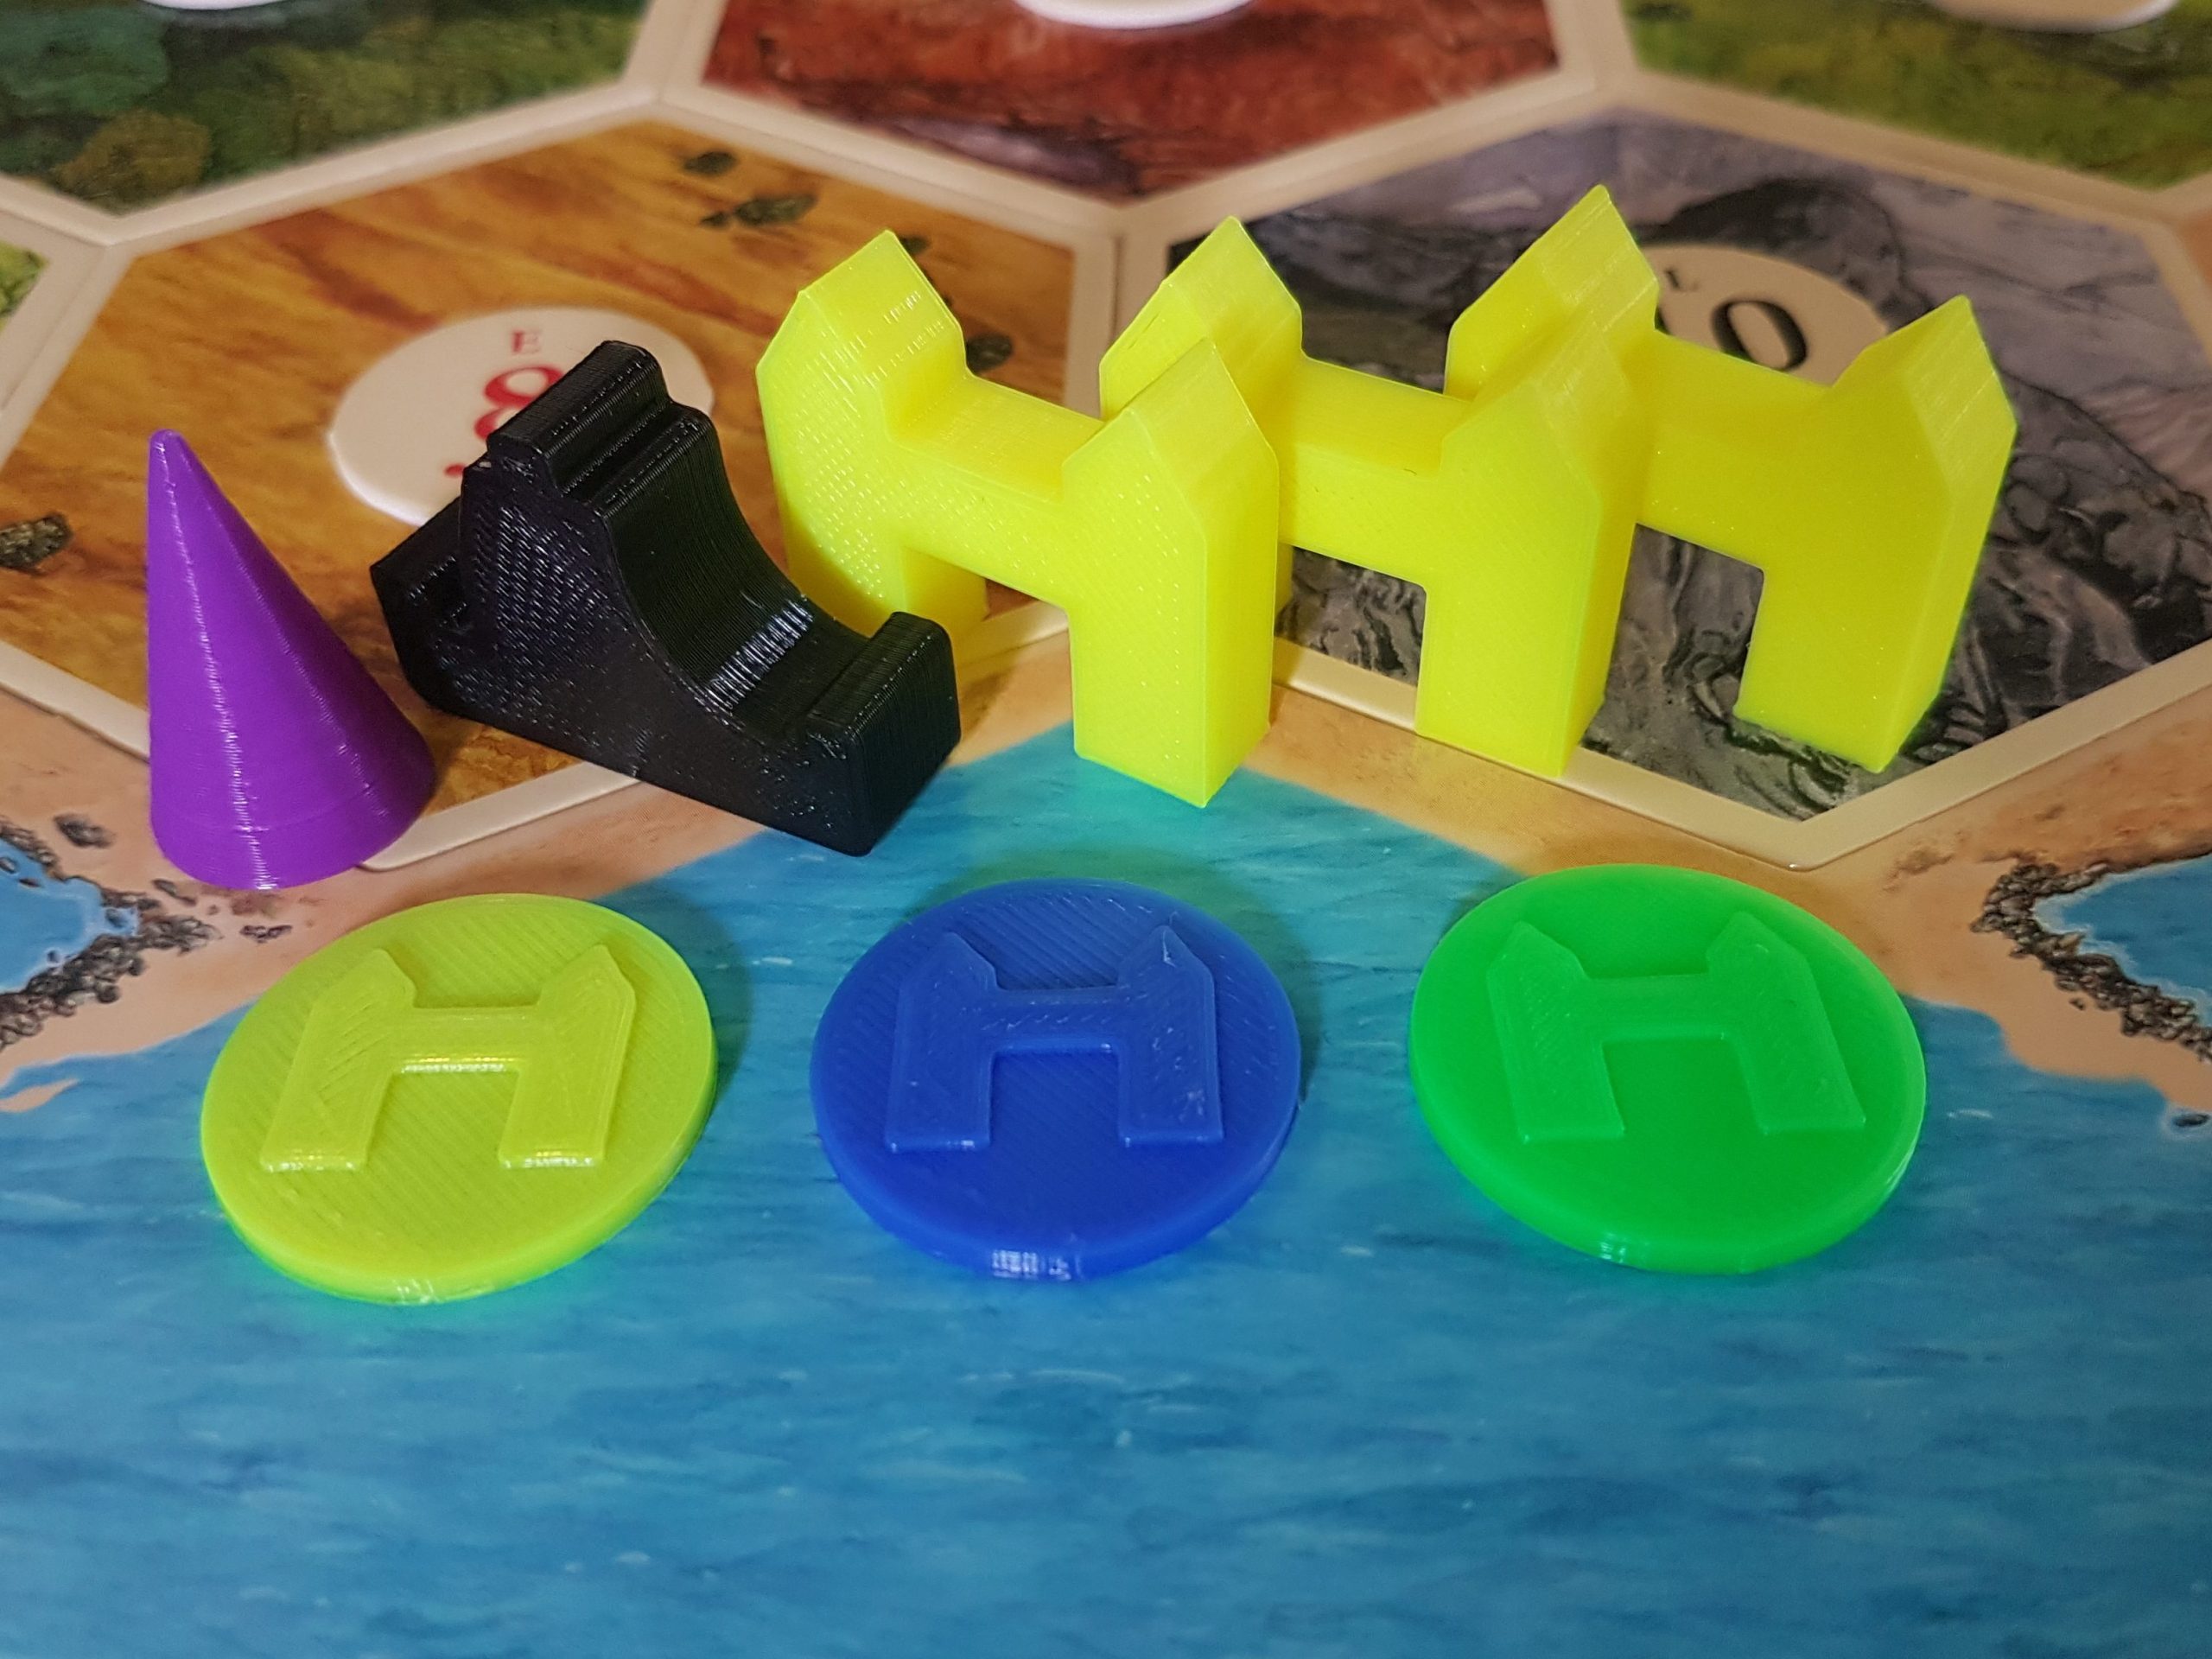
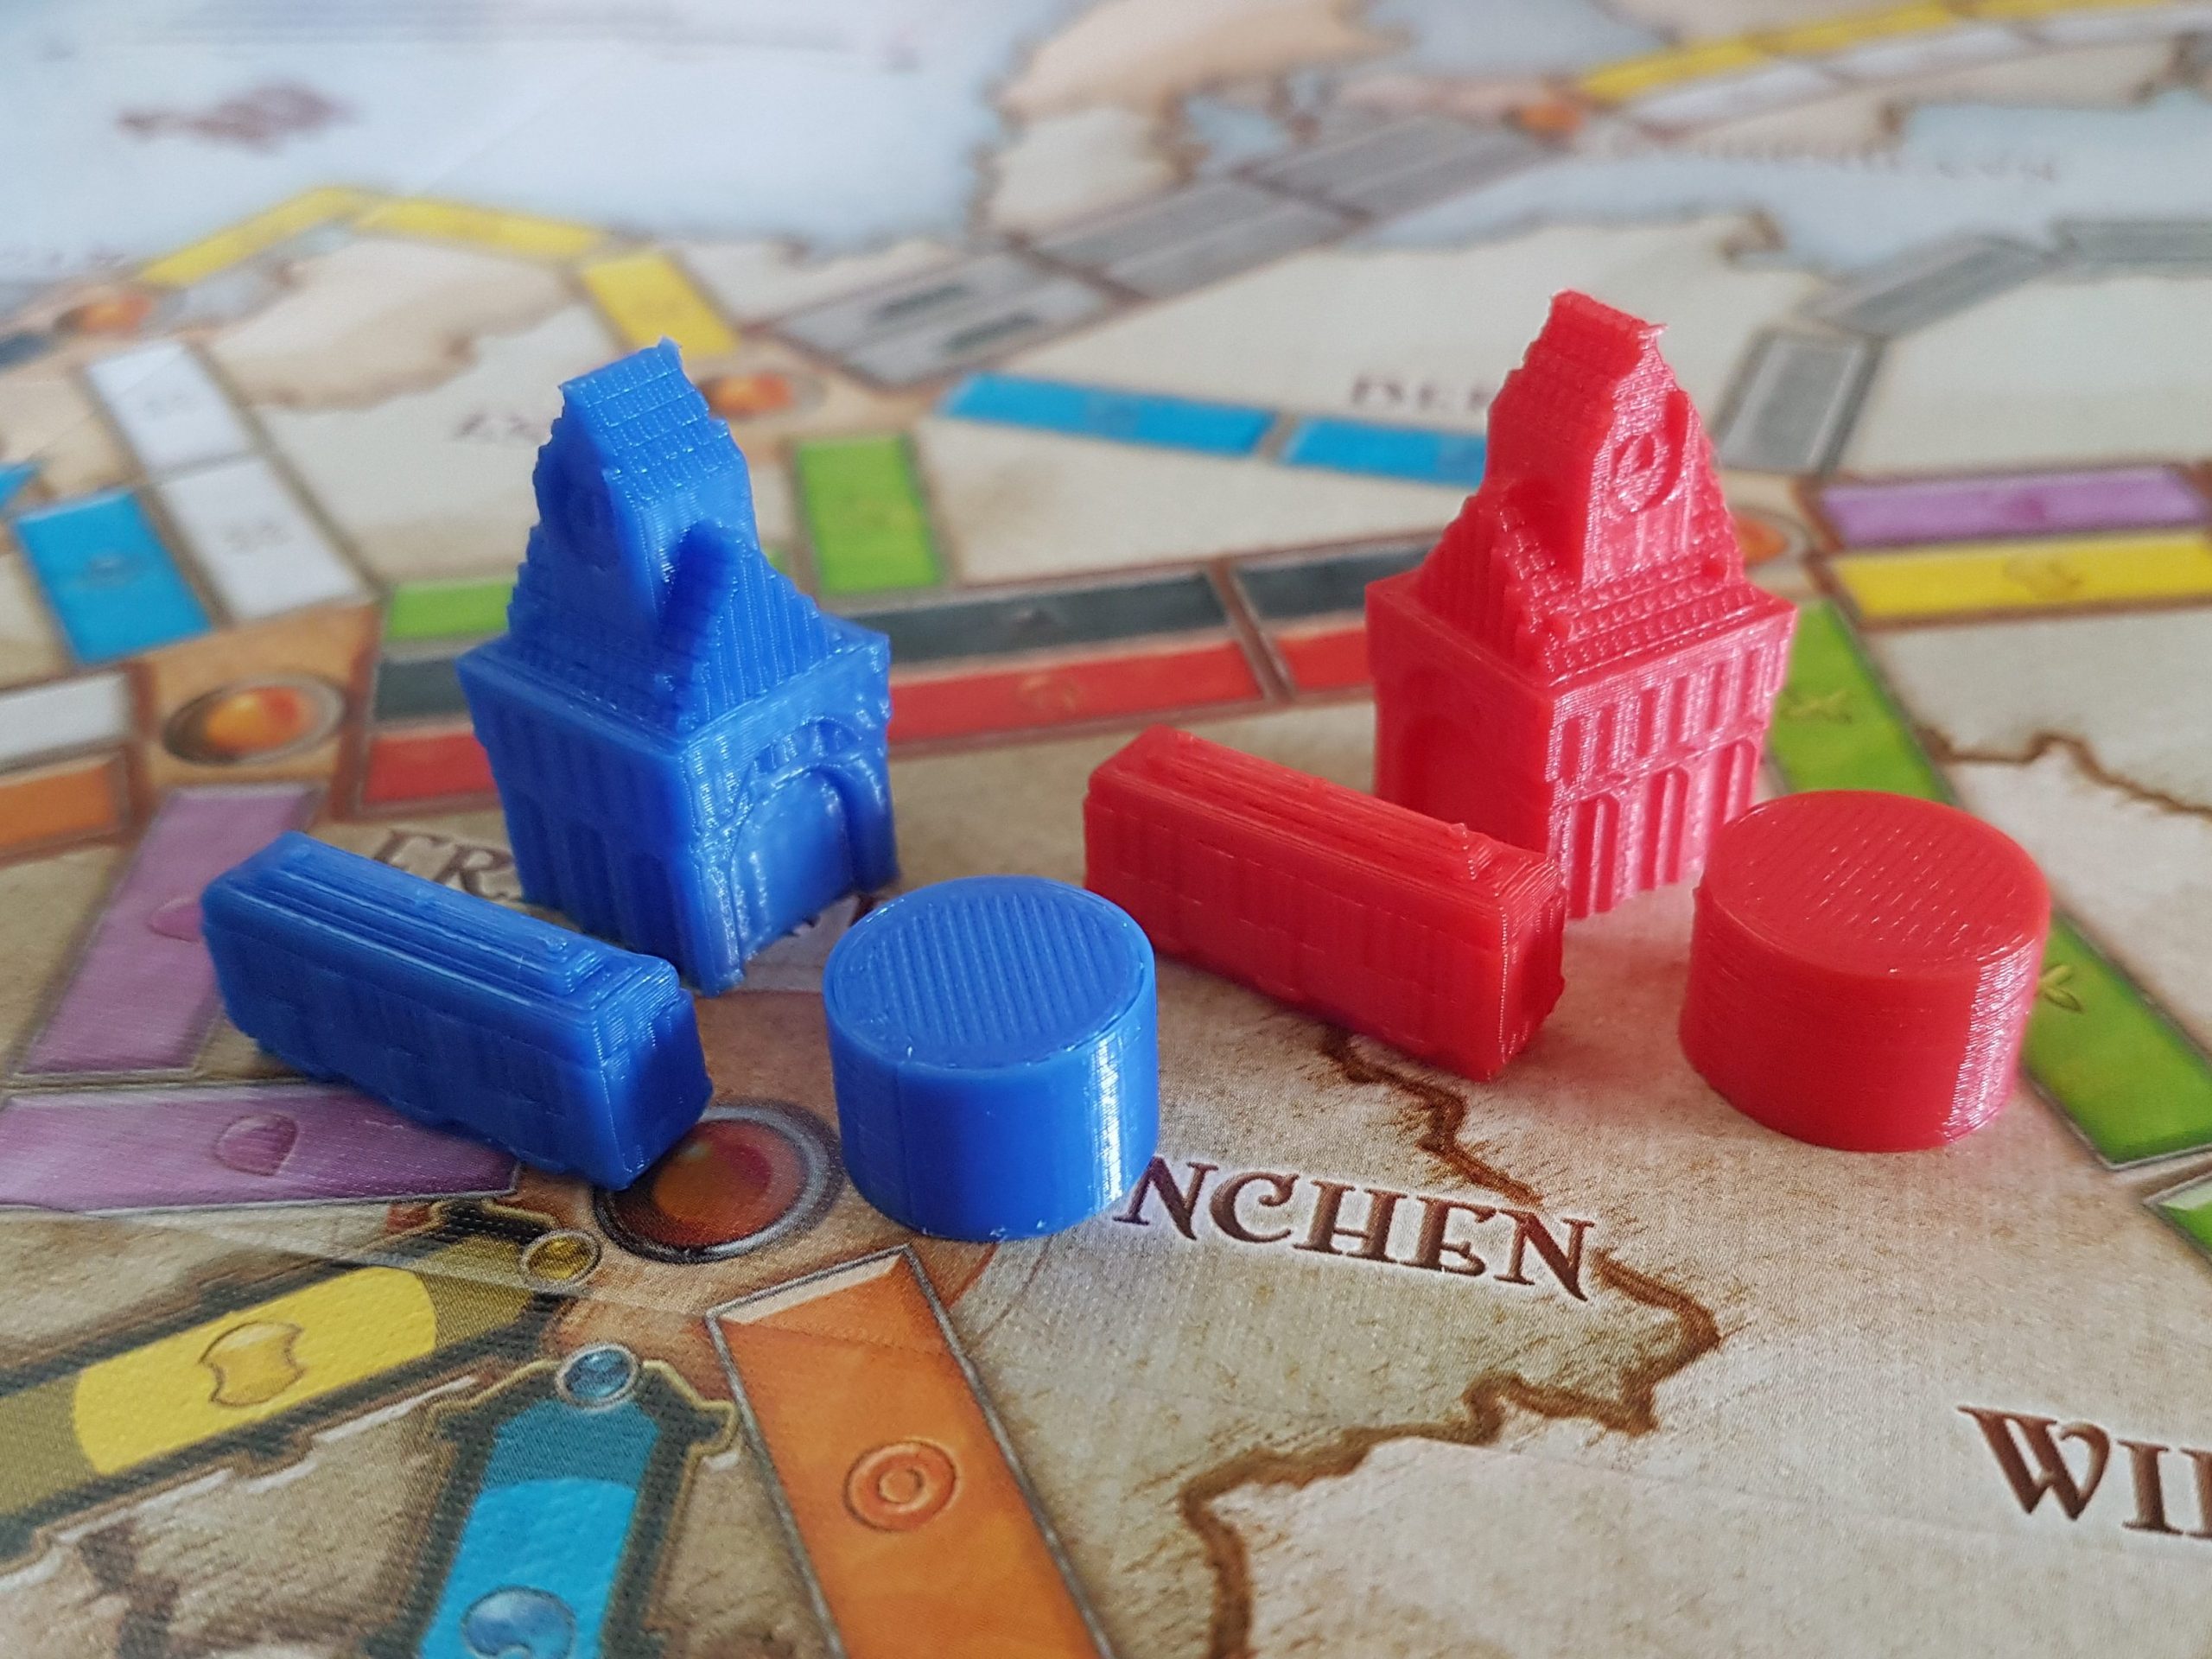
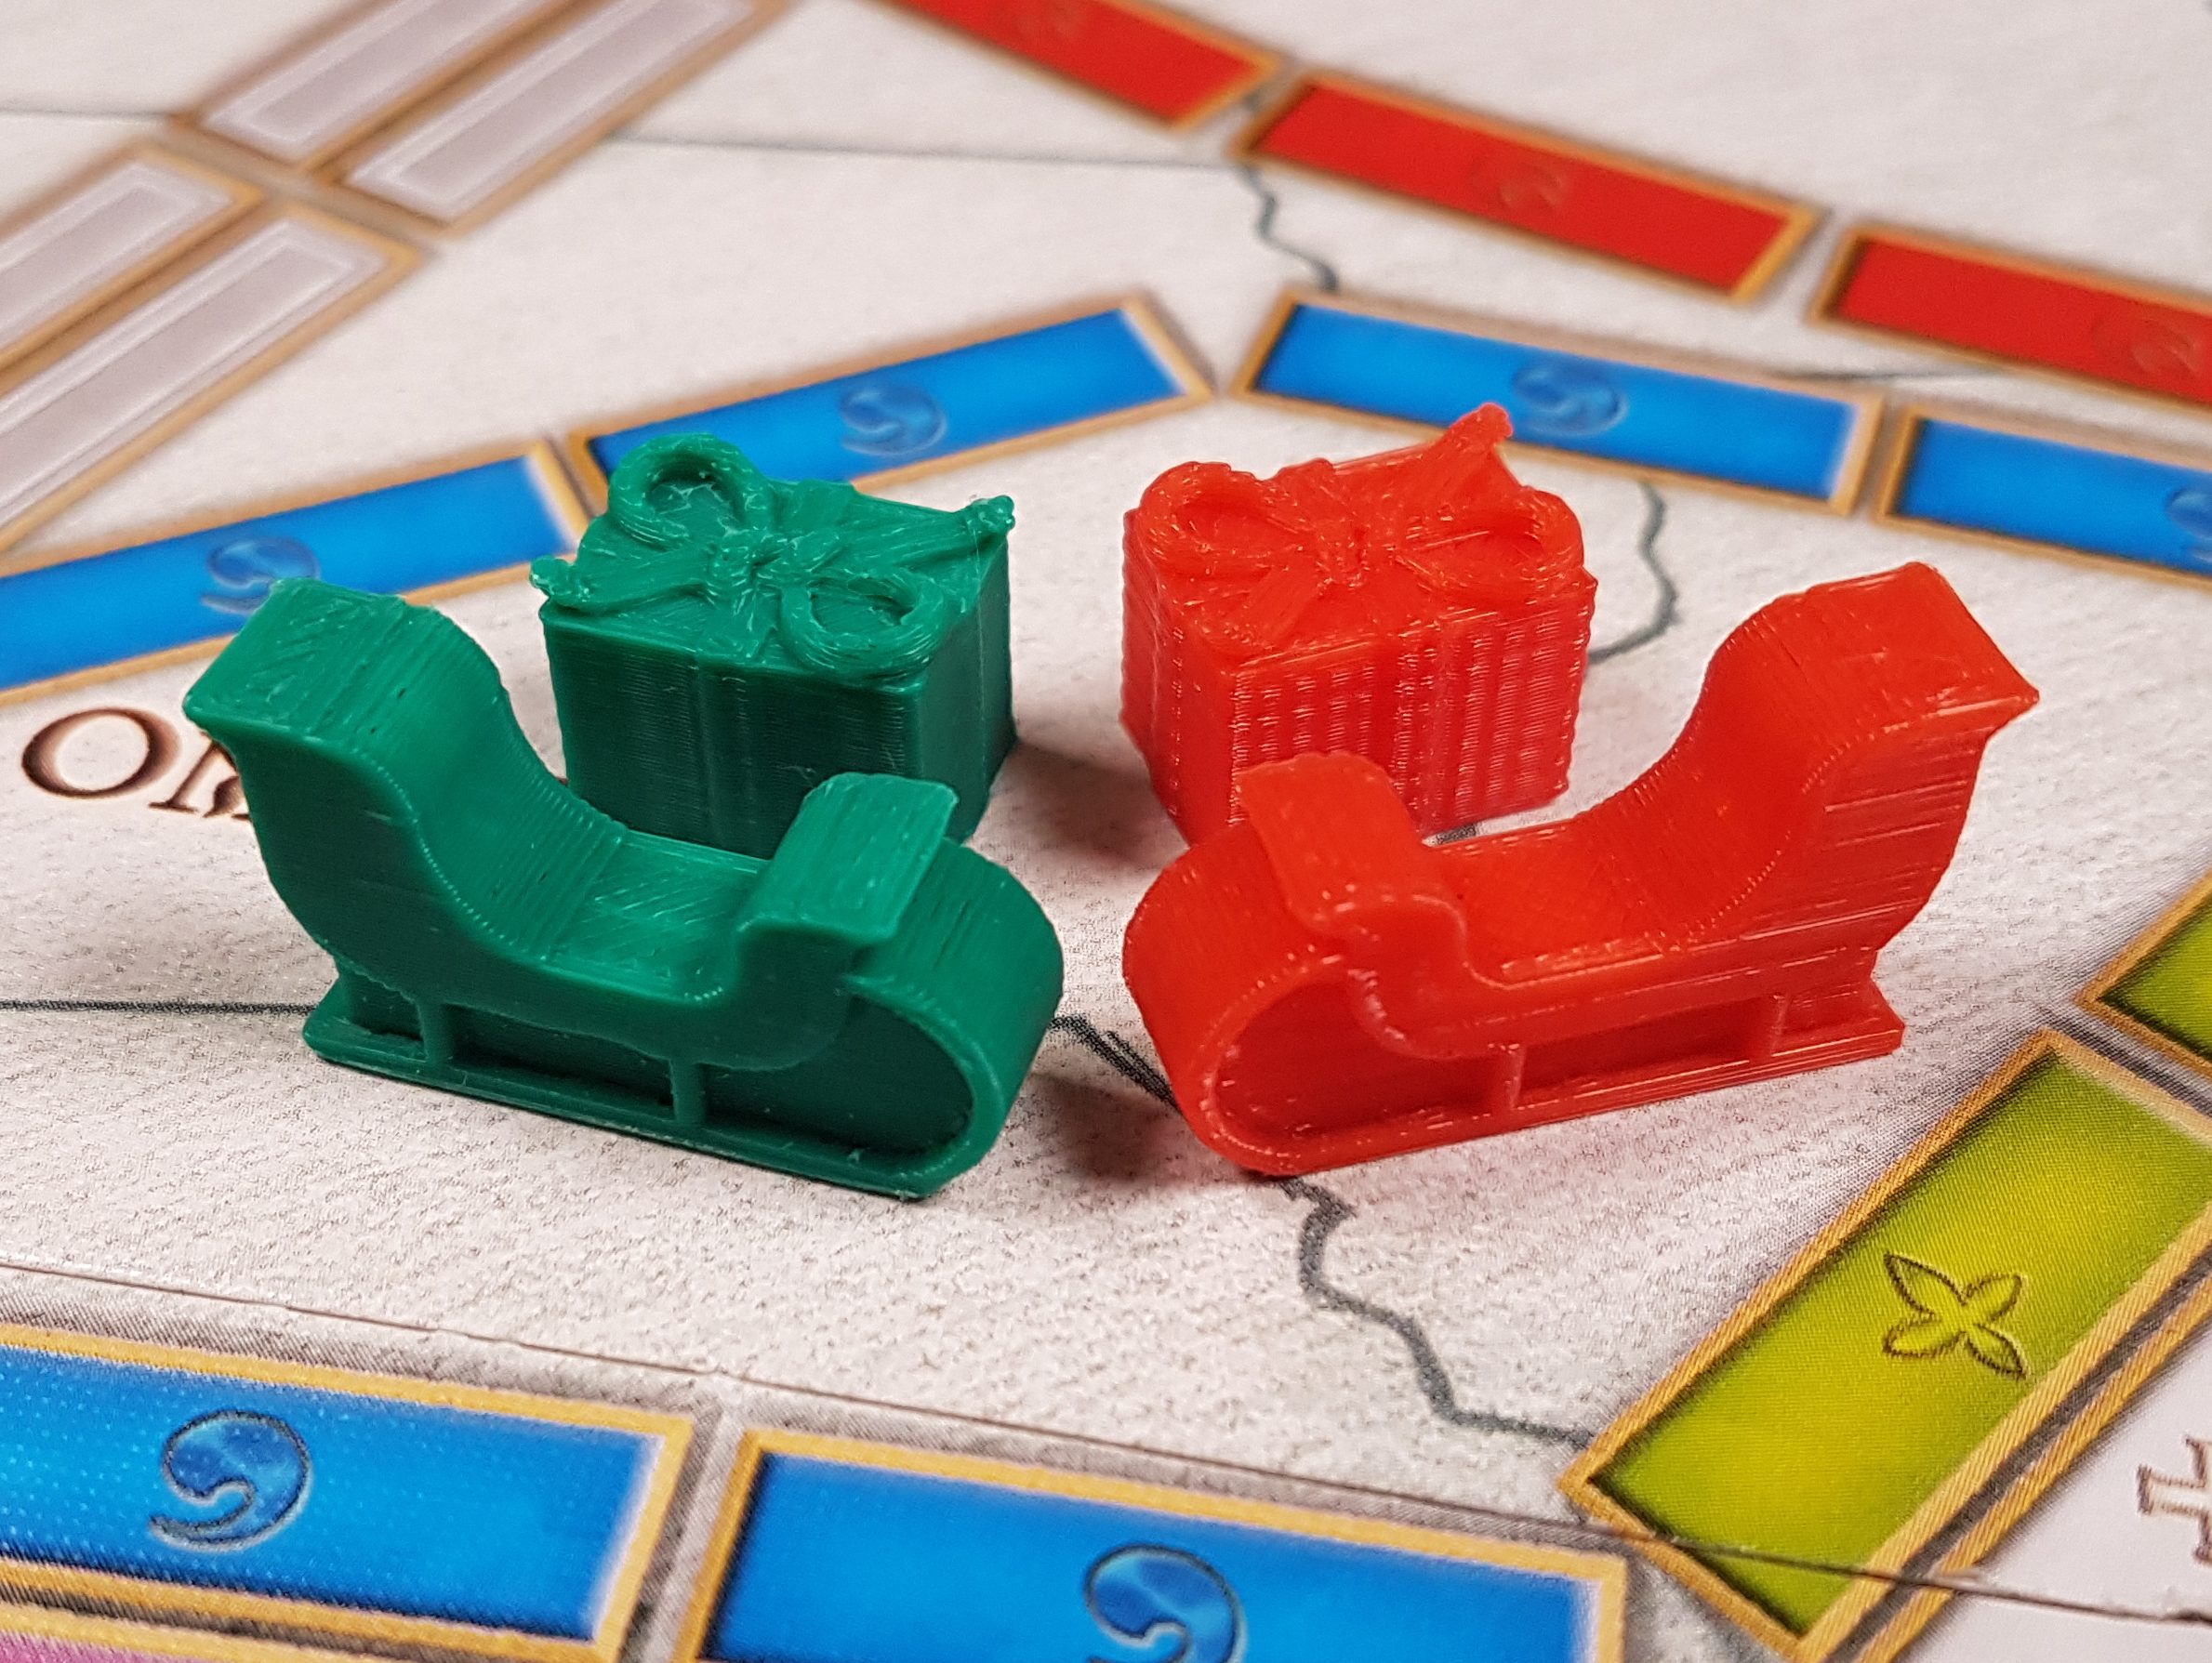
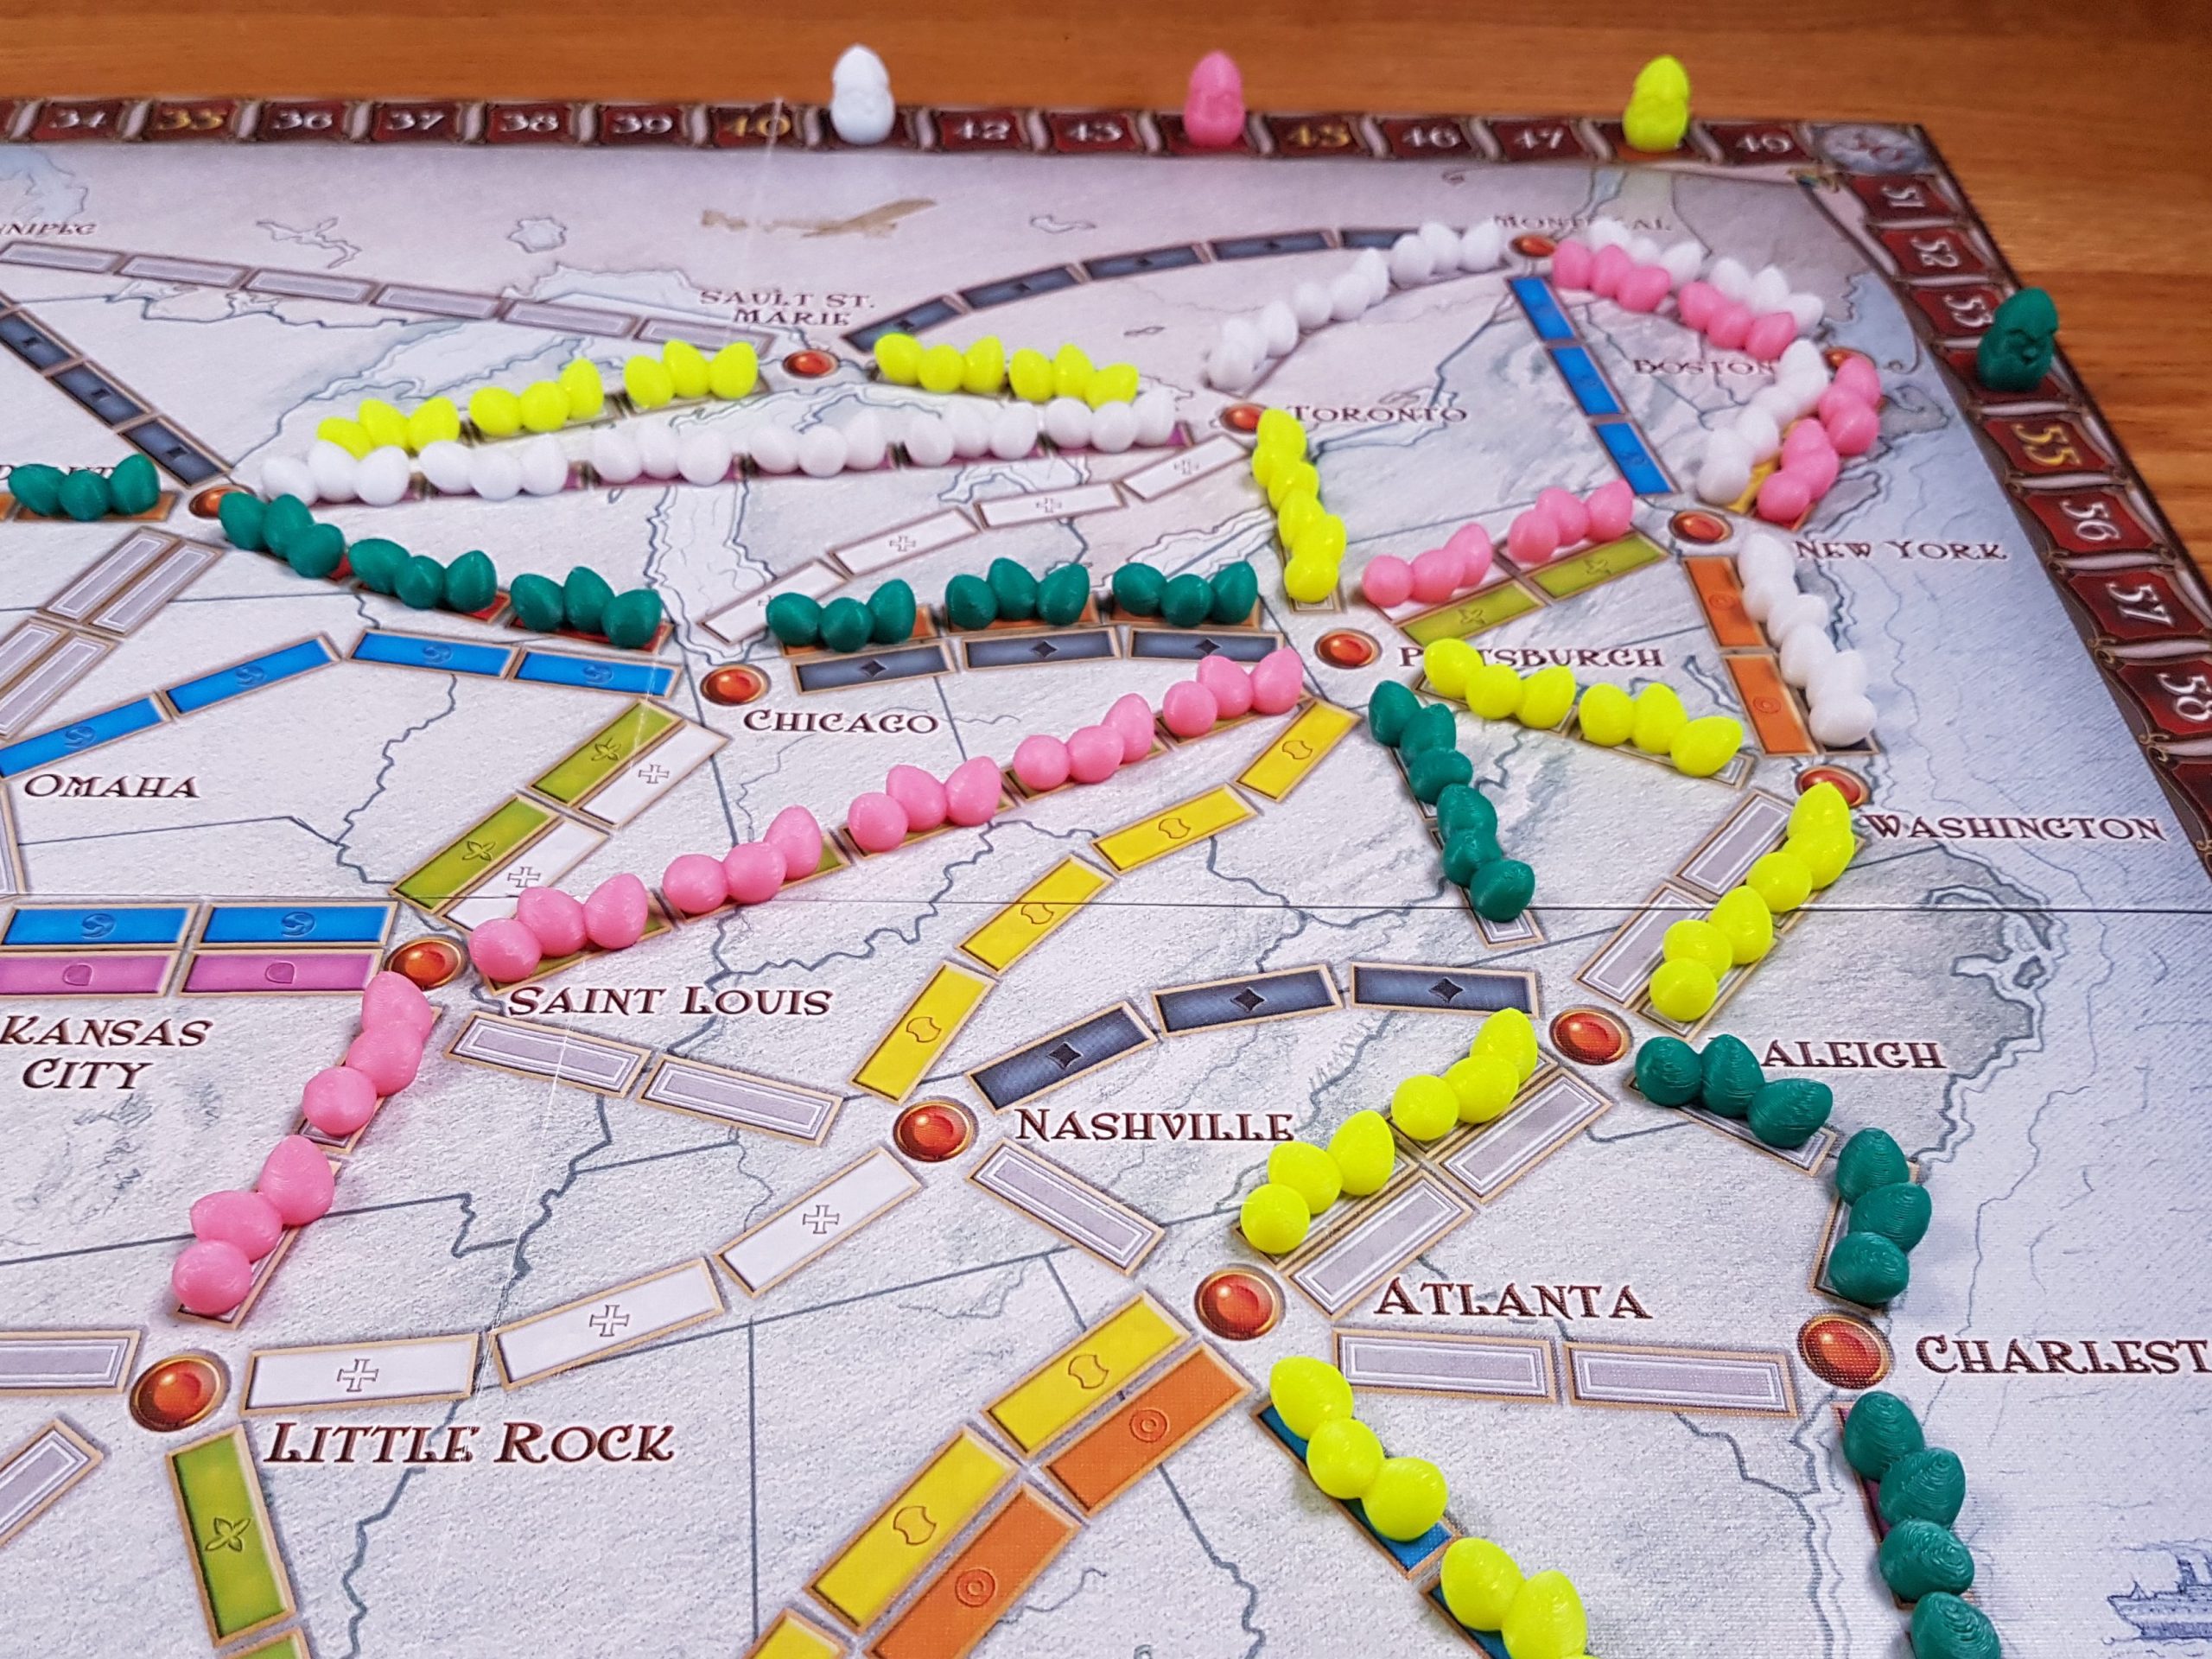
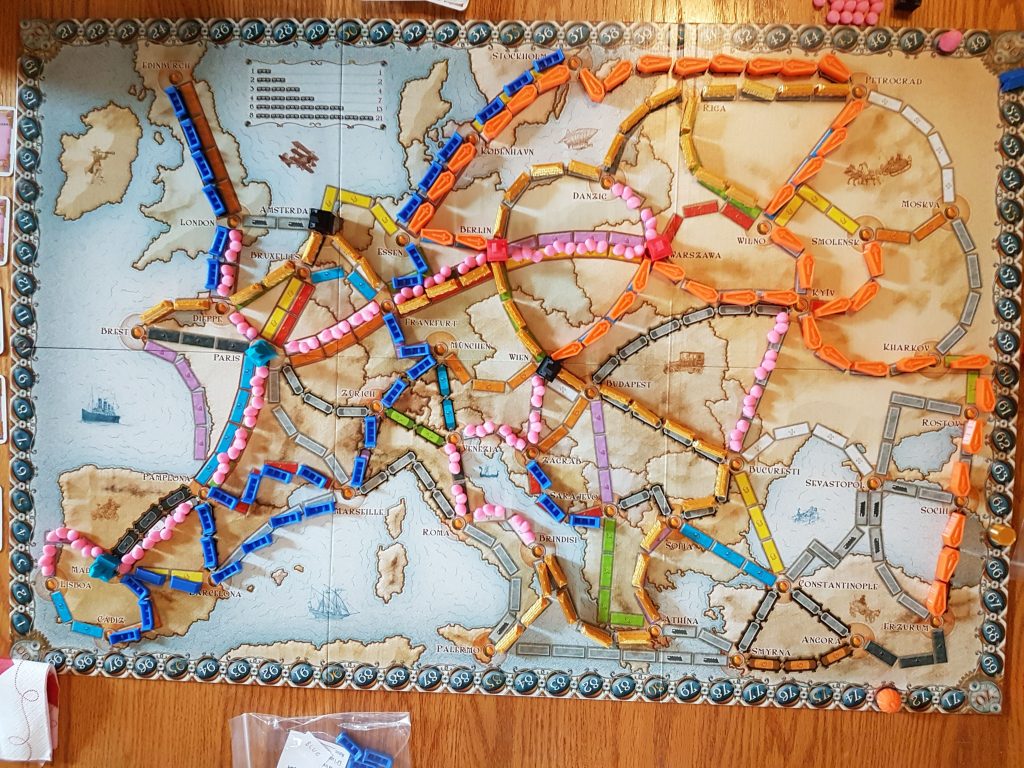
One of the last things I did before my COVID shot wiped me out was play a game of Ticket to Ride – Europe. Like the last time I wrote about this game, we used several of our custom game pieces, making for a very eclectic board appearance!
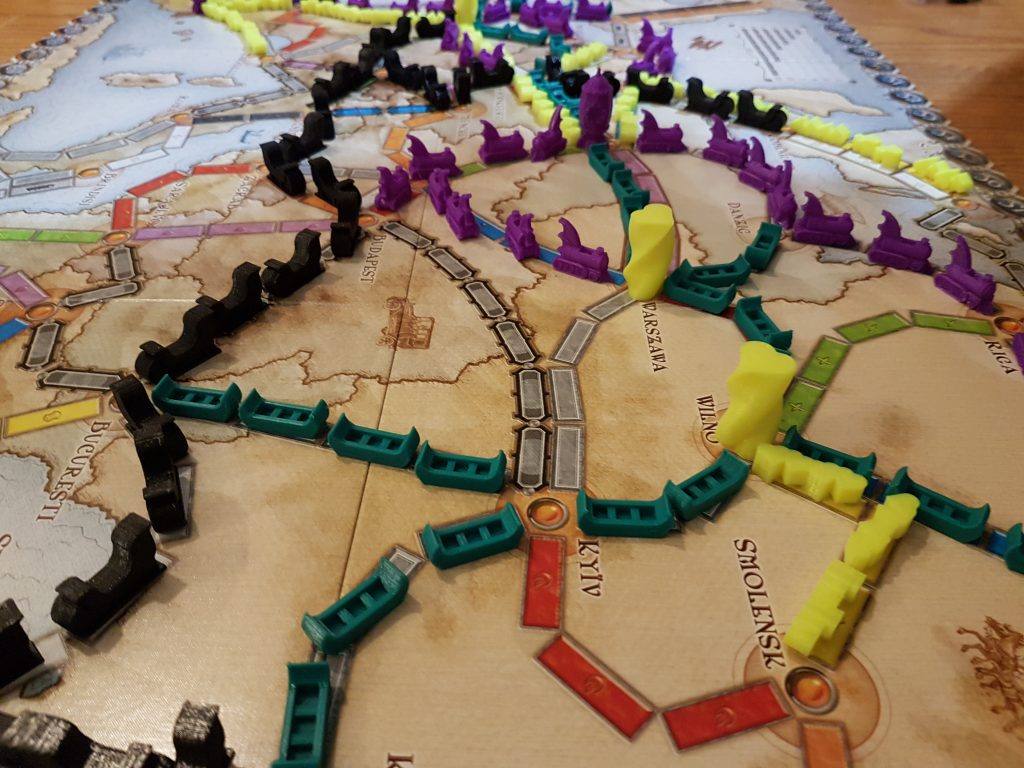
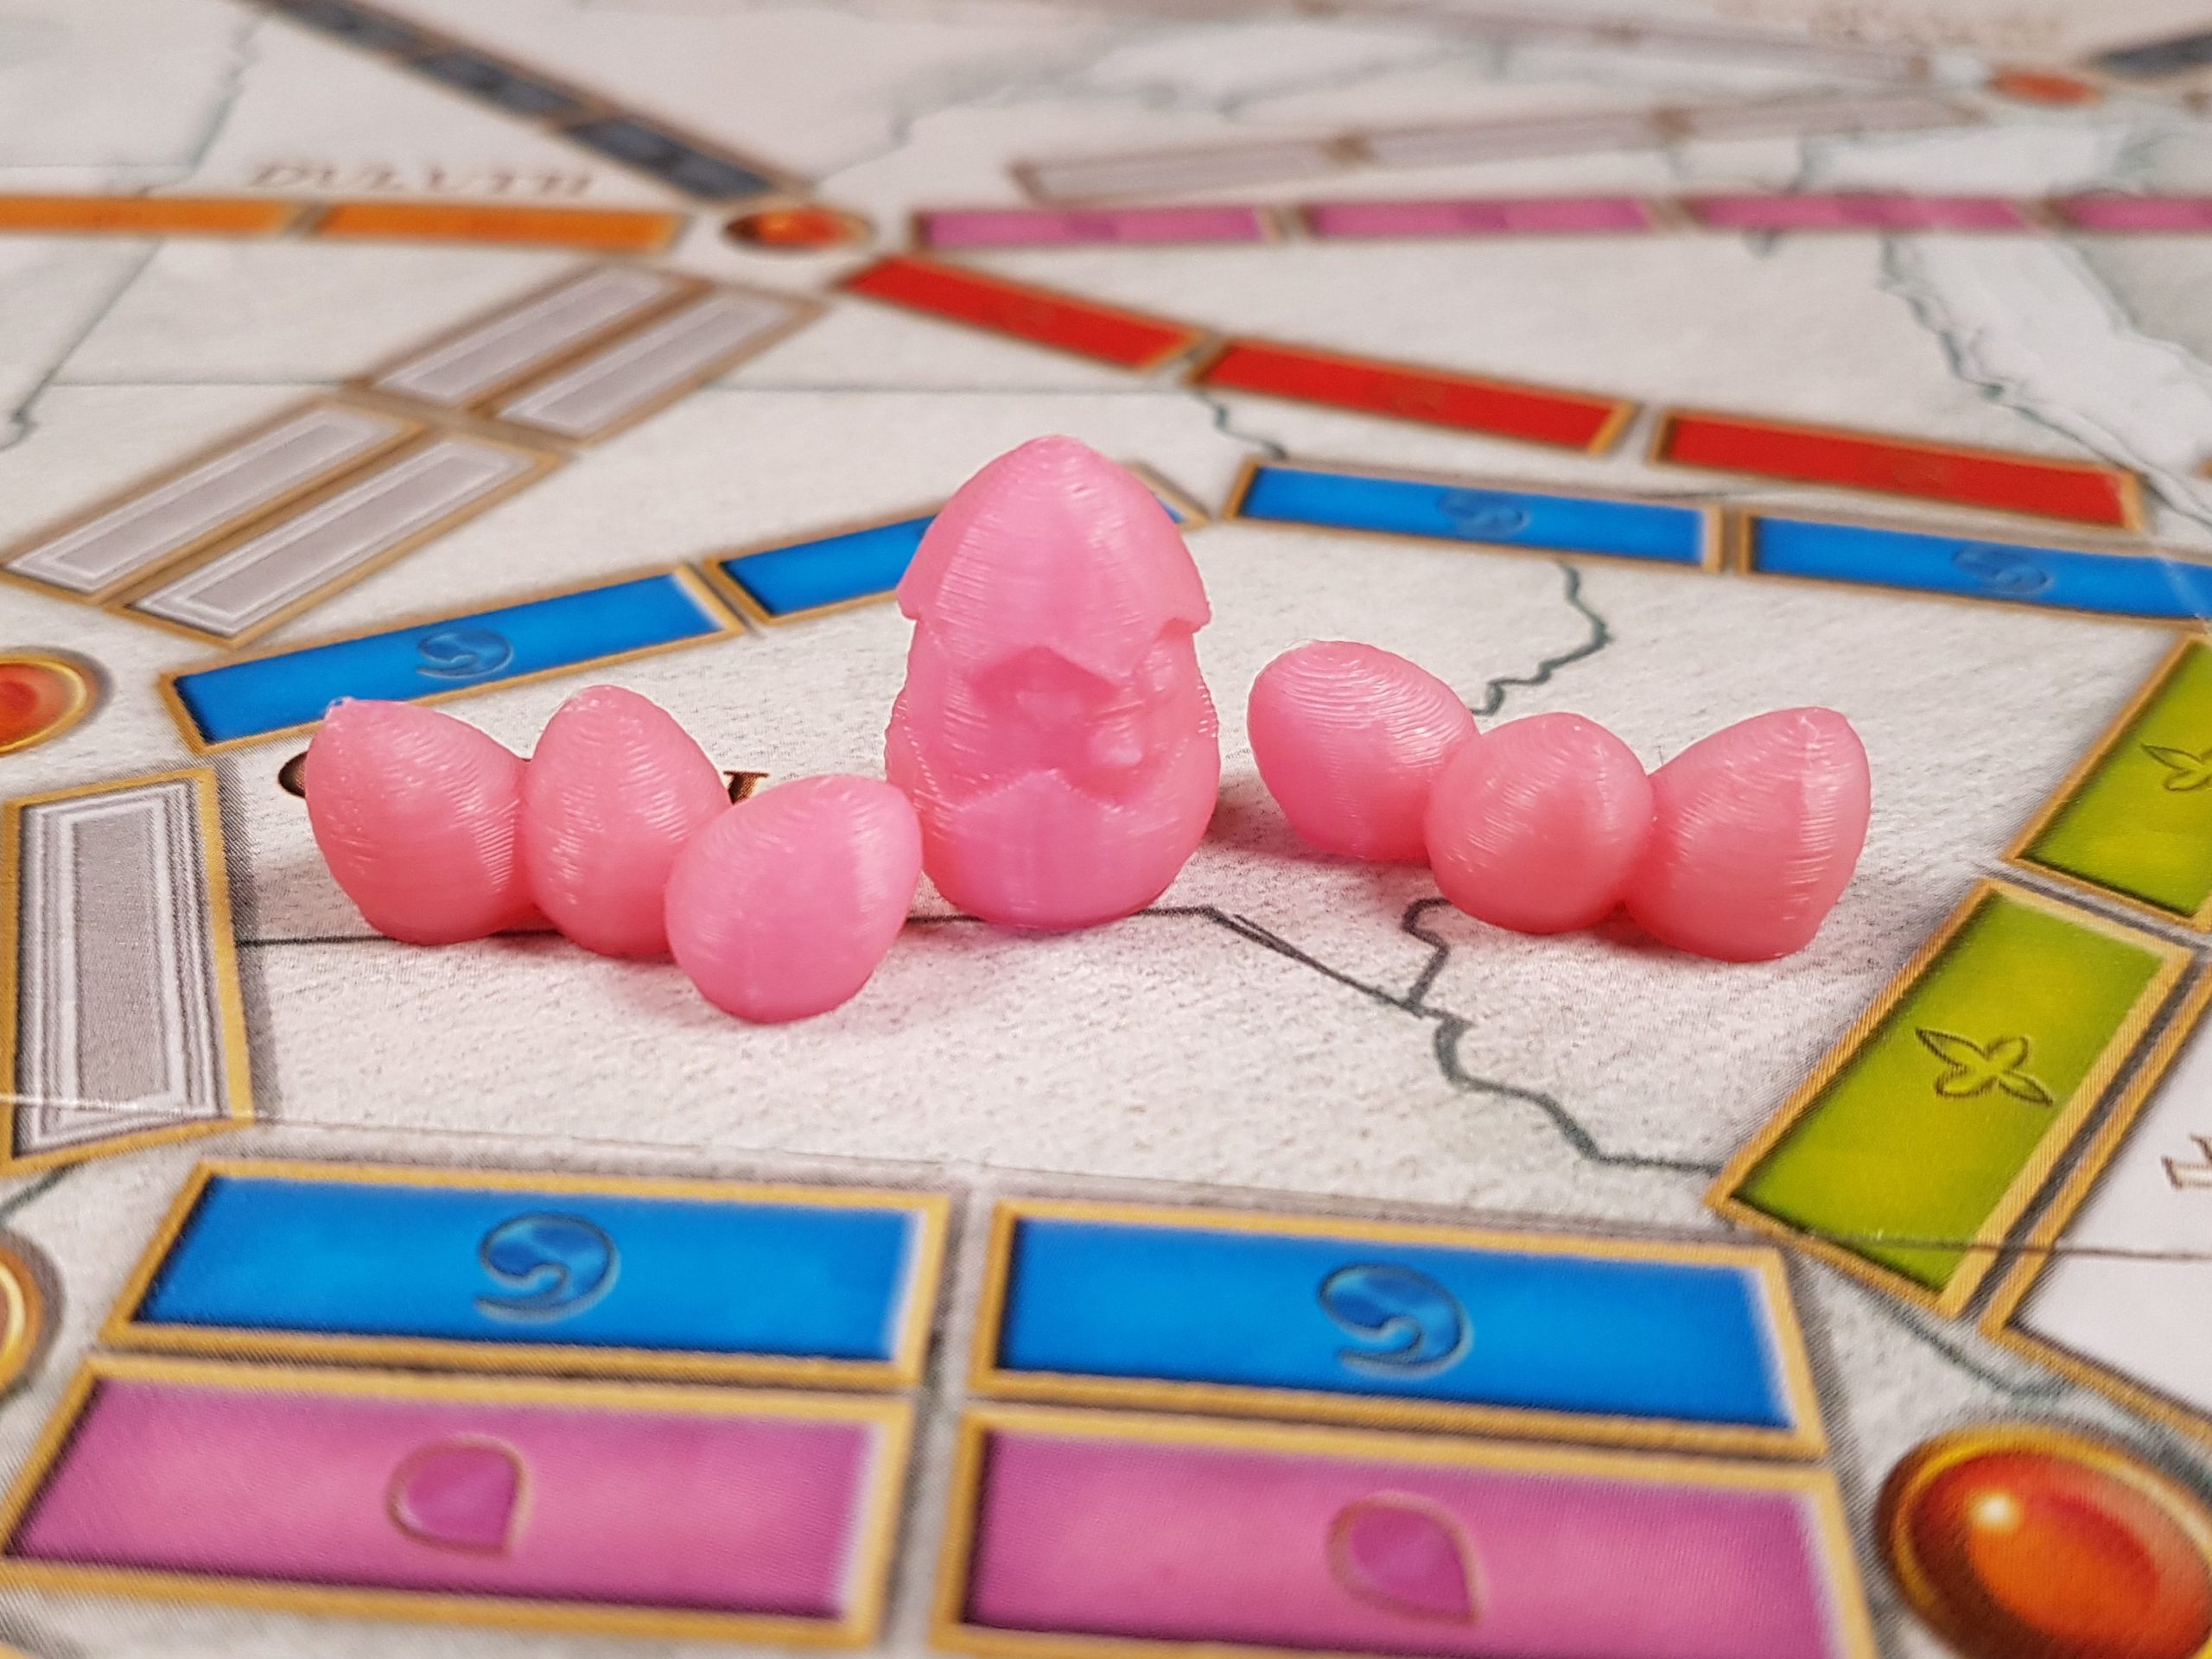
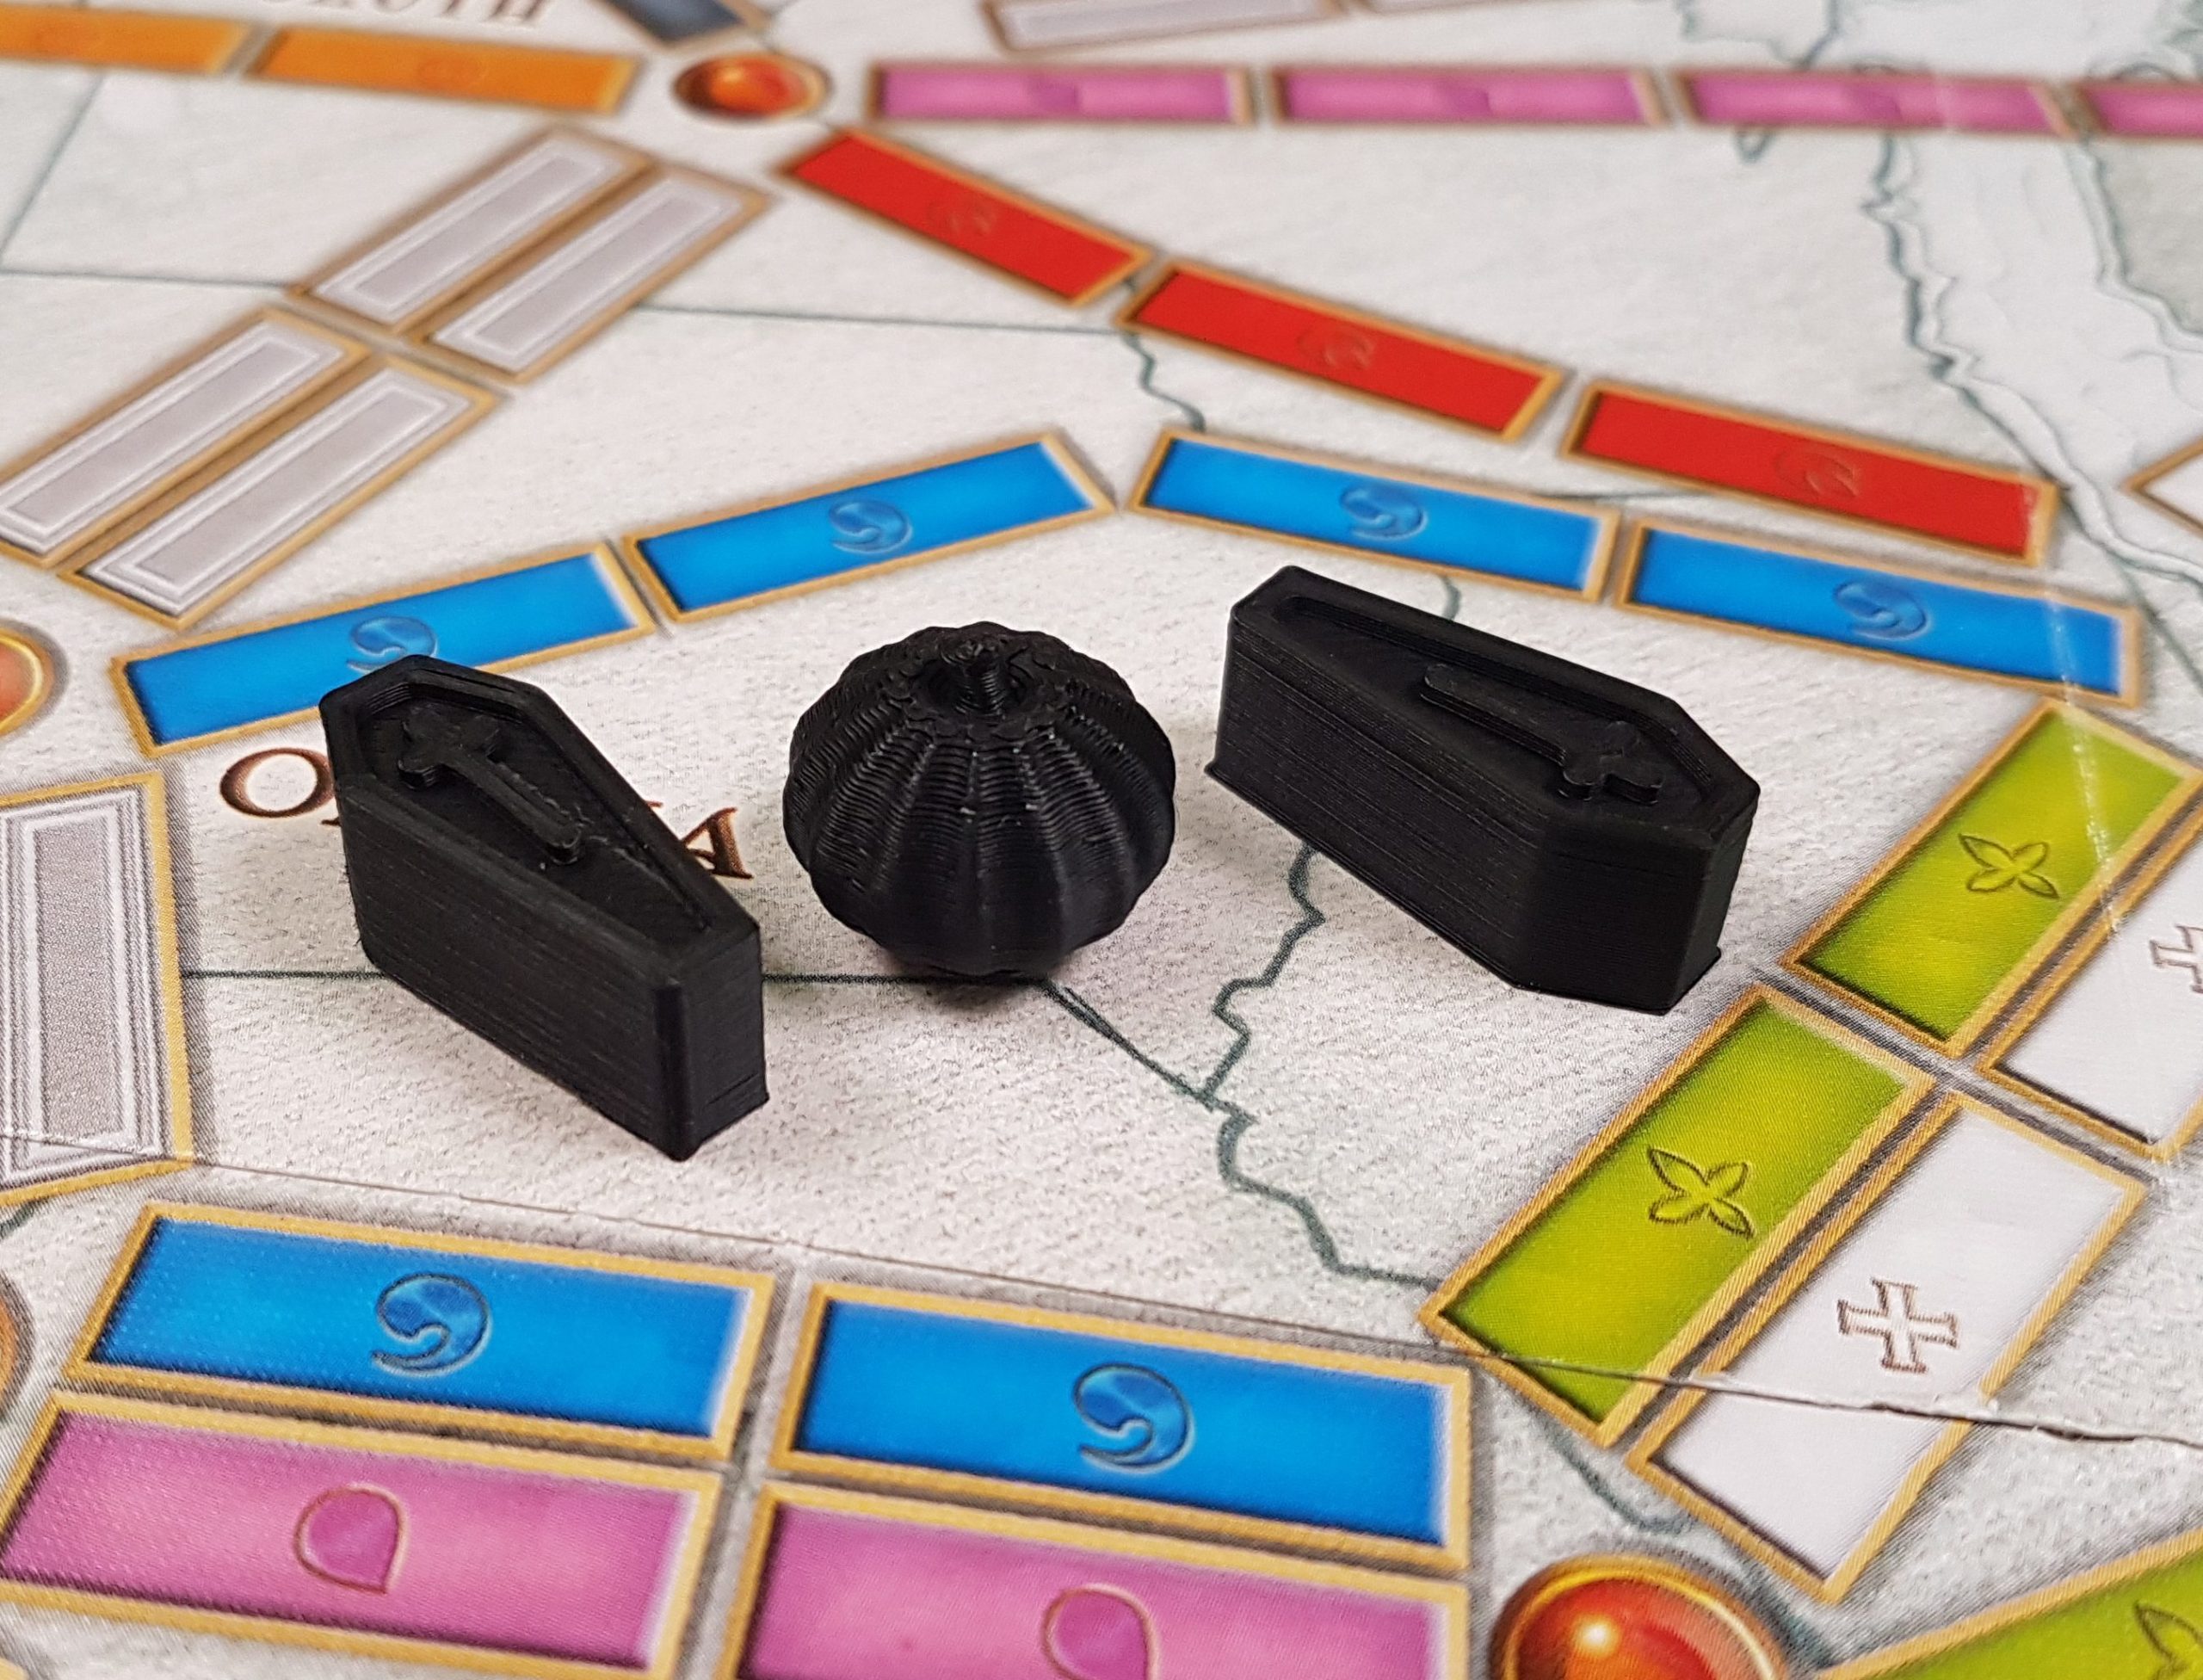
This time I used green canoes from the Camping themed set, my wife used a set of black Christmas sleighs, my father-in-law used purple Steampunk roadsters, and my mother-in-law used the yellow heart themed set we gave her for Mothers Day.
Did you notice her spiral heart Train Stations? Those are new! So new, they’re not even listed as an option in Etsy yet!
Pursuing B2B
Aside from adding the spiral heart Train Stations, this week we’ll be turning our attention to exploring some B2B (business to business) opportunities. We want to see if some local small businesses are interested in buying 3D printed versions of their company logos, whether for their staff or their customers. Wish us luck!