Welcome
Welcome back to our blog! This week we’ll talk about our 3D roller coaster. No, not a cool toy we printed, but rather the emotional ups and downs of our first week getting to know our new 3D printer.
It began last week with the printer’s arrival and set up. But the real fun started when we turned it on and tried to use it.
Preliminaries
Before we could print anything, we needed to have something to print. Like with a traditional printer where you need to have a document first. So, what to print?
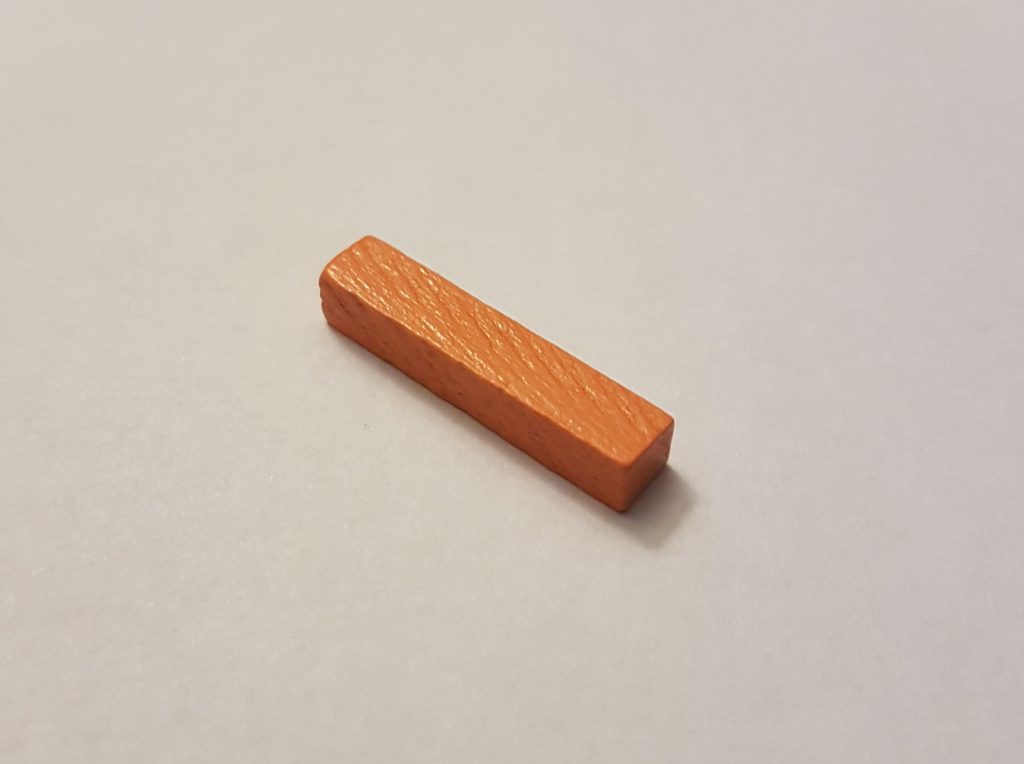
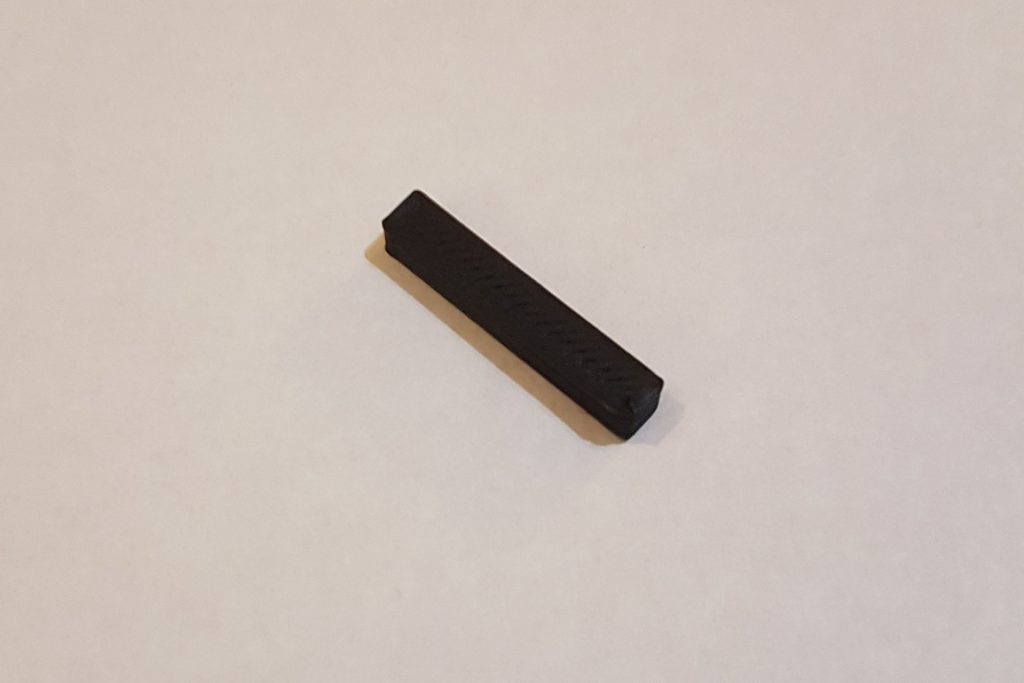
I mentioned last week that our initial focus will be board game accessories. We wanted something simple to start with, so we decided on a road piece from Settlers of Catan. In case you’re not familiar with the game, this is what the piece looks like – just a thin rectangle about an inch long.
The first task was to create a 3D model of it. We had looked at a couple tools for that, and settled on Blender. It’s an incredible tool, especially considering it’s free. Blender can do amazing things far beyond the requirements of 3D printing (animation, rendering with textures, and special effects like smoke, just to name a few). The downside of such a complex tool is that sometimes it’s hard to figure out how to do something relatively straightforward.
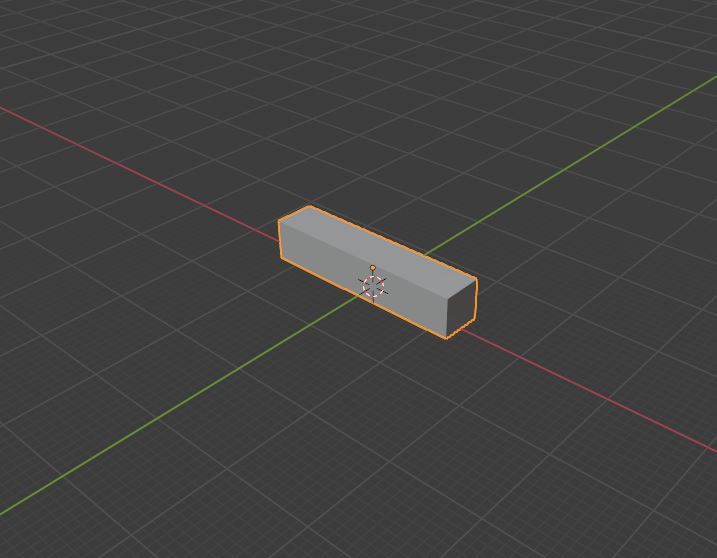
Although we’re still early in that learning curve, we managed to come up with our first 3D model.
It turns out you can’t just send a 3D model to the printer. First you need to convert it to a set of instructions the printer can understand. This is called “slicing” (because it slices your model into distinct printable layers), and produces a g-code file. There are several slicers out there, but our printer manufacturer recommended Cura so that’s what we went with.
The final thing we needed to do before printing was prepping the printer. We had set it up, but it still needed the glass print bed to be properly cleaned and leveled. The latter was another challenge, but finally we were ready.
The First Attempts
So with our model created, our g-code file prepared, and the printer ready to go, we initiated our first print!
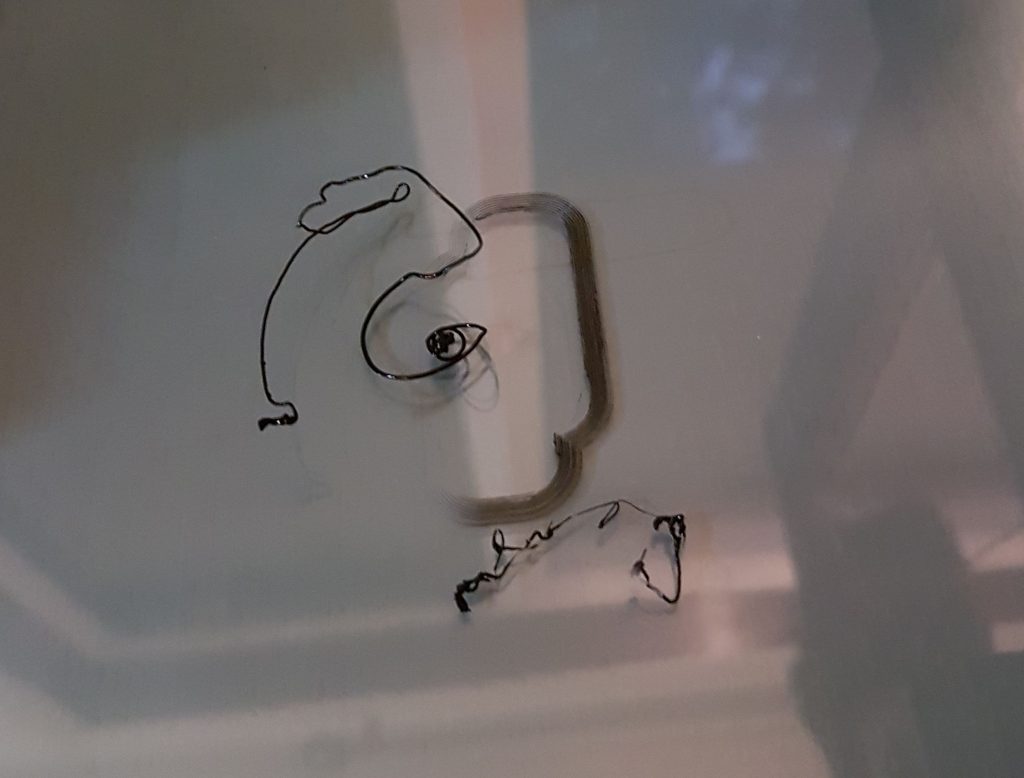
And this was the result.
Our roller coaster had taken a major drop.
But we kept trying, and learning, and tweaking things here and there.
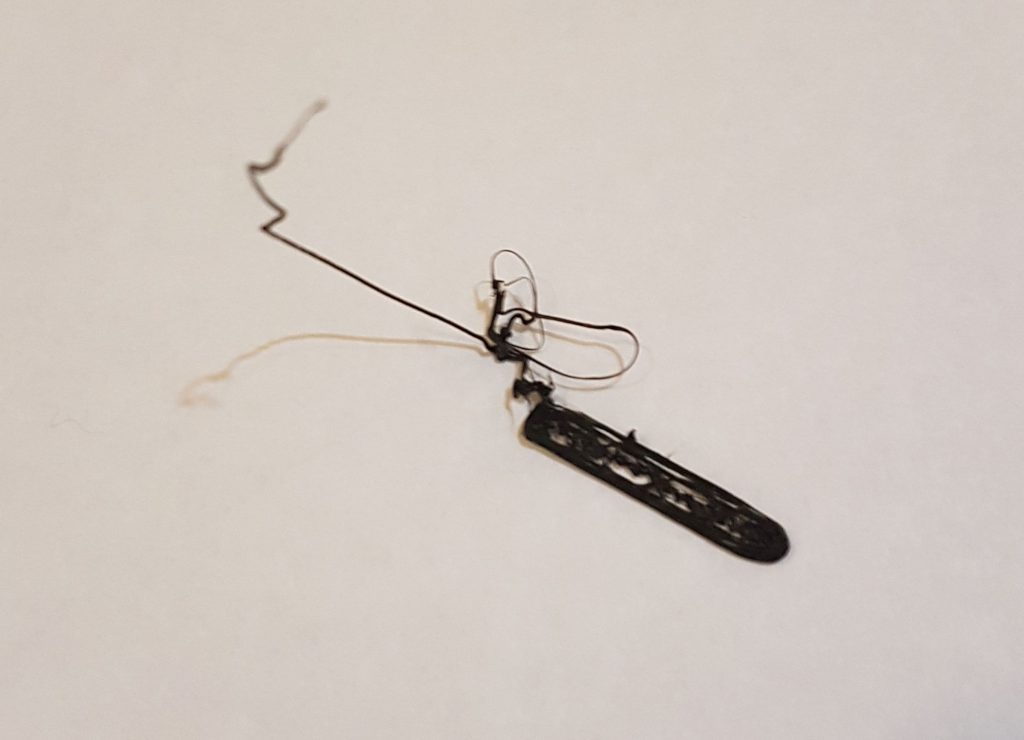
Another early attempt was at least starting to show some promise.
Picking Up Speed
Eventually we did it! We had created a small plastic stick! Woo hoo!!!
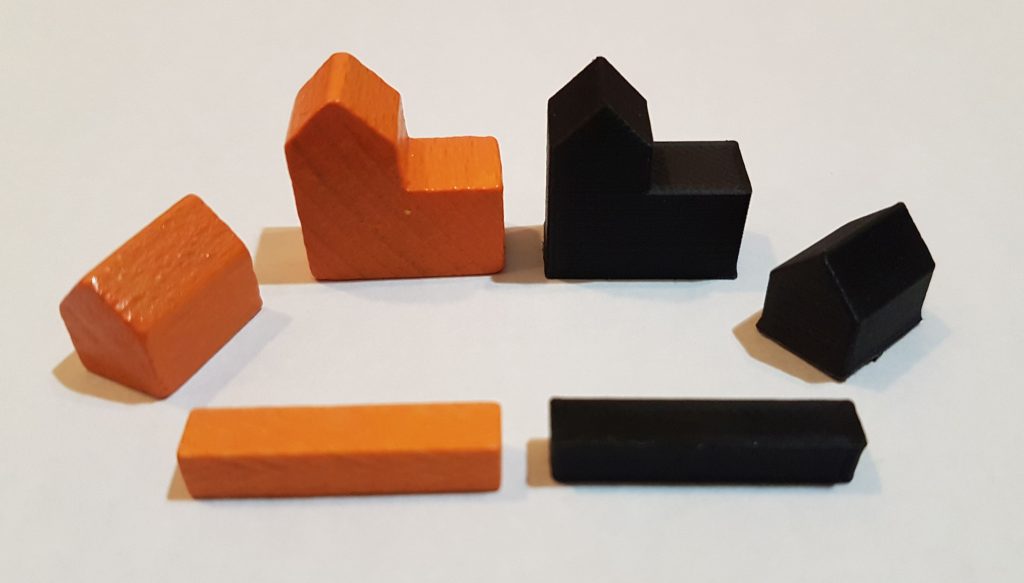
Once we had the hang of it, we were off and running. Soon we had all of the basic Catan pieces.
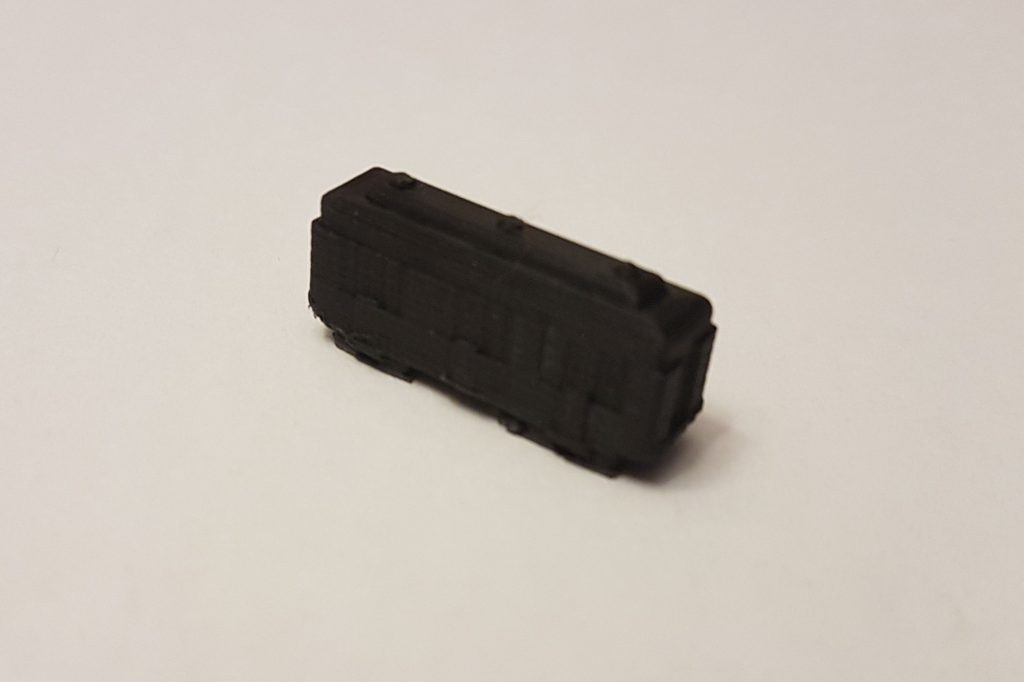
It was time for something more challenging. We decided on a train piece for Ticket to Ride. There were some minor missteps along the way, and we’re still making small adjustments, but it’s coming along nicely.
The Big Drop
Things were going well, but there were some seemingly minor issues with the first layer of each print. We determined that the problem was with the leveling process we were using, and so we found and followed this helpful leveling video by YouTuber Tesla Filament.
But in doing so we discovered a problem with the way the print bed was physically attached to the printer. I made the required adjustments, re-leveled the bed, and suddenly the filament would no longer adhere to the bed at all.
Perseverance
More than a day passed, full of research, tweaking, and failed print attempts. It was also full of doubts and questioning whether this whole endeavour was actually viable.
In the end though, we persevered. A trip to Home Depot for some washers to use as spacers and an increasing understanding of the printer’s leveling interface were enough to get the prints to start working again.
With a growing string of successful prints we are once again confident that we can make this work!
Our experience with 3D printing brings to mind how the early days of the automobile must have been, once they were readily available but you still needed to be comfortable with a wrench if you wanted them to work.
Next Steps
Now that we’re up and running again, we’re back on track to opening the Etsy shop. With a little luck, that will be the topic of next Monday’s blog. Plus, we’re working on an exciting new seasonally relevant product design!
Leave a Reply